Black and White Lens Lightroom 6 Presets
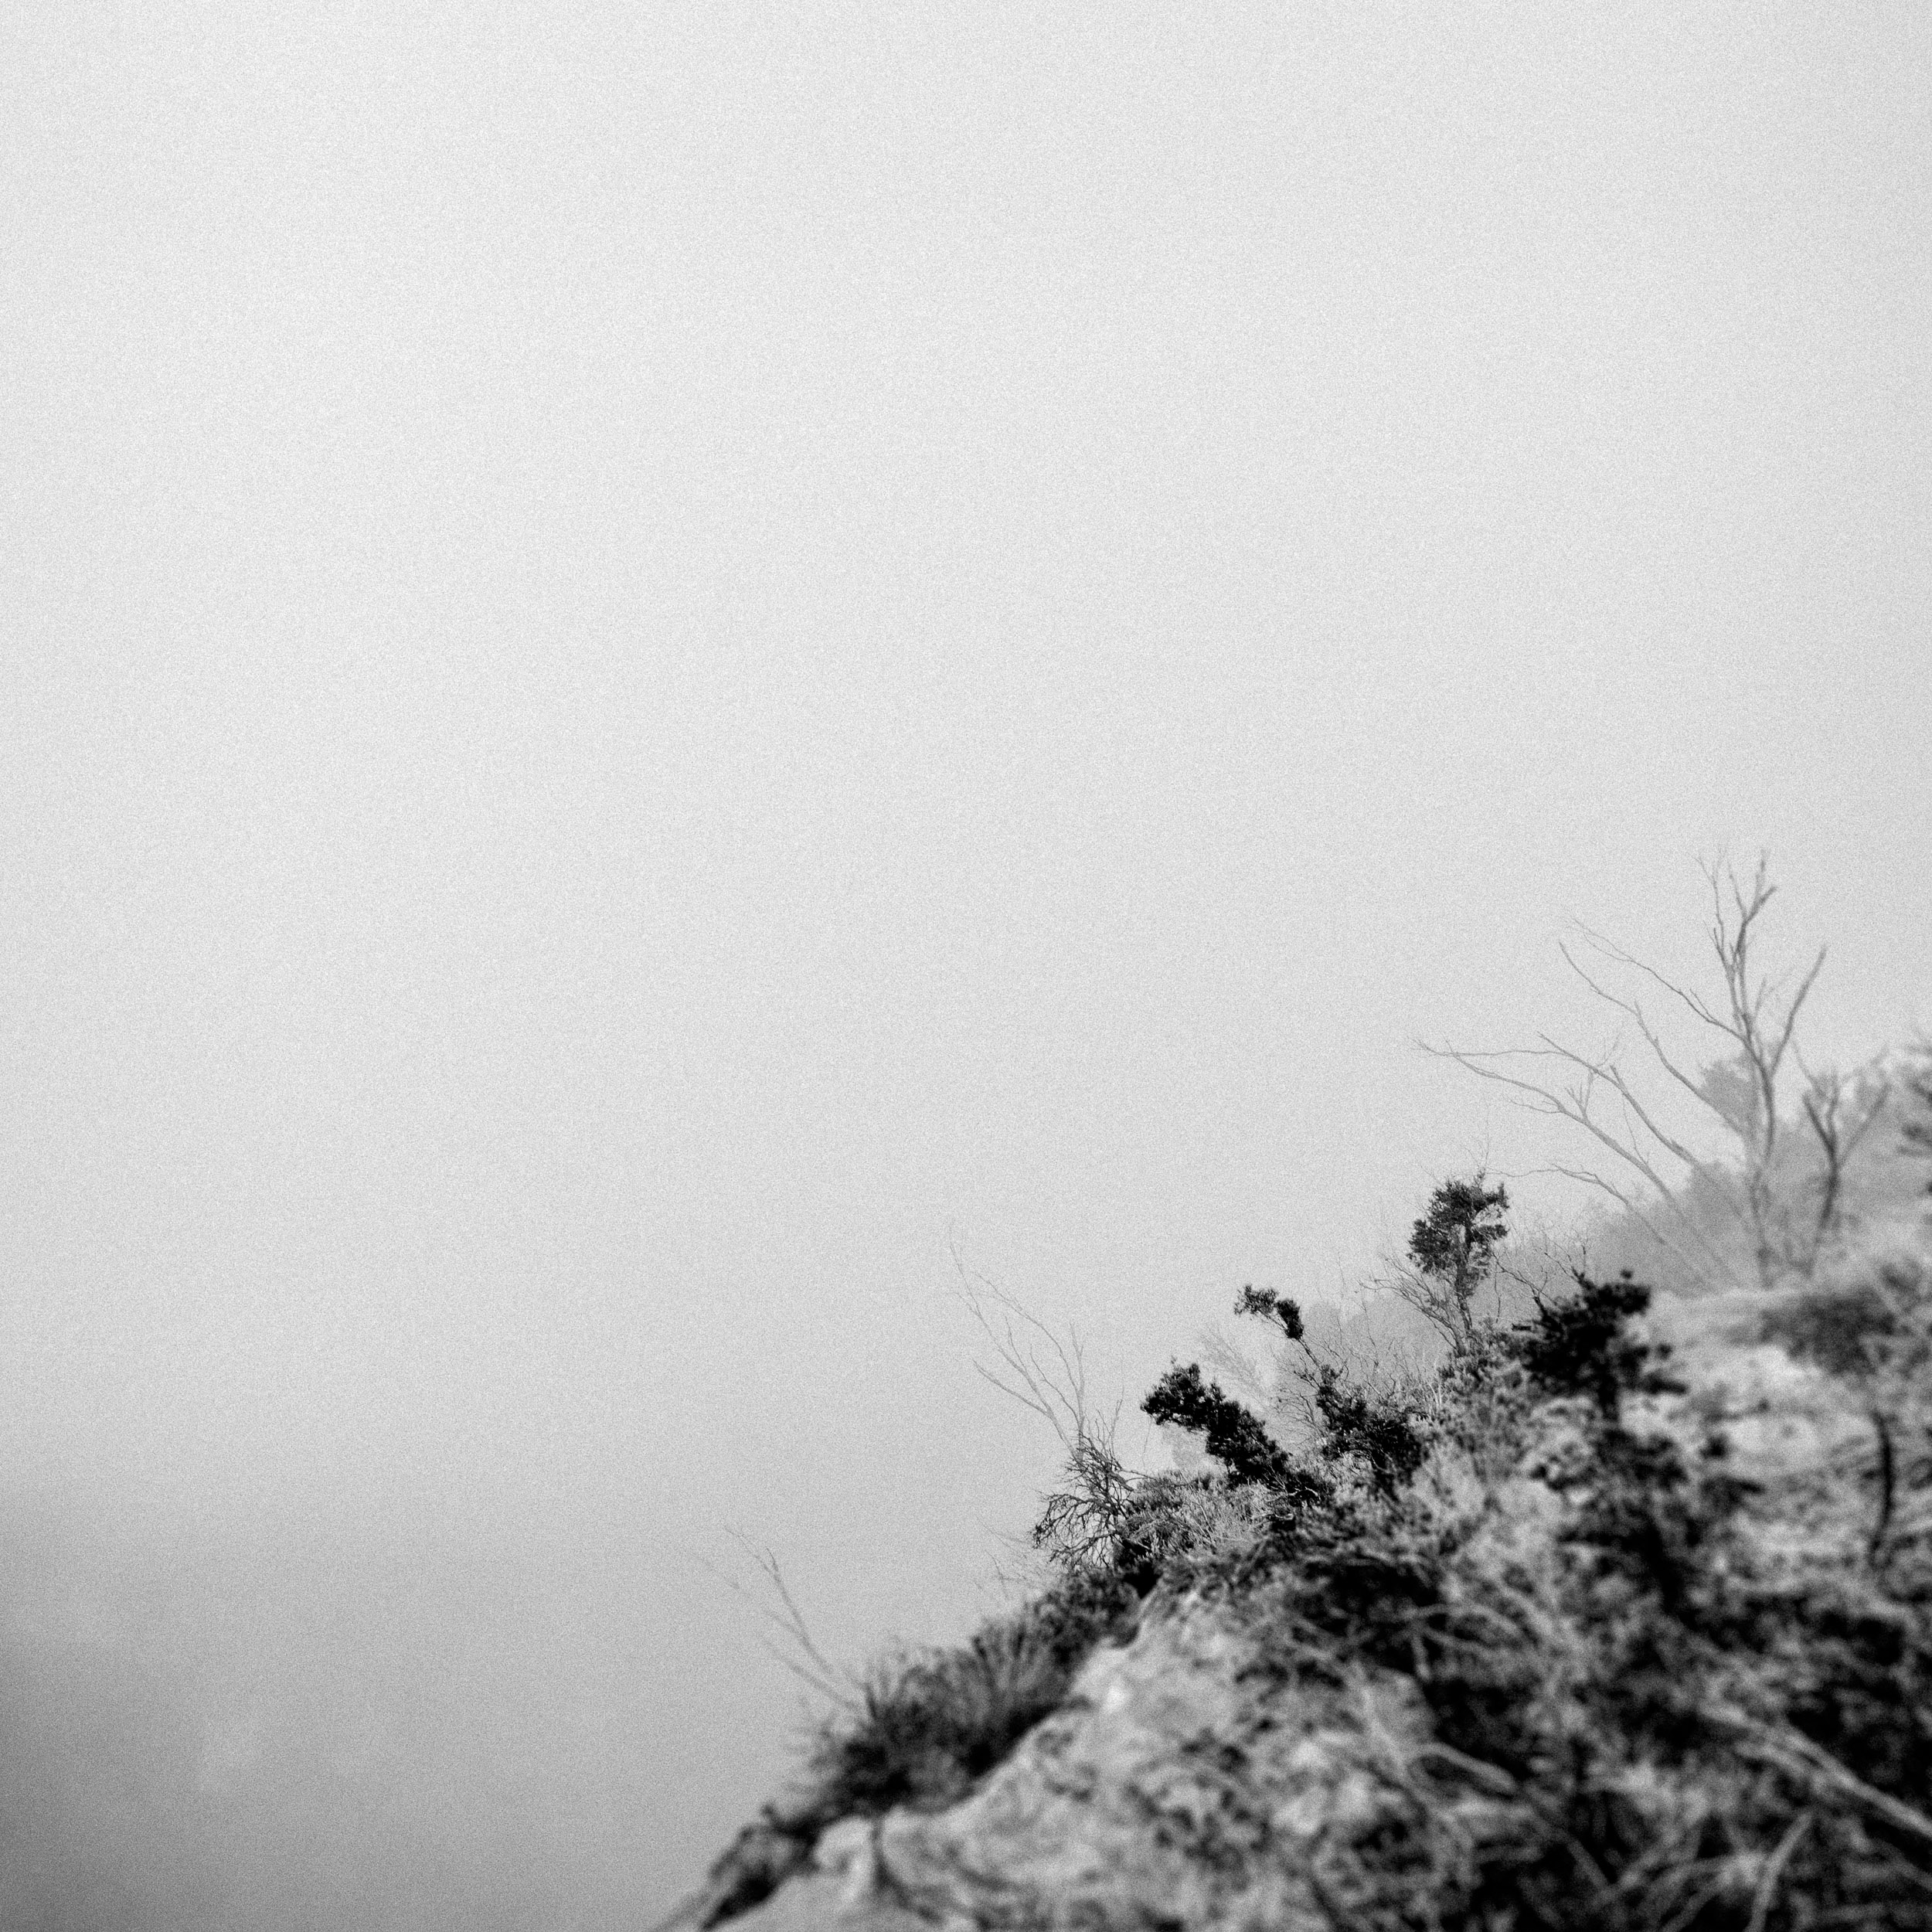
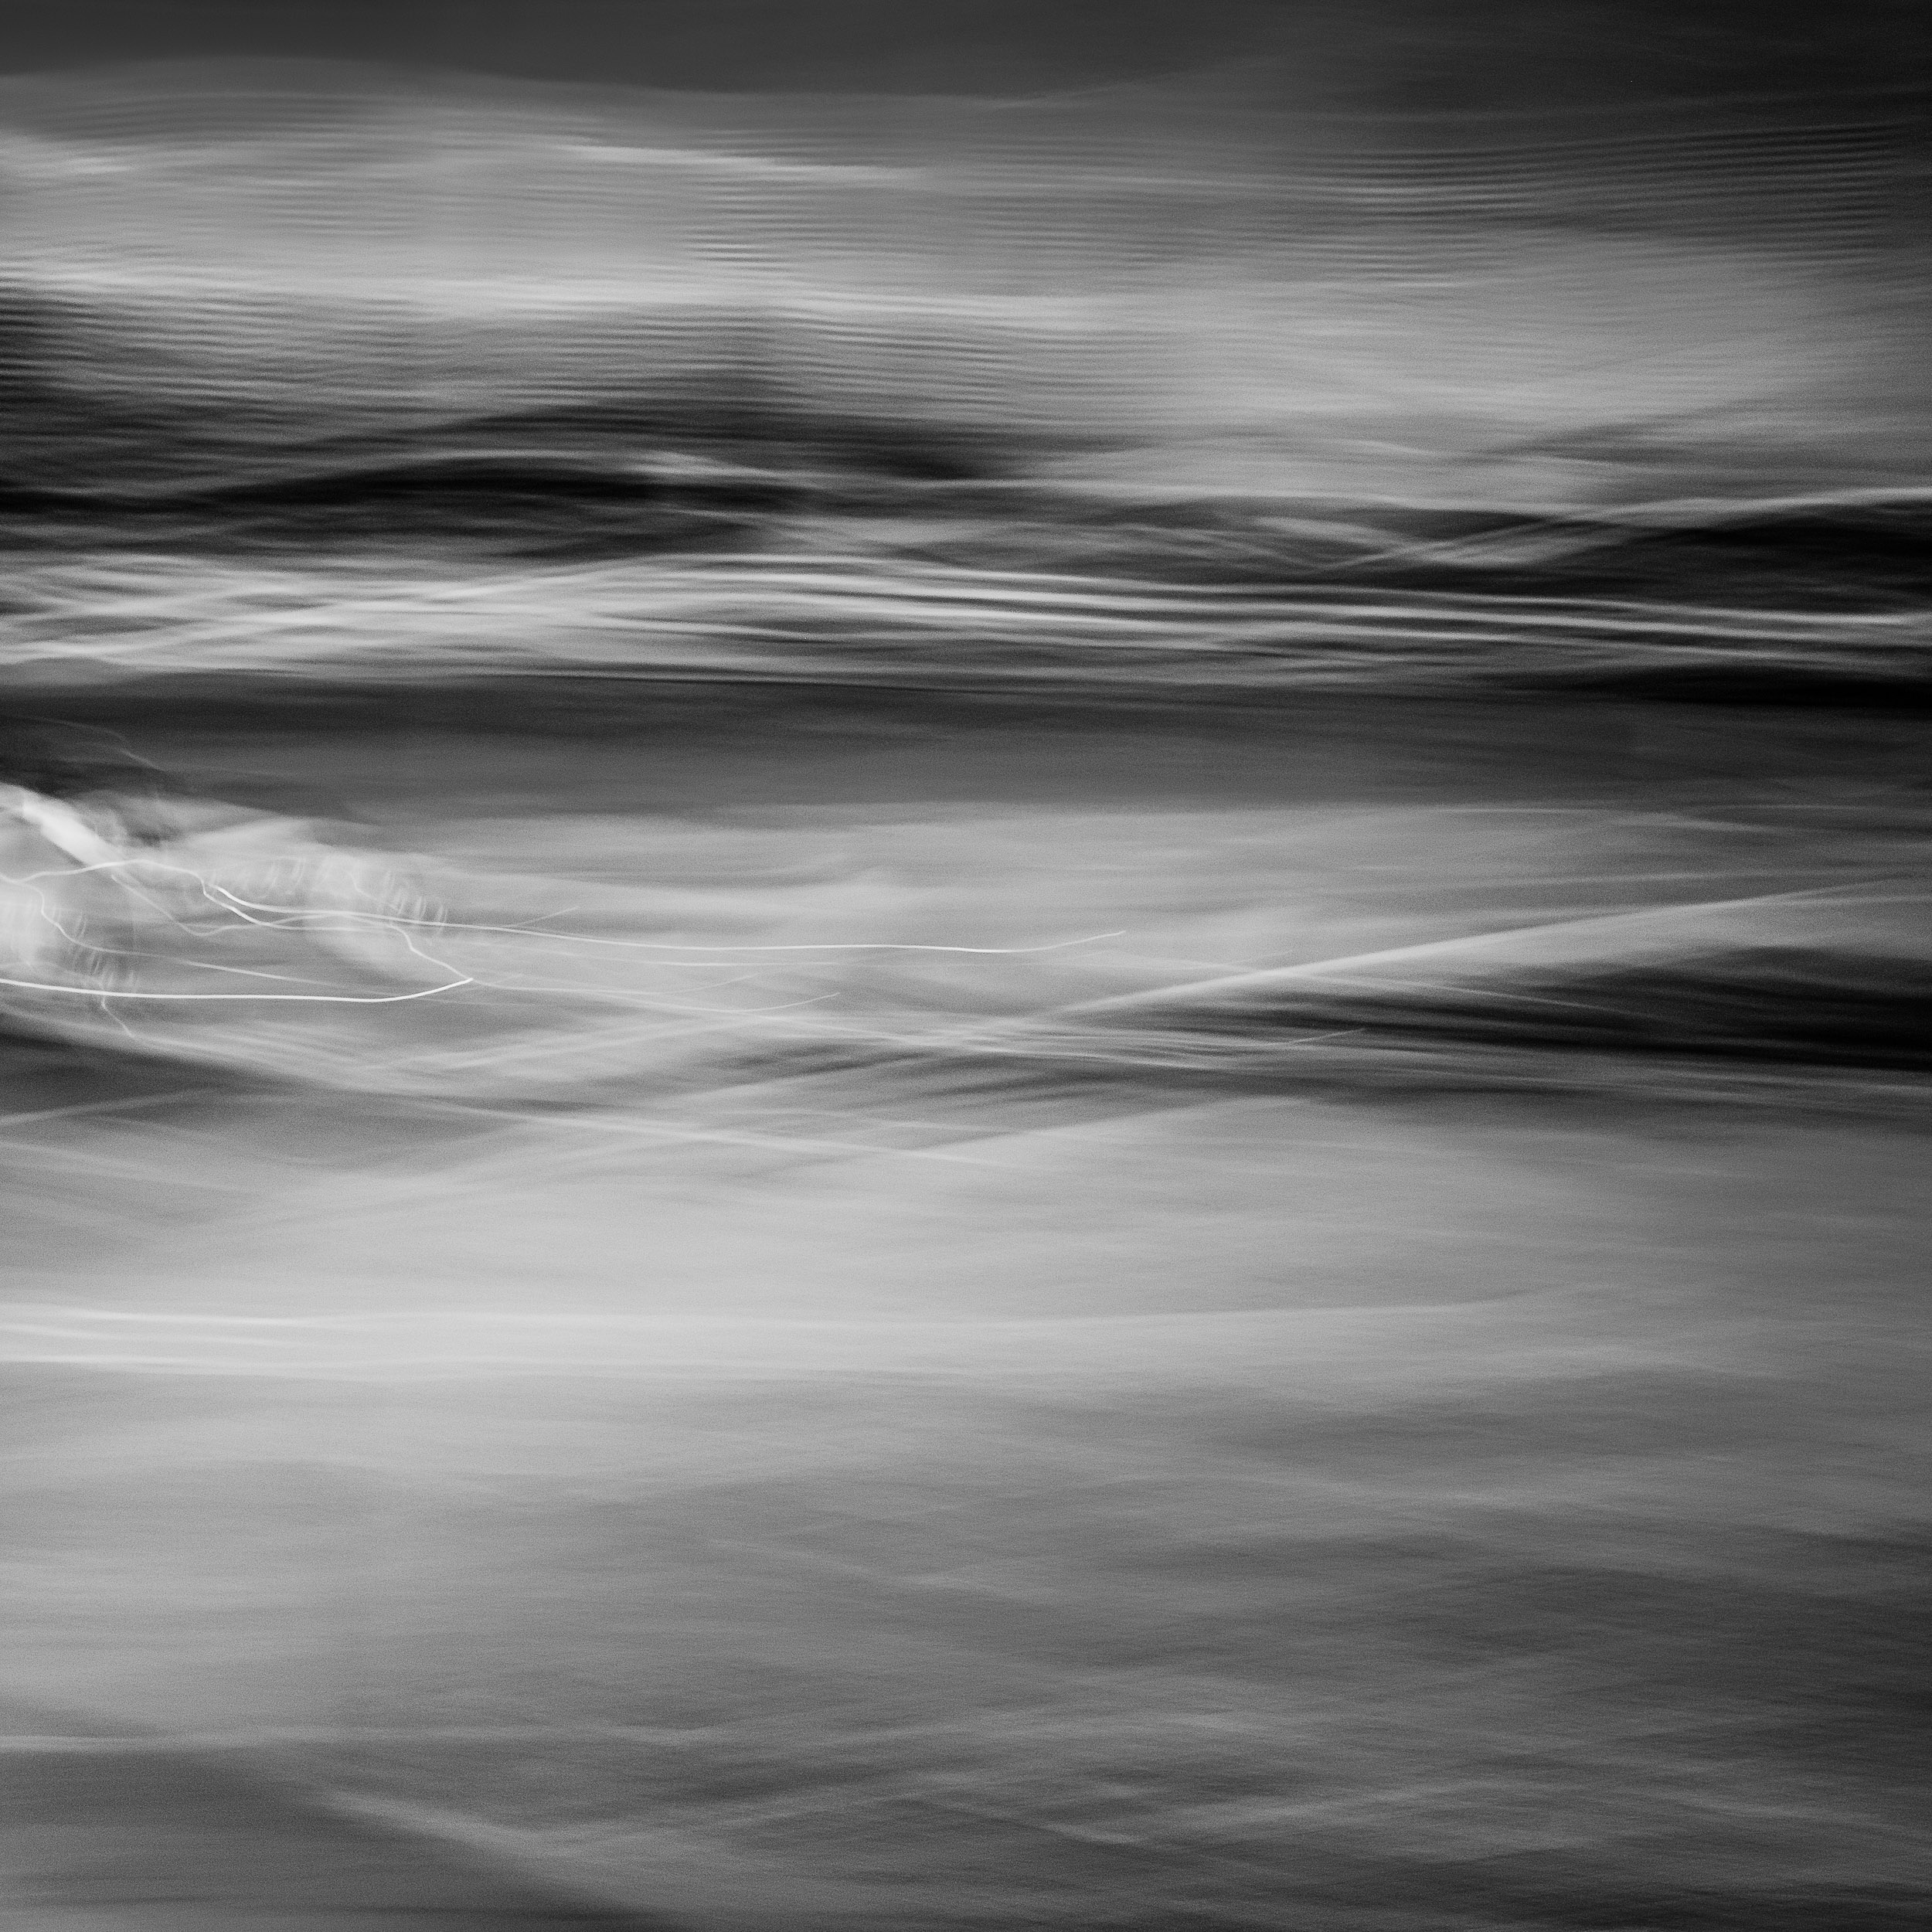
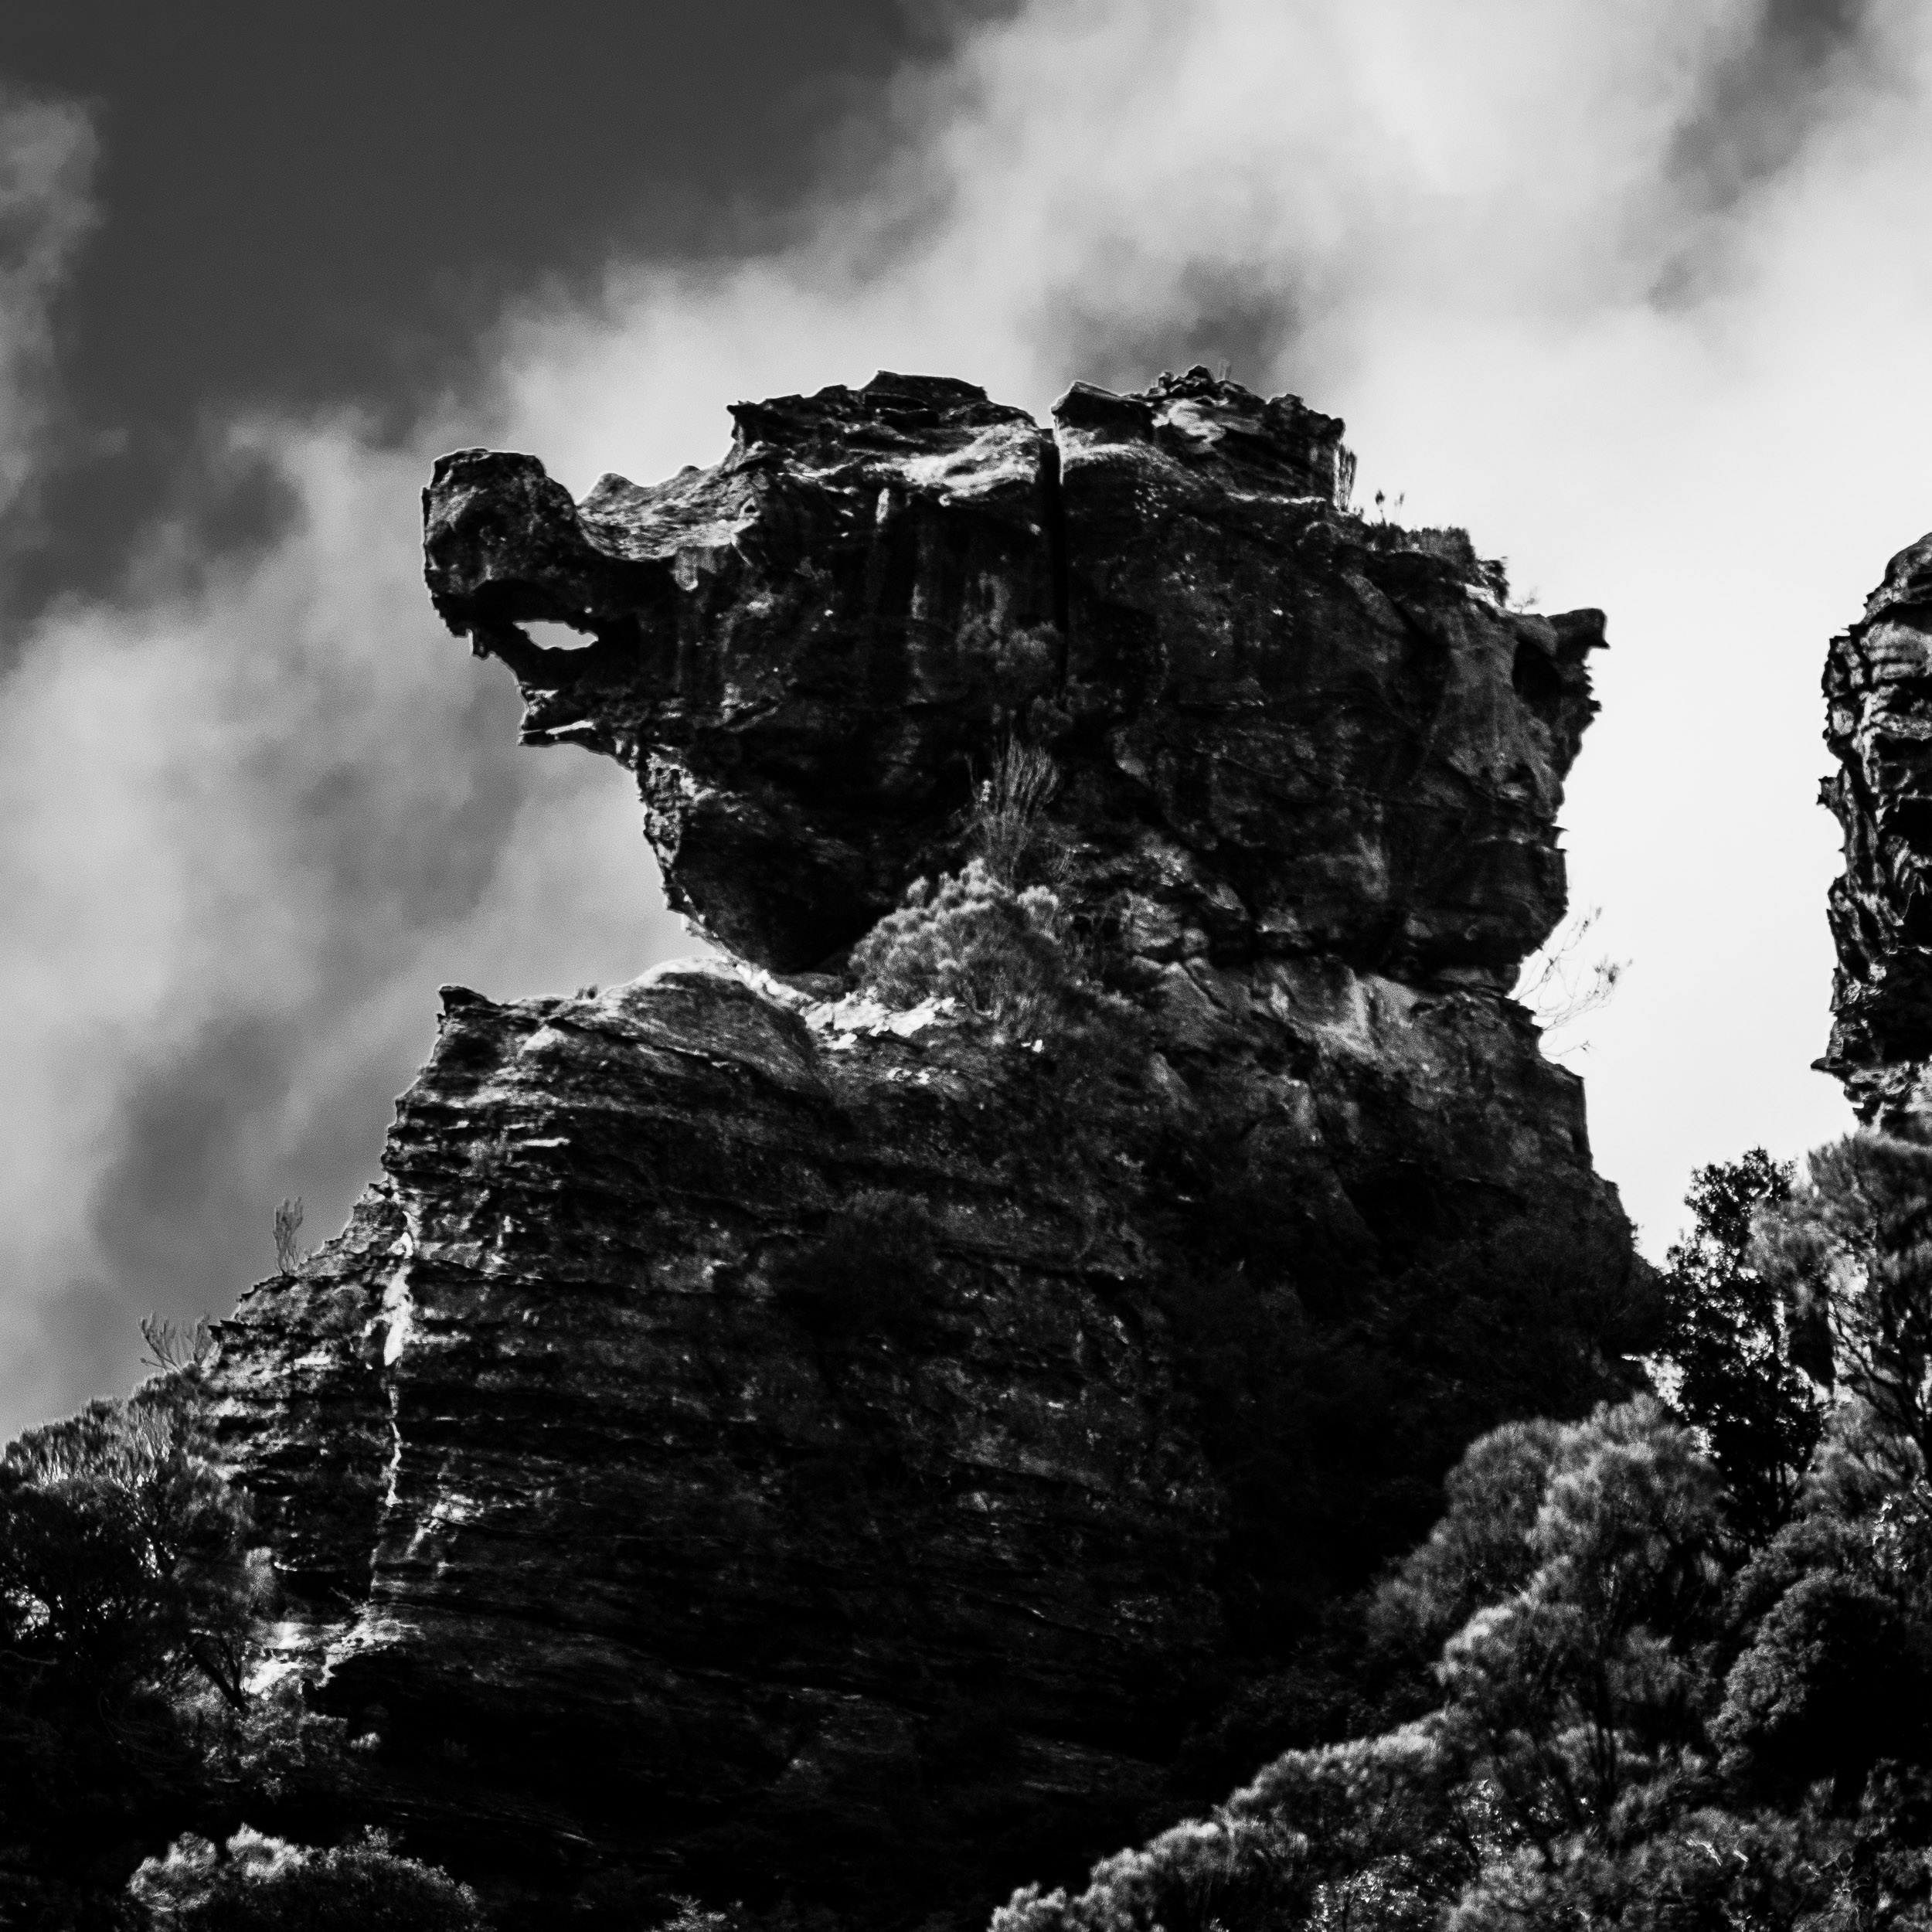
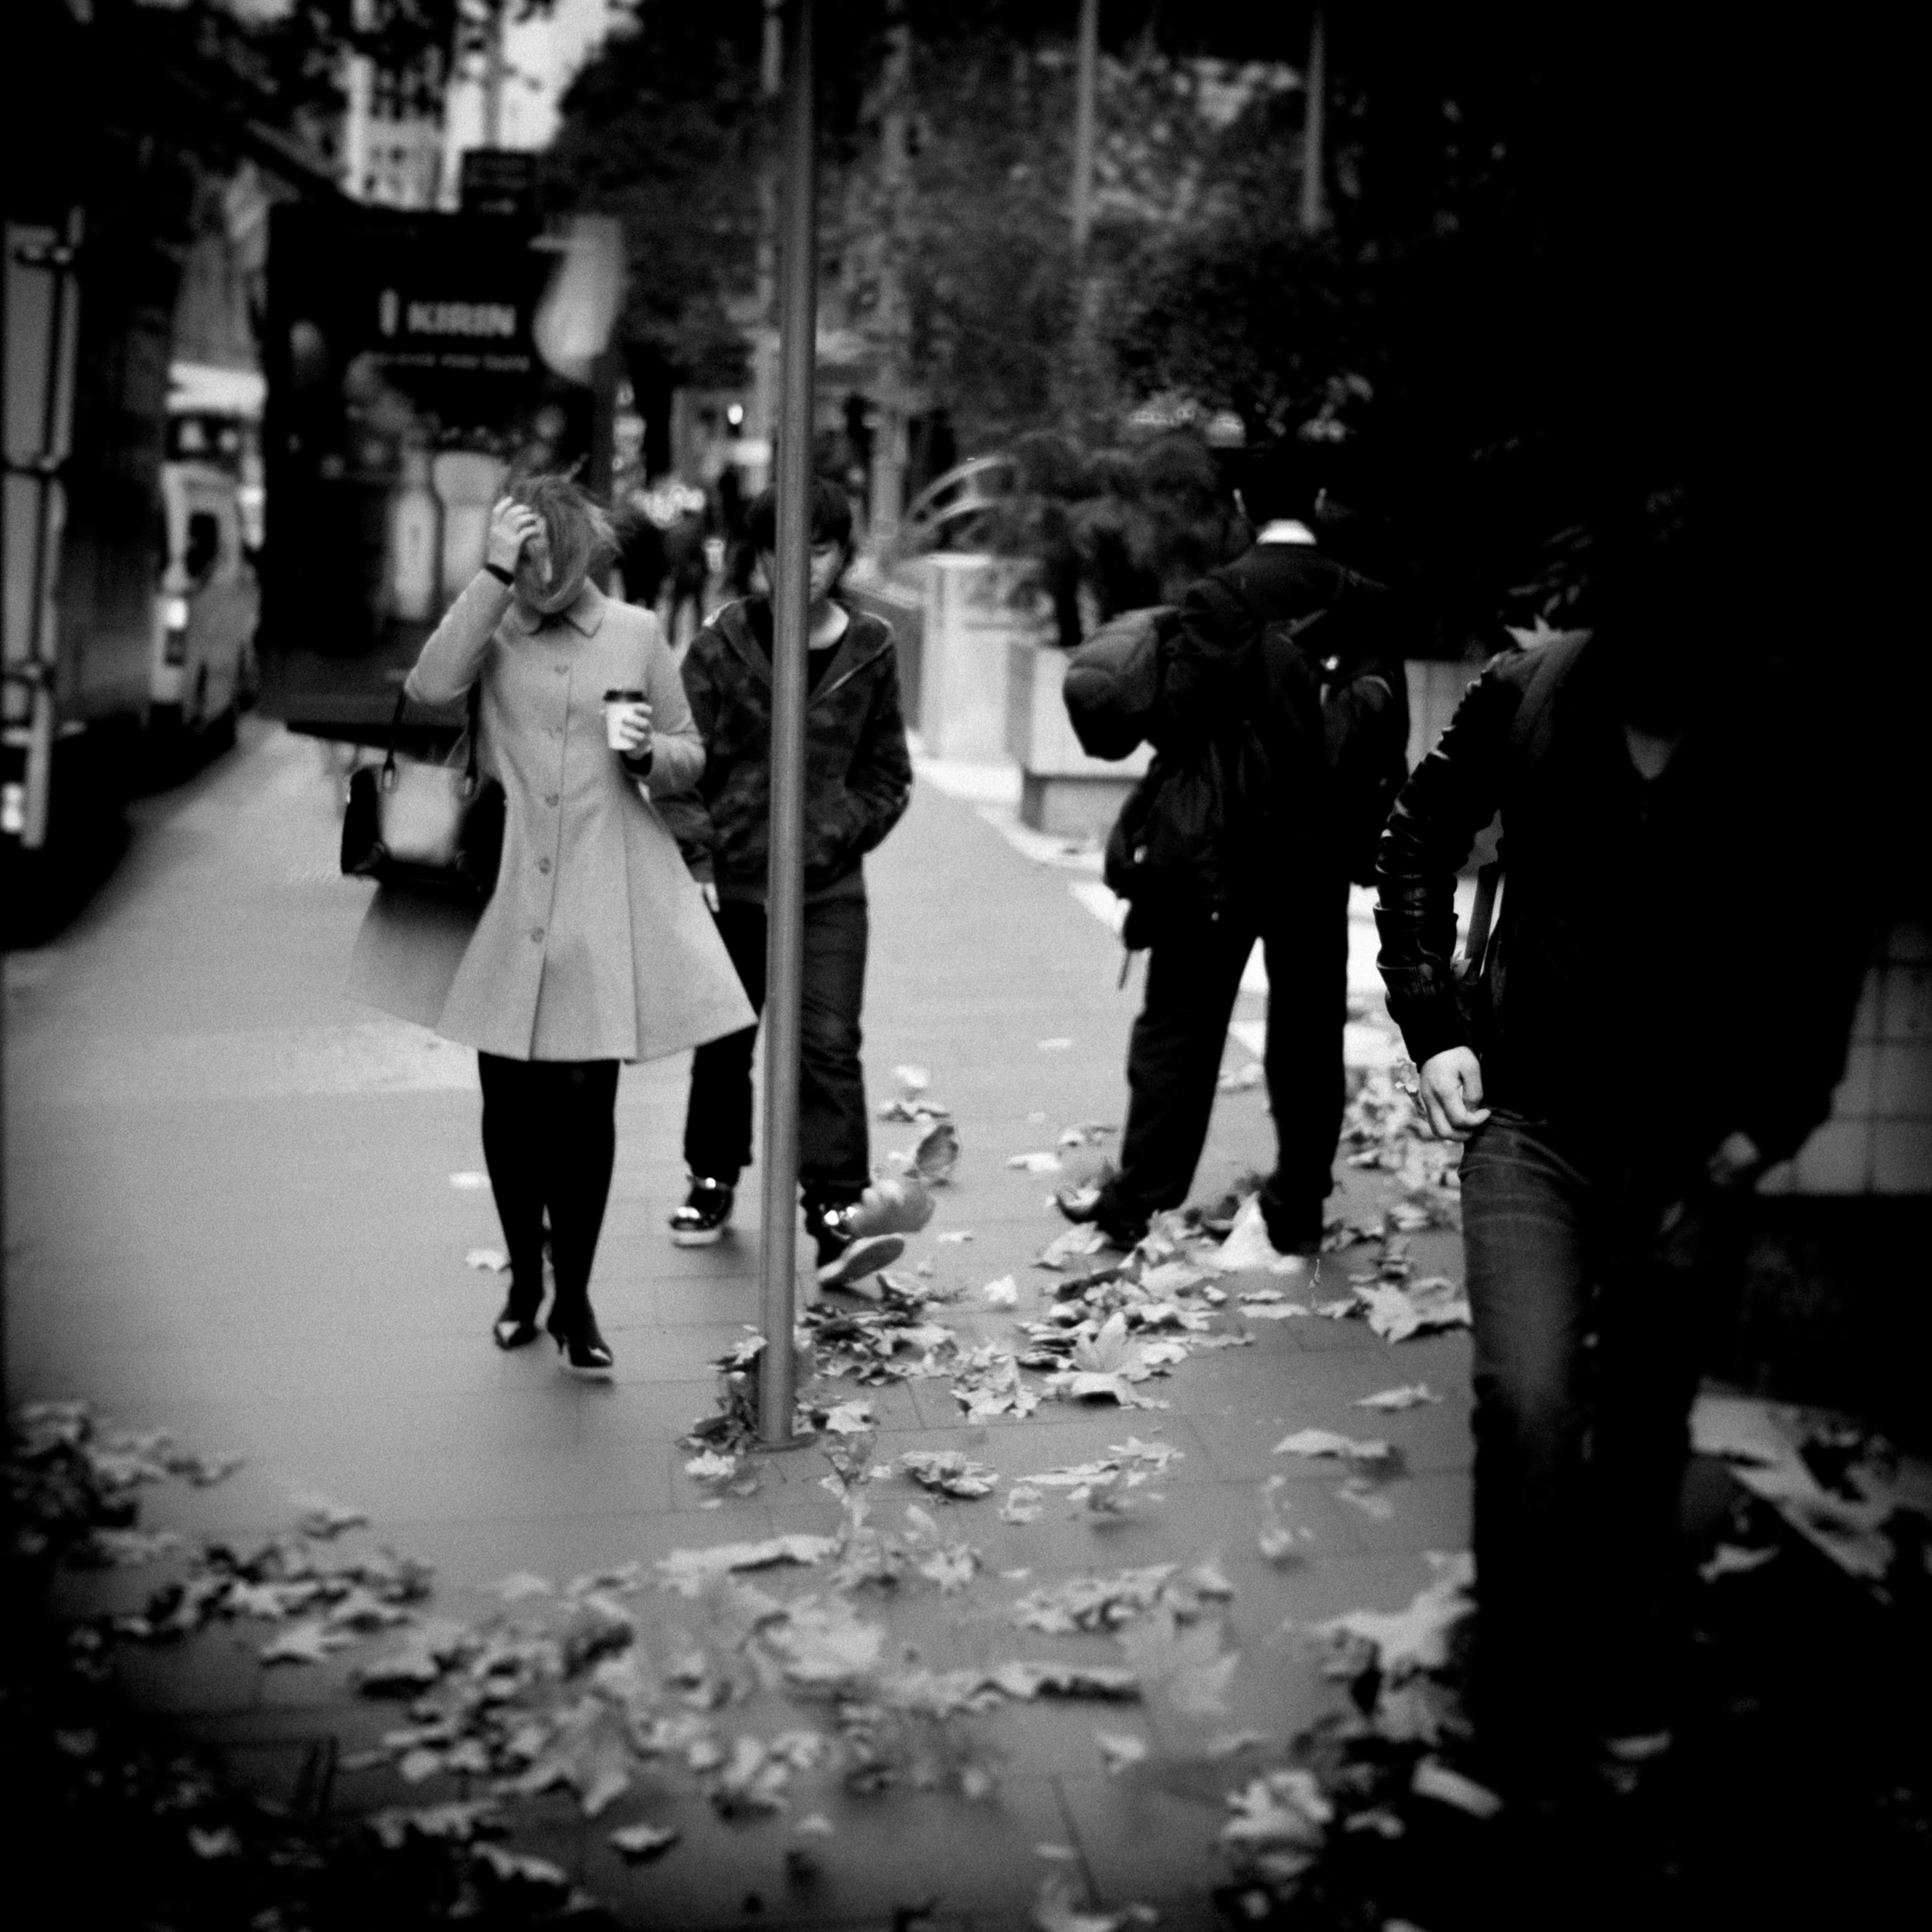
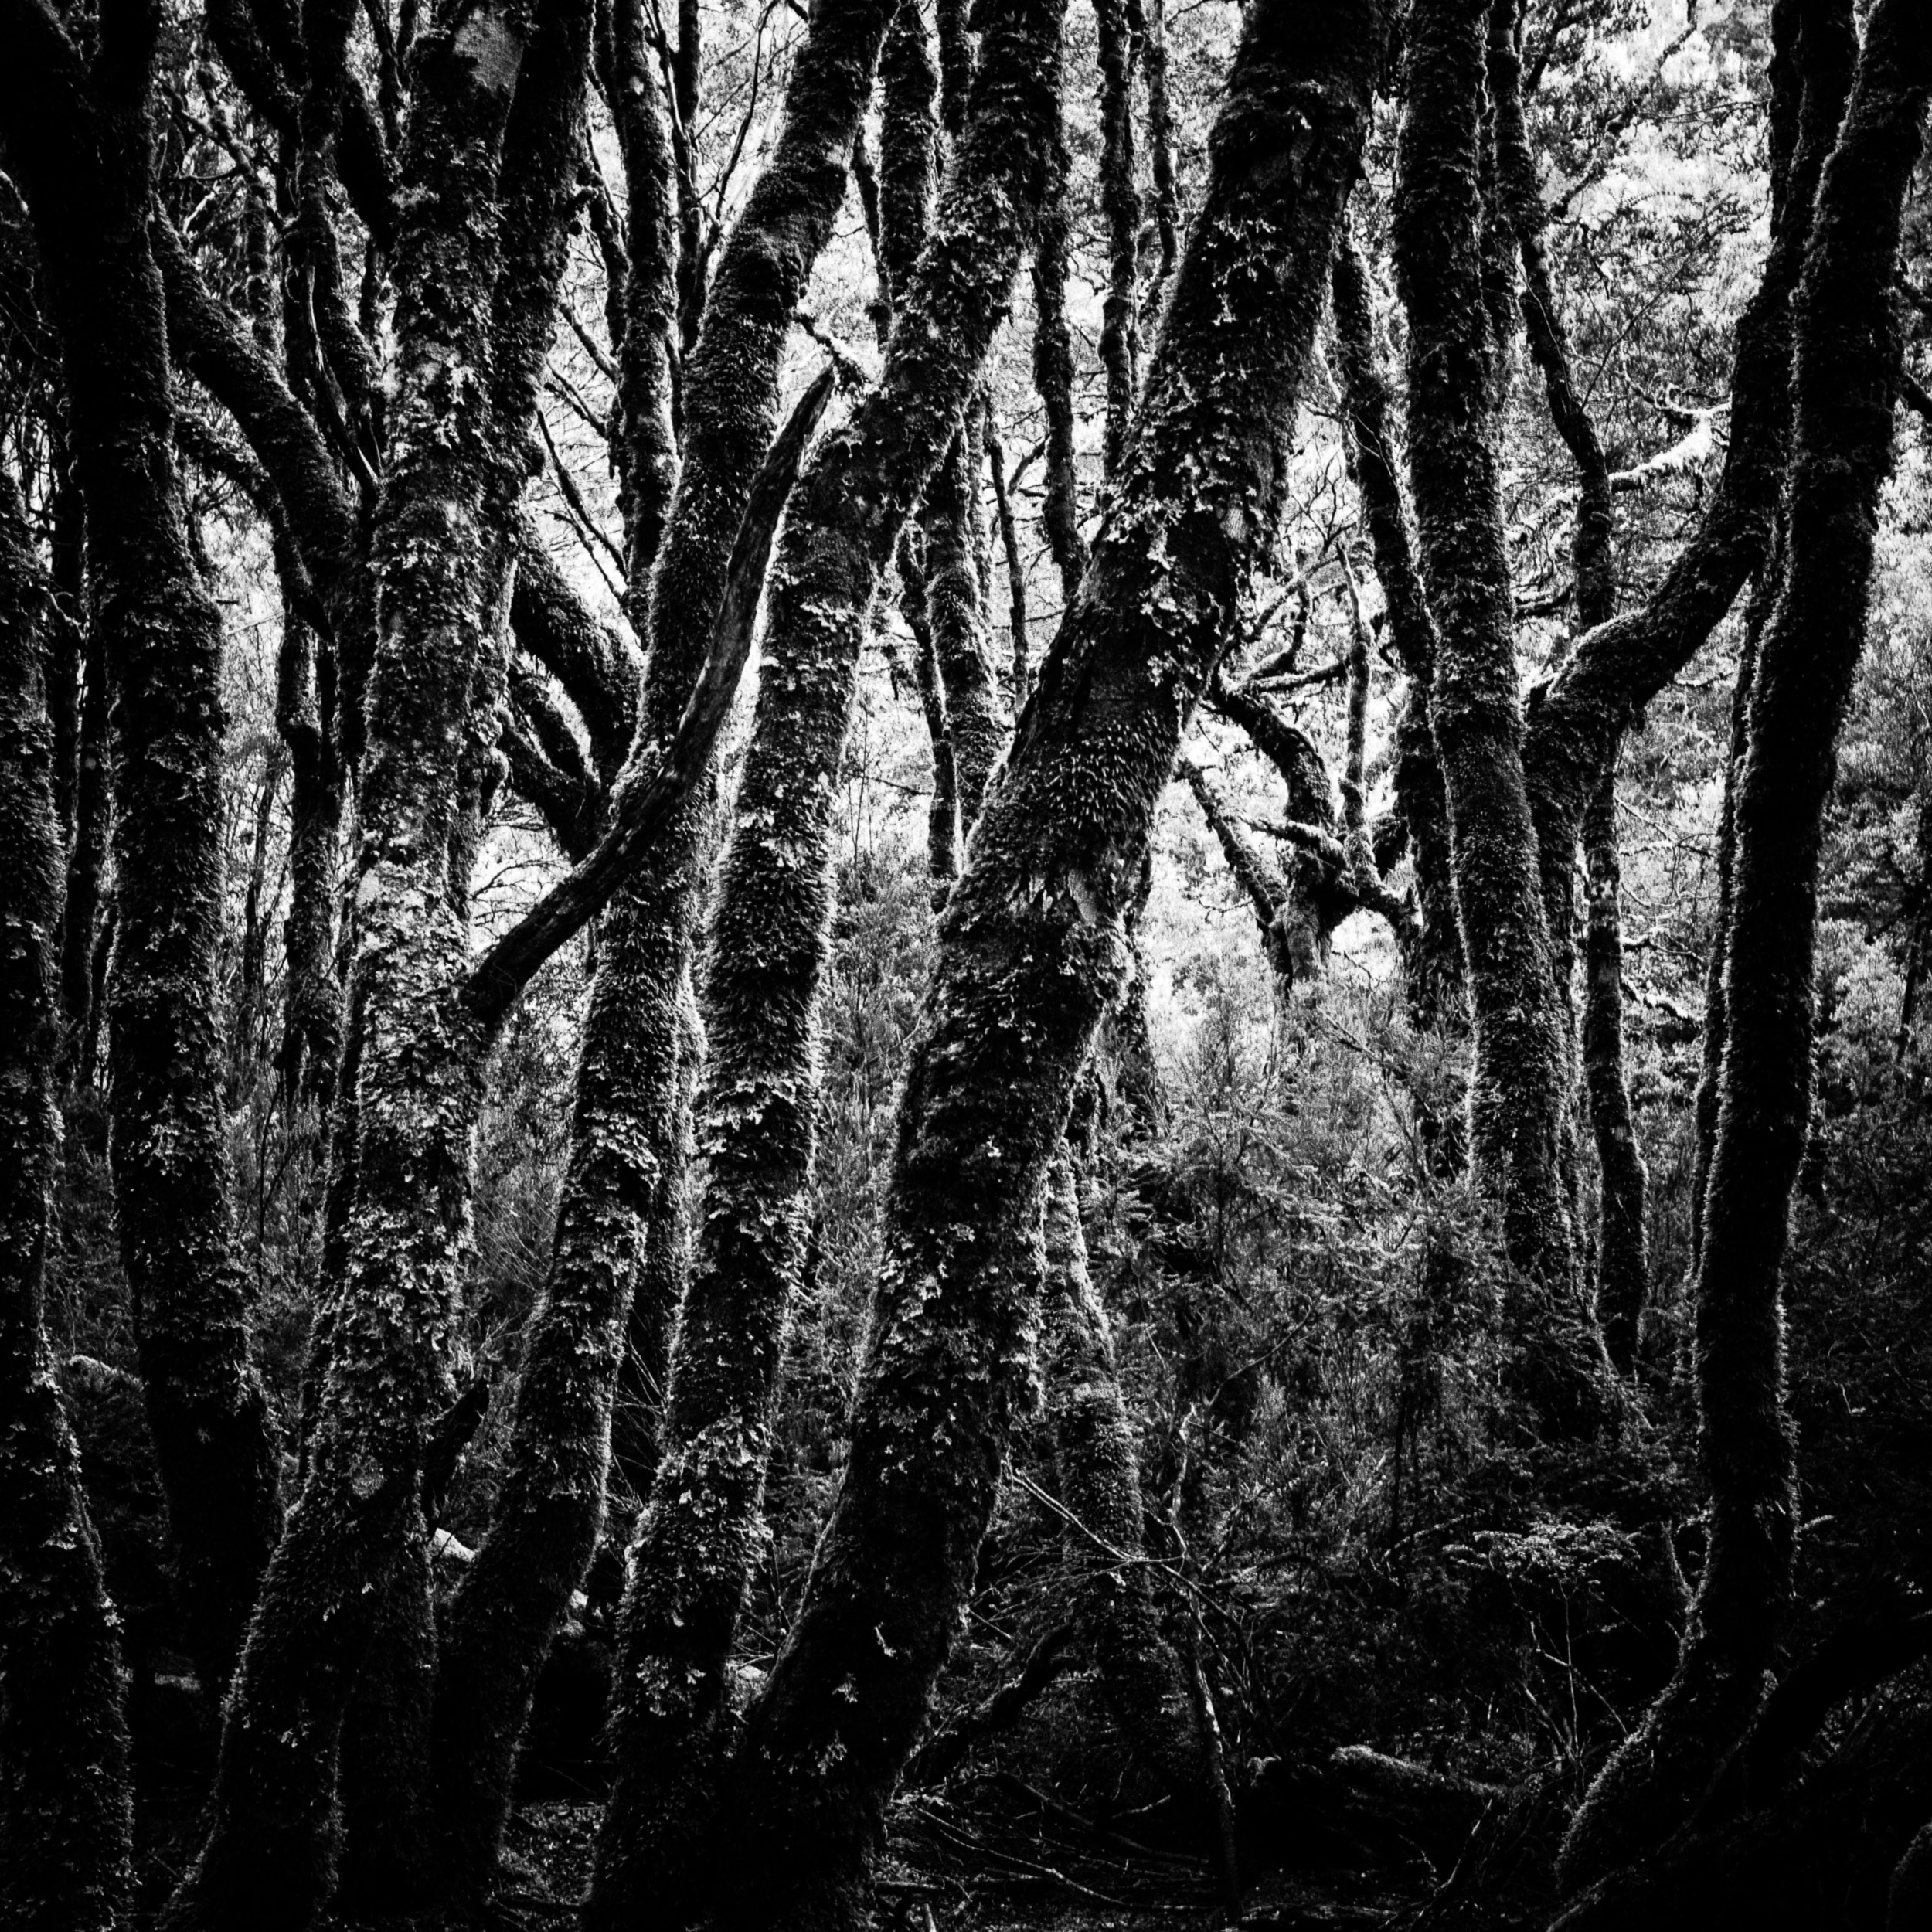
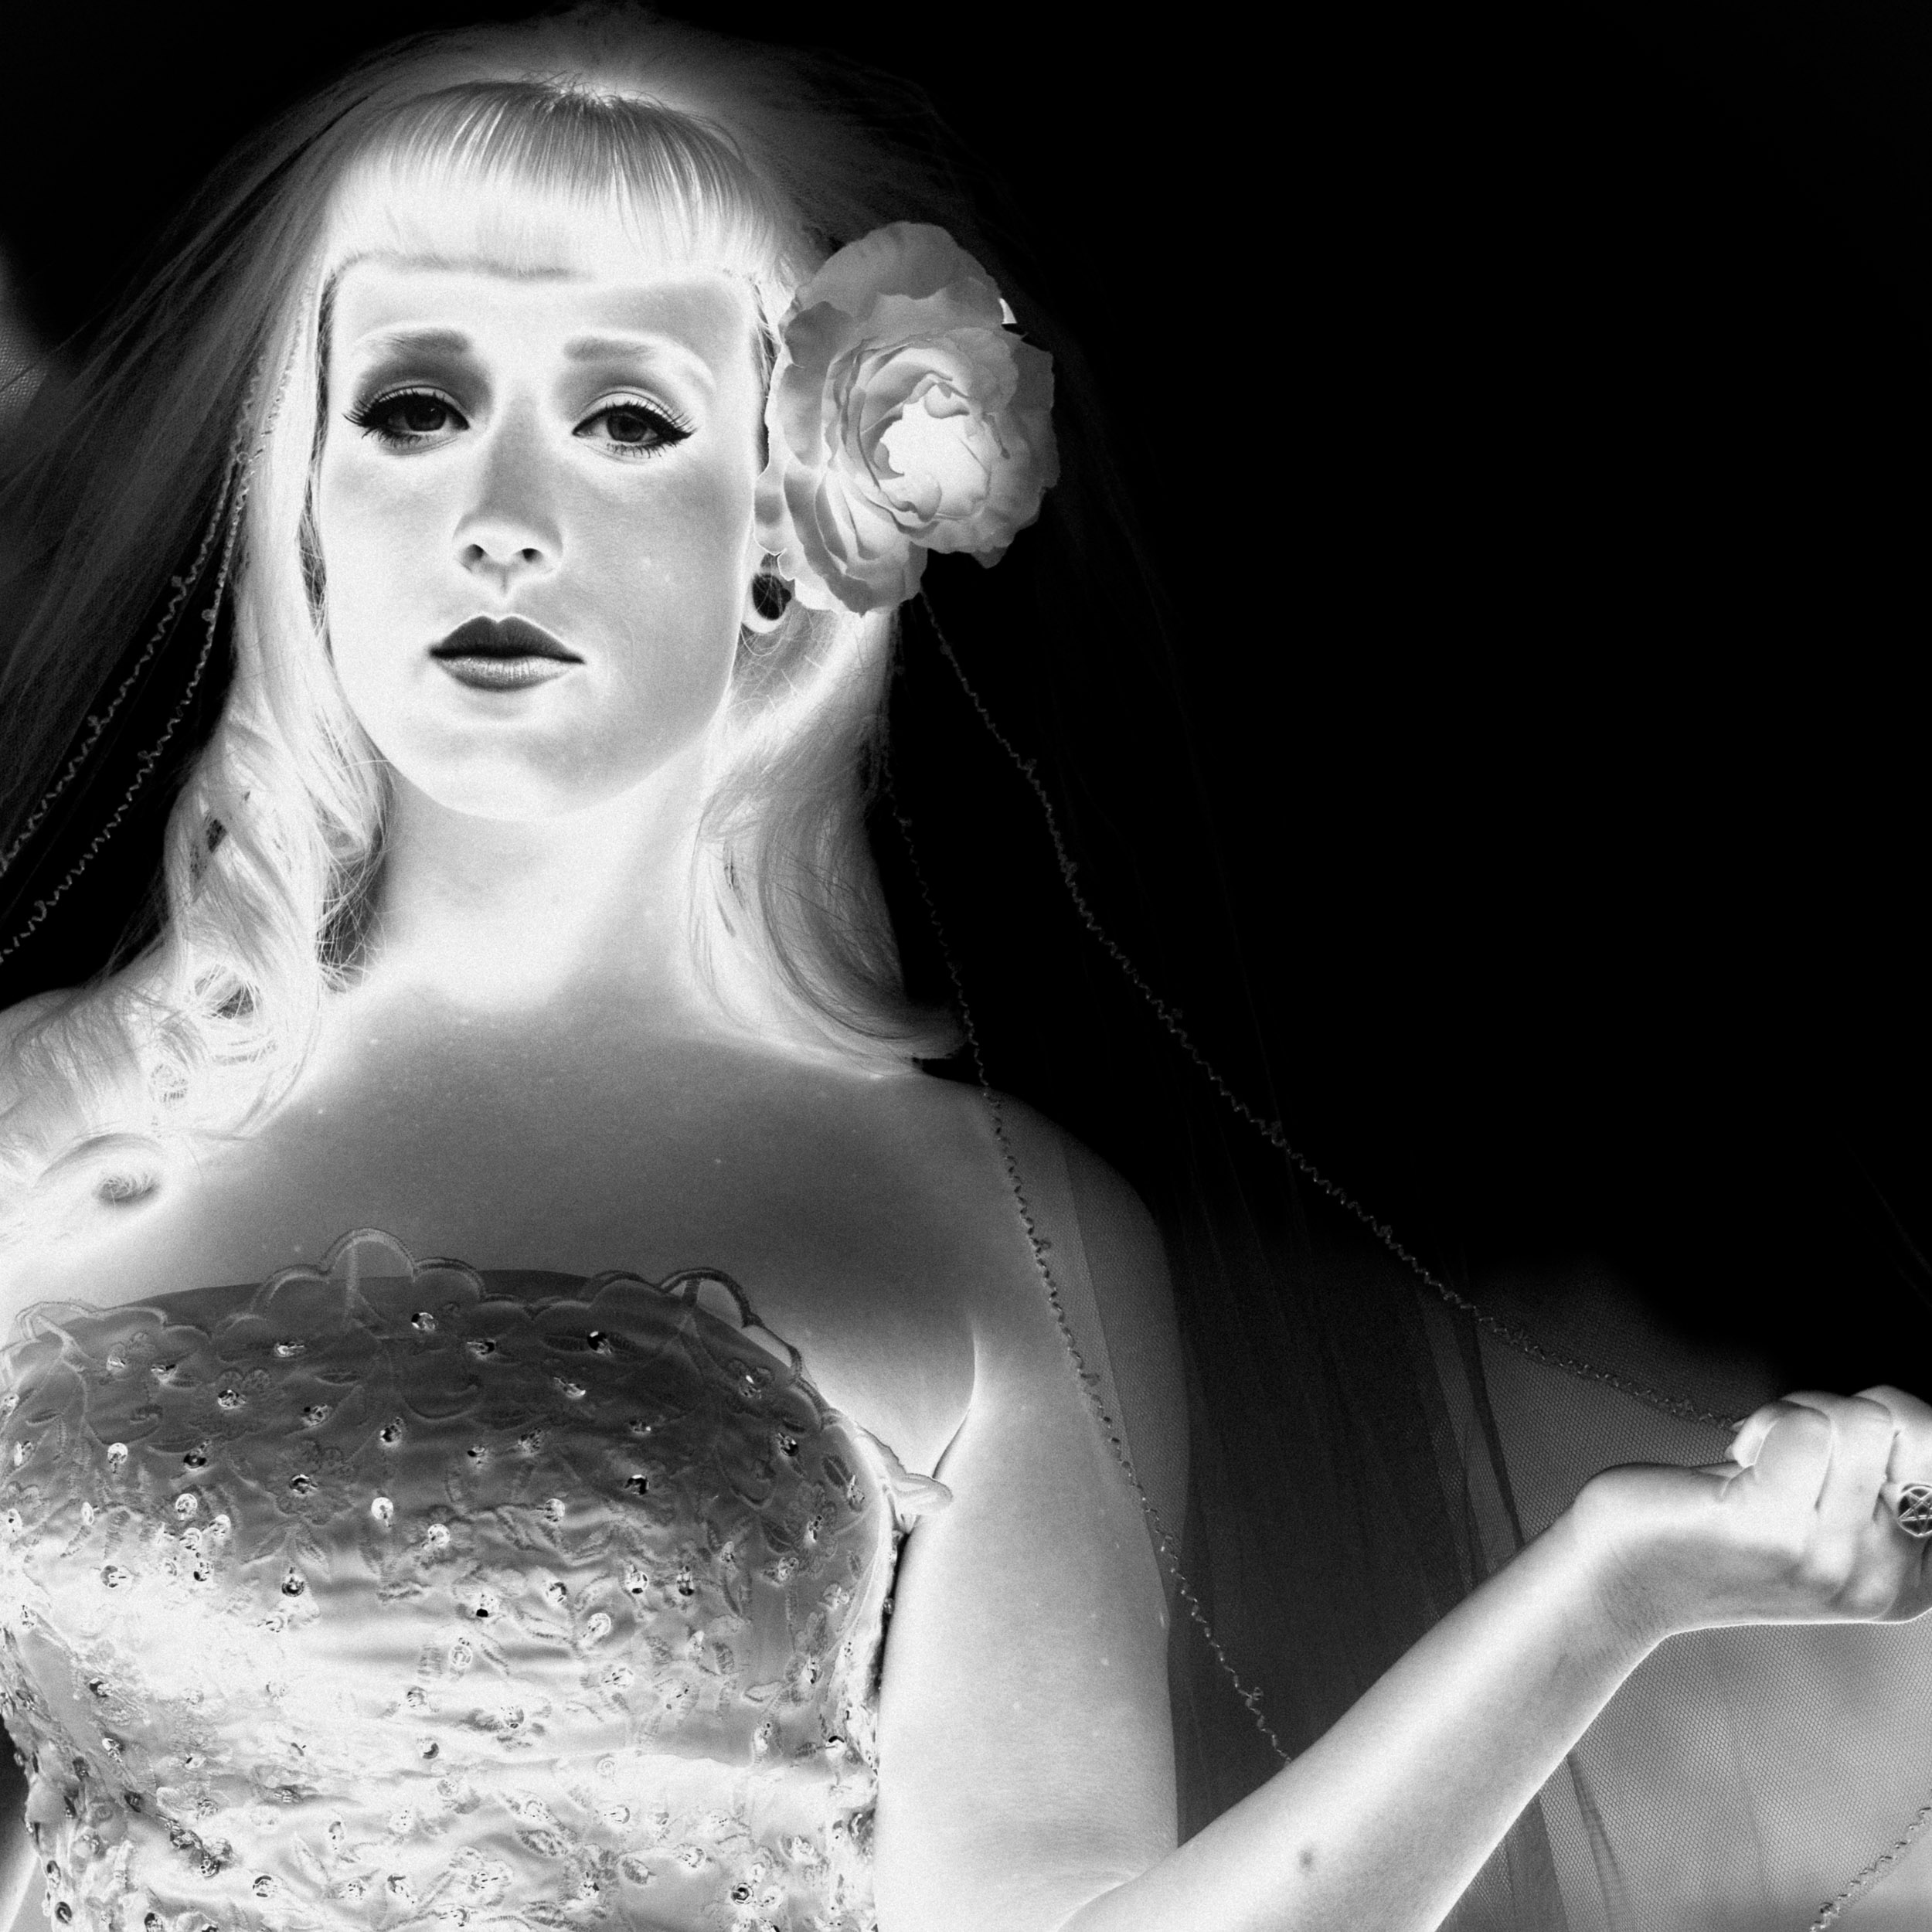
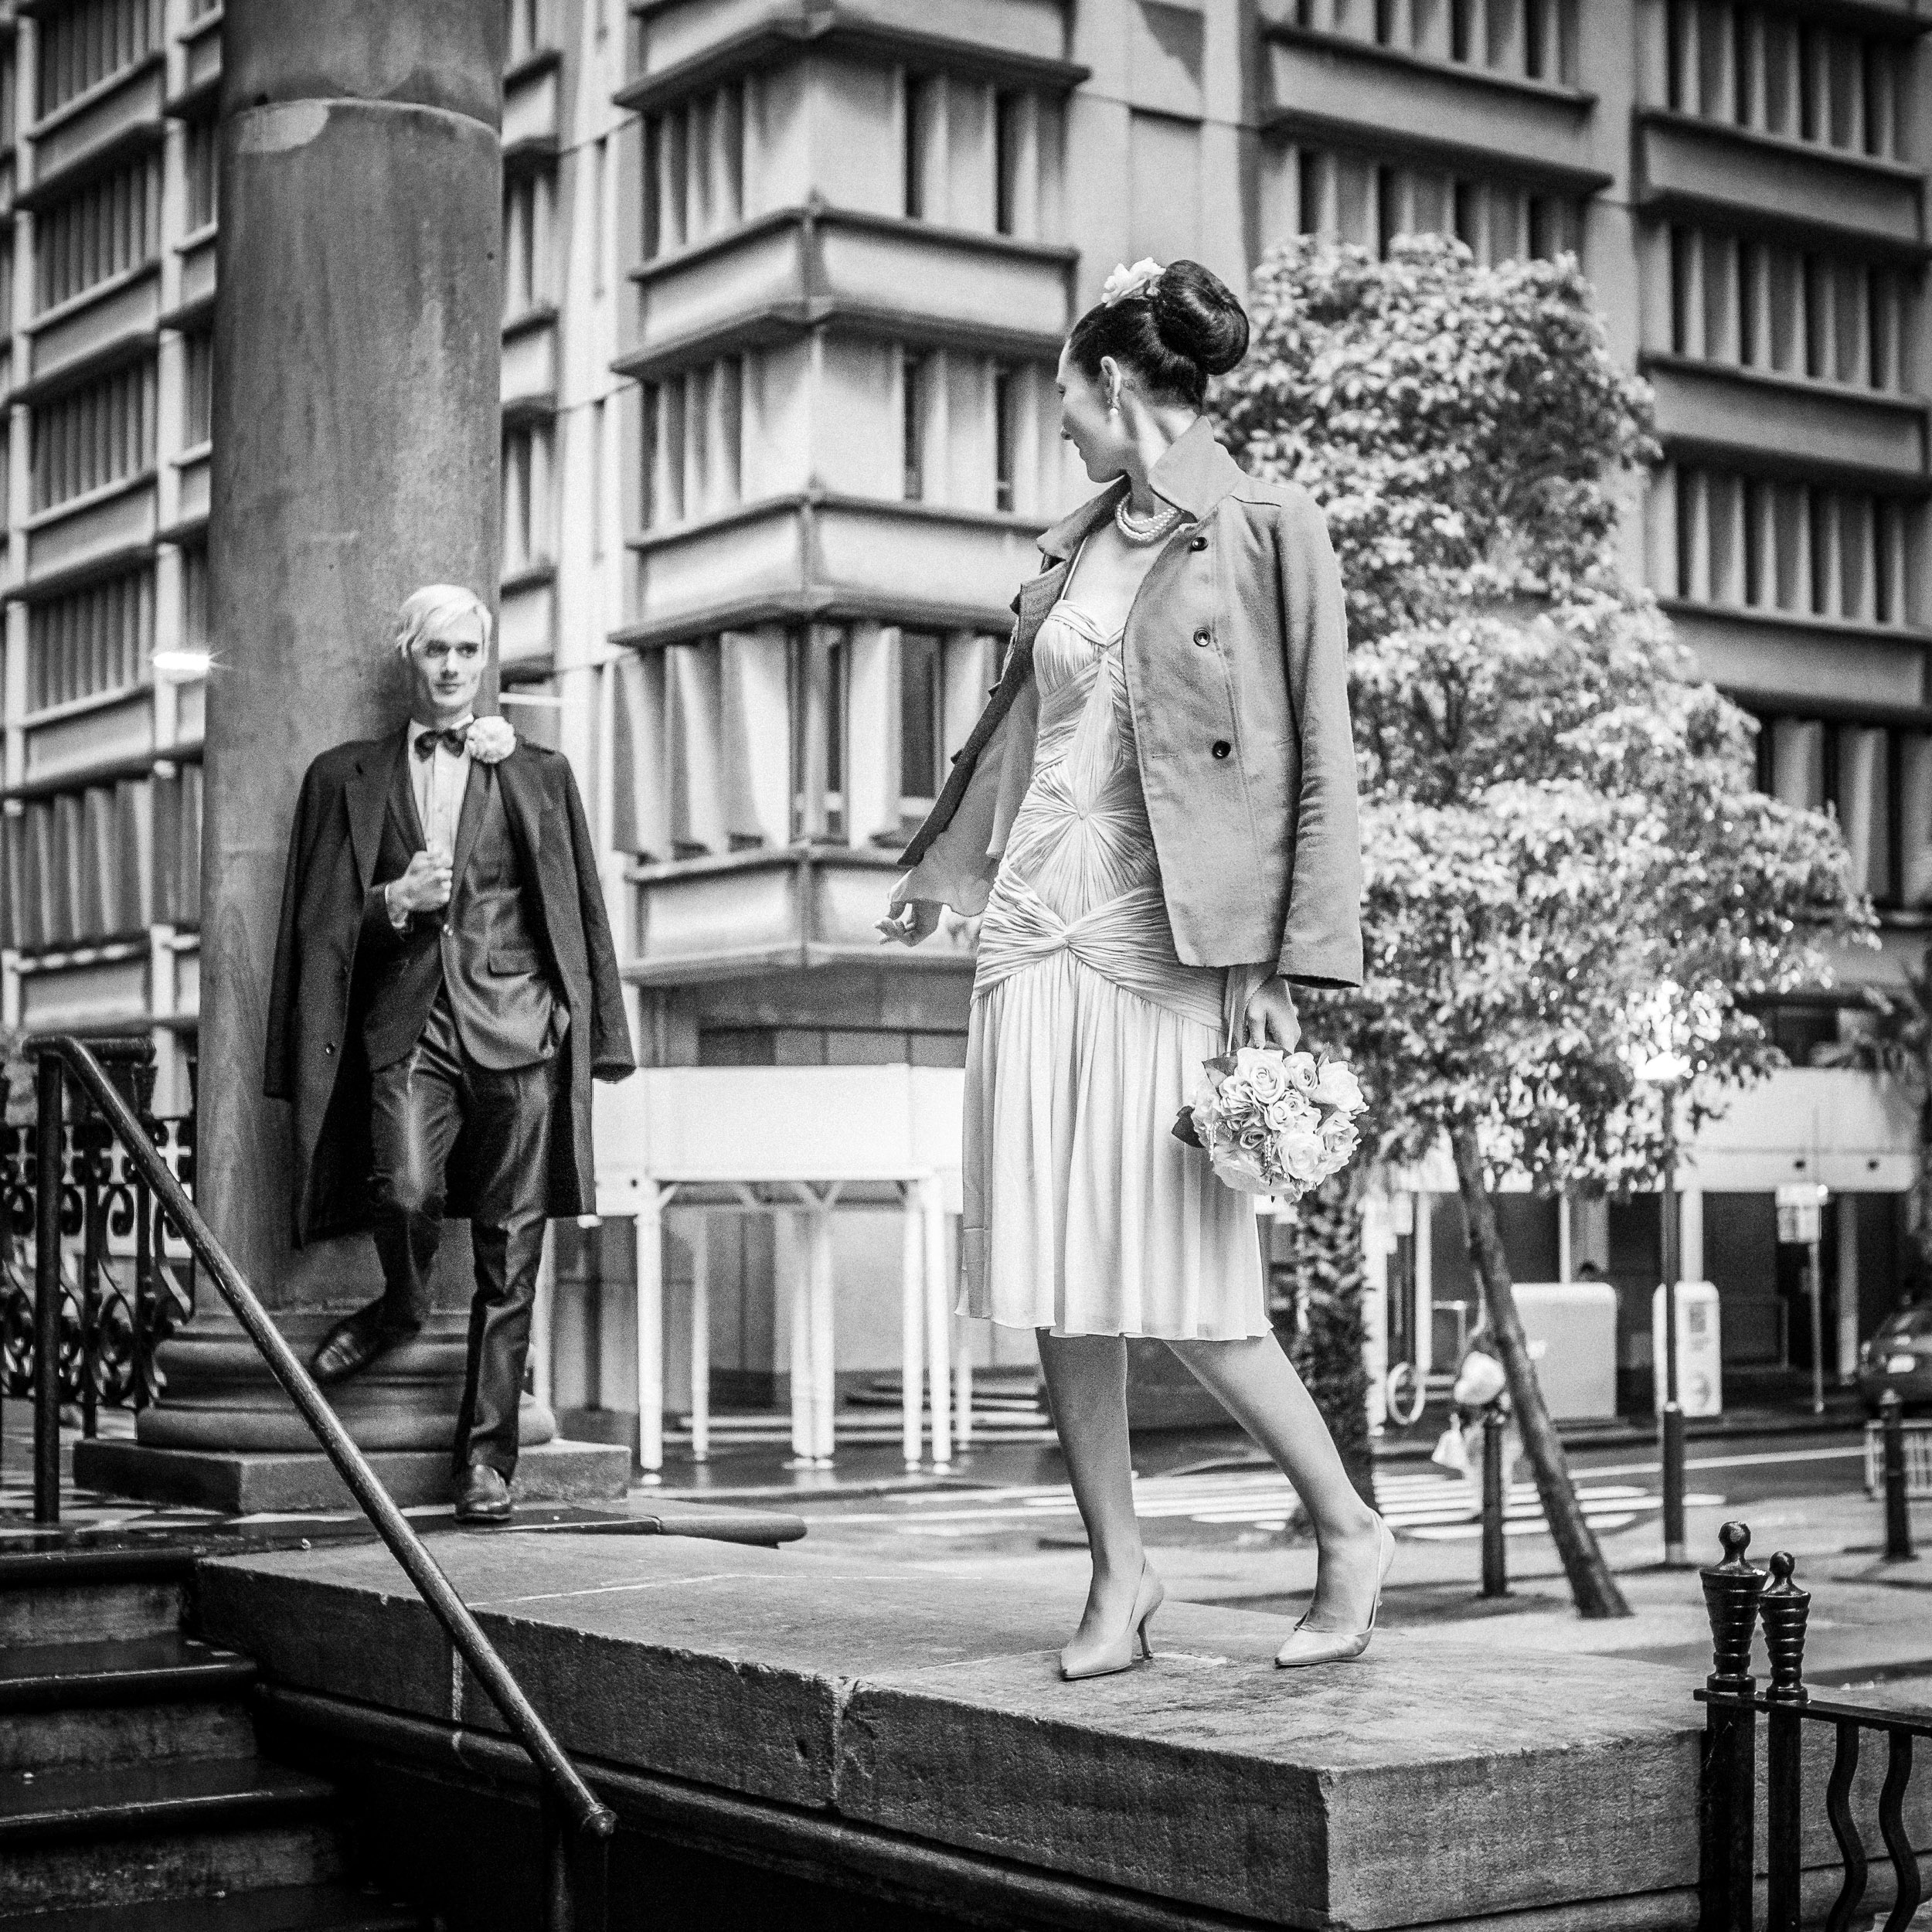
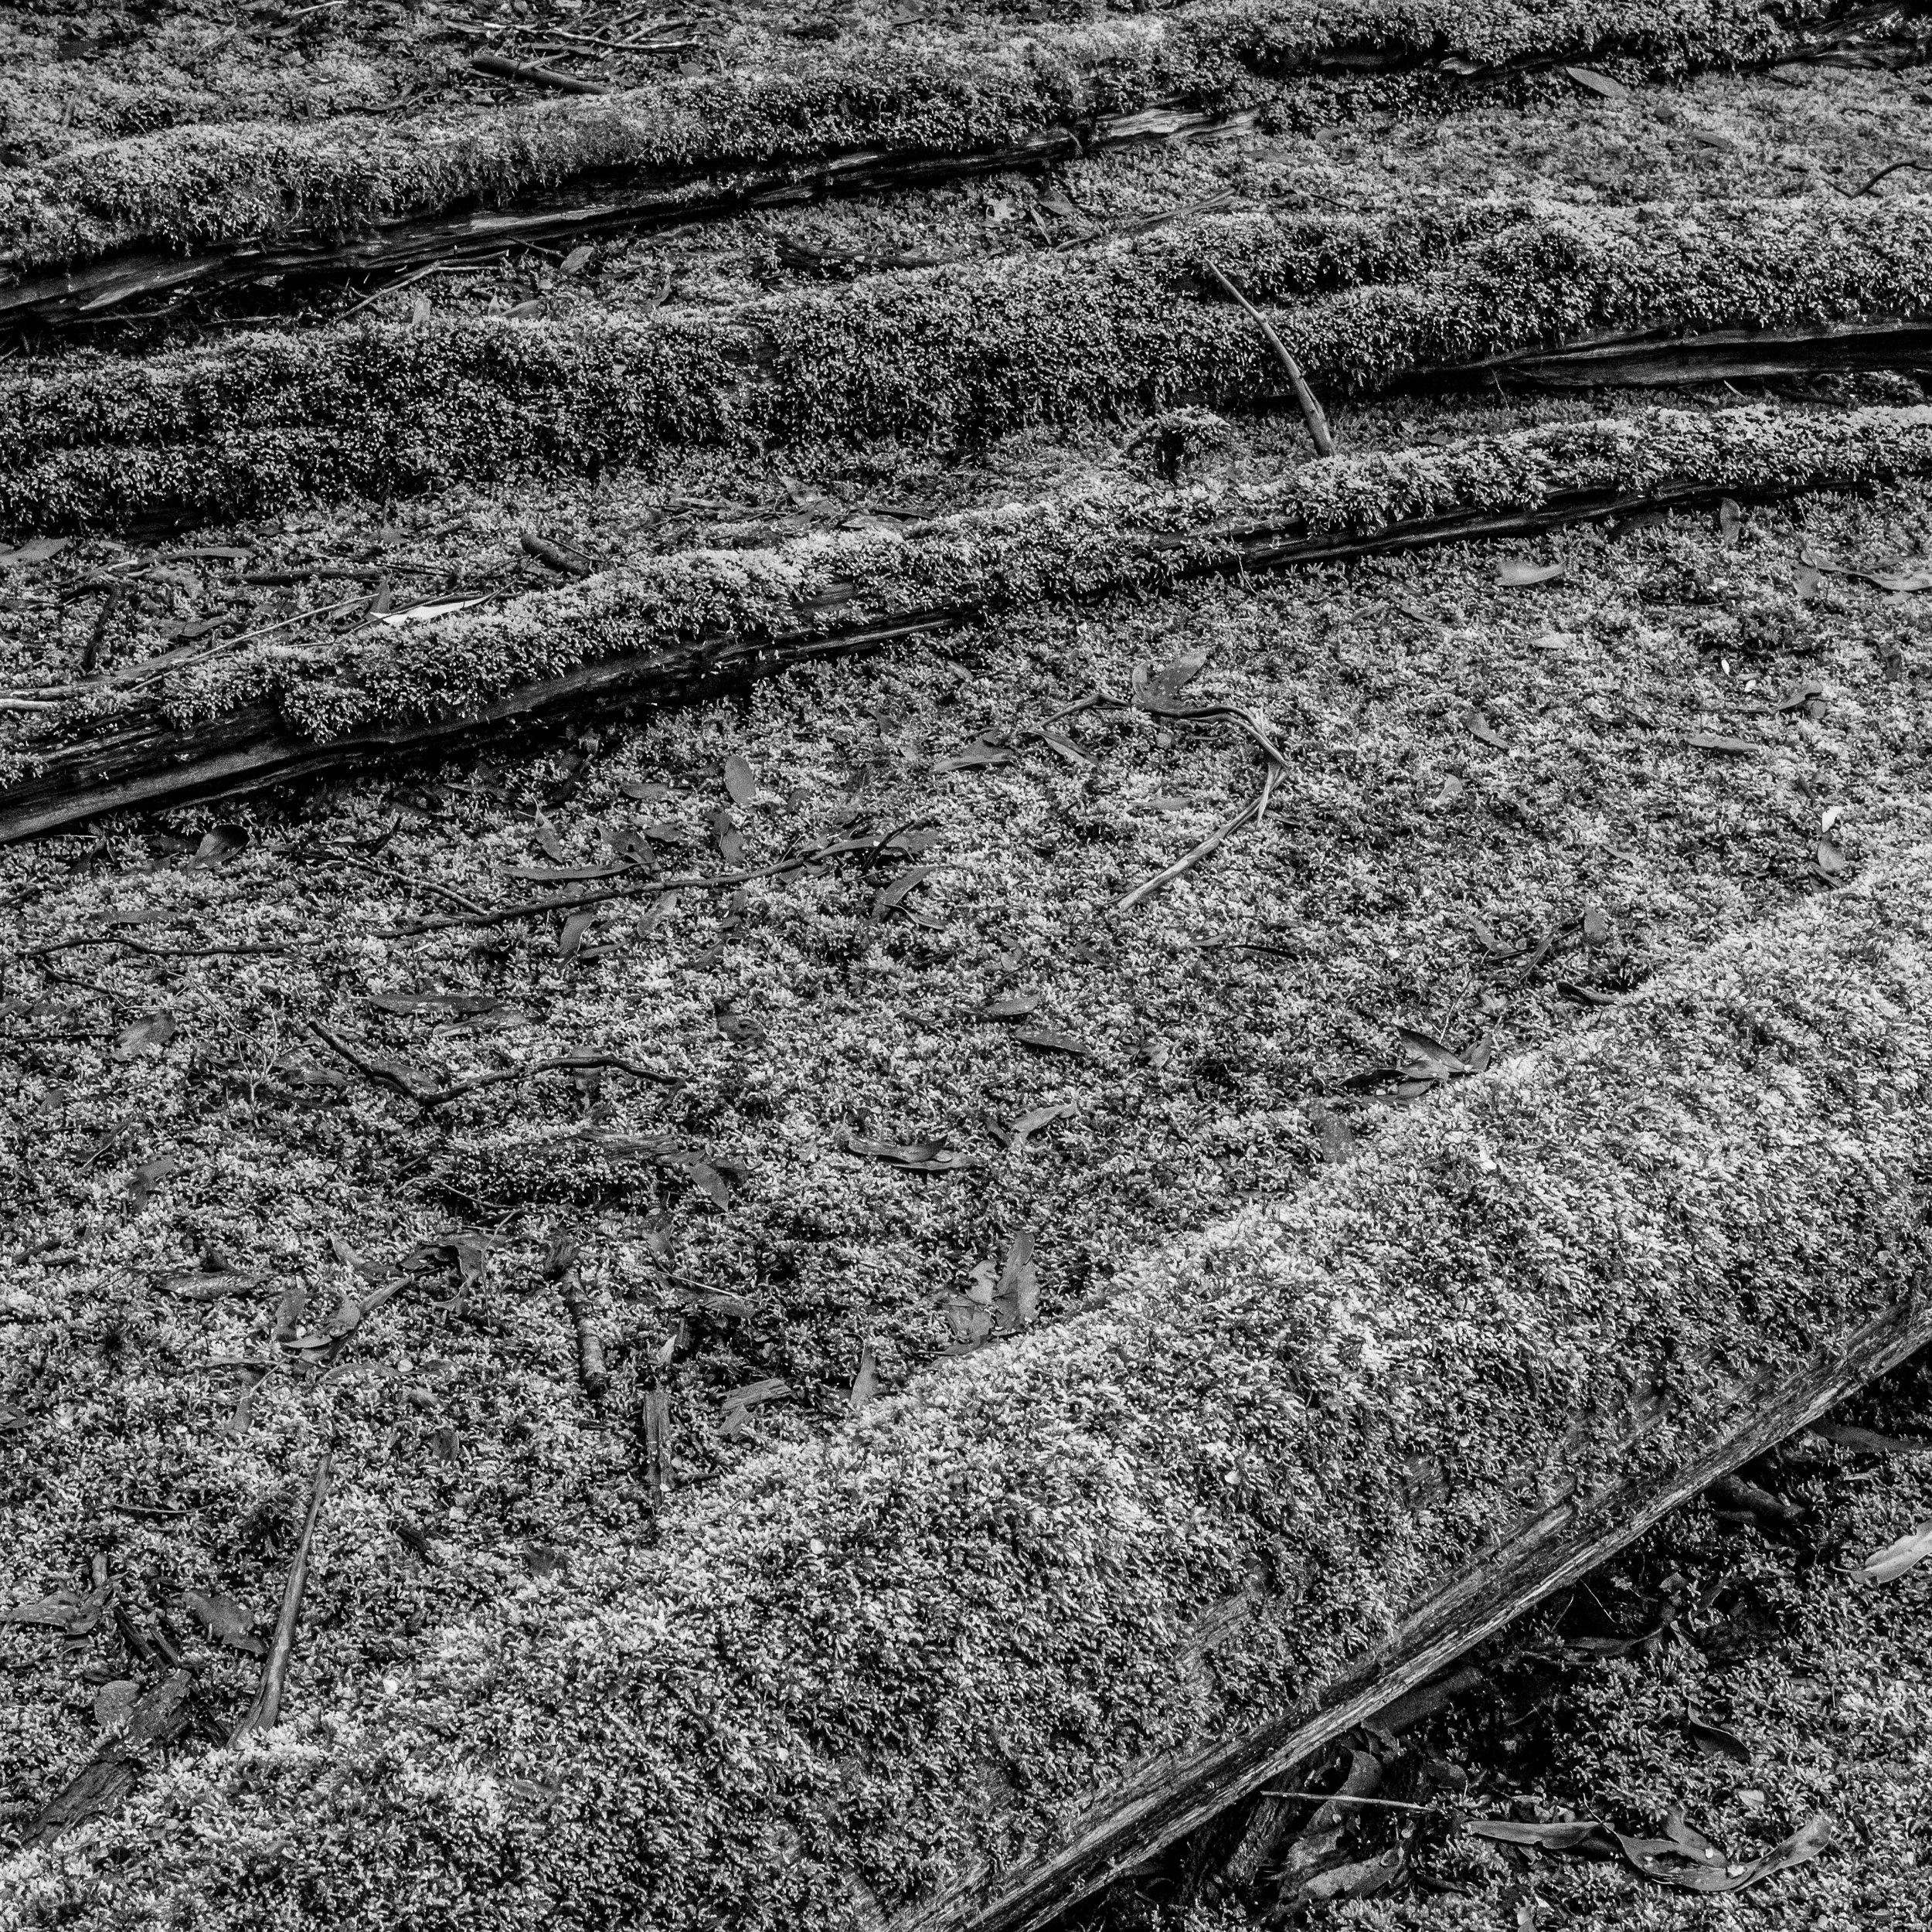
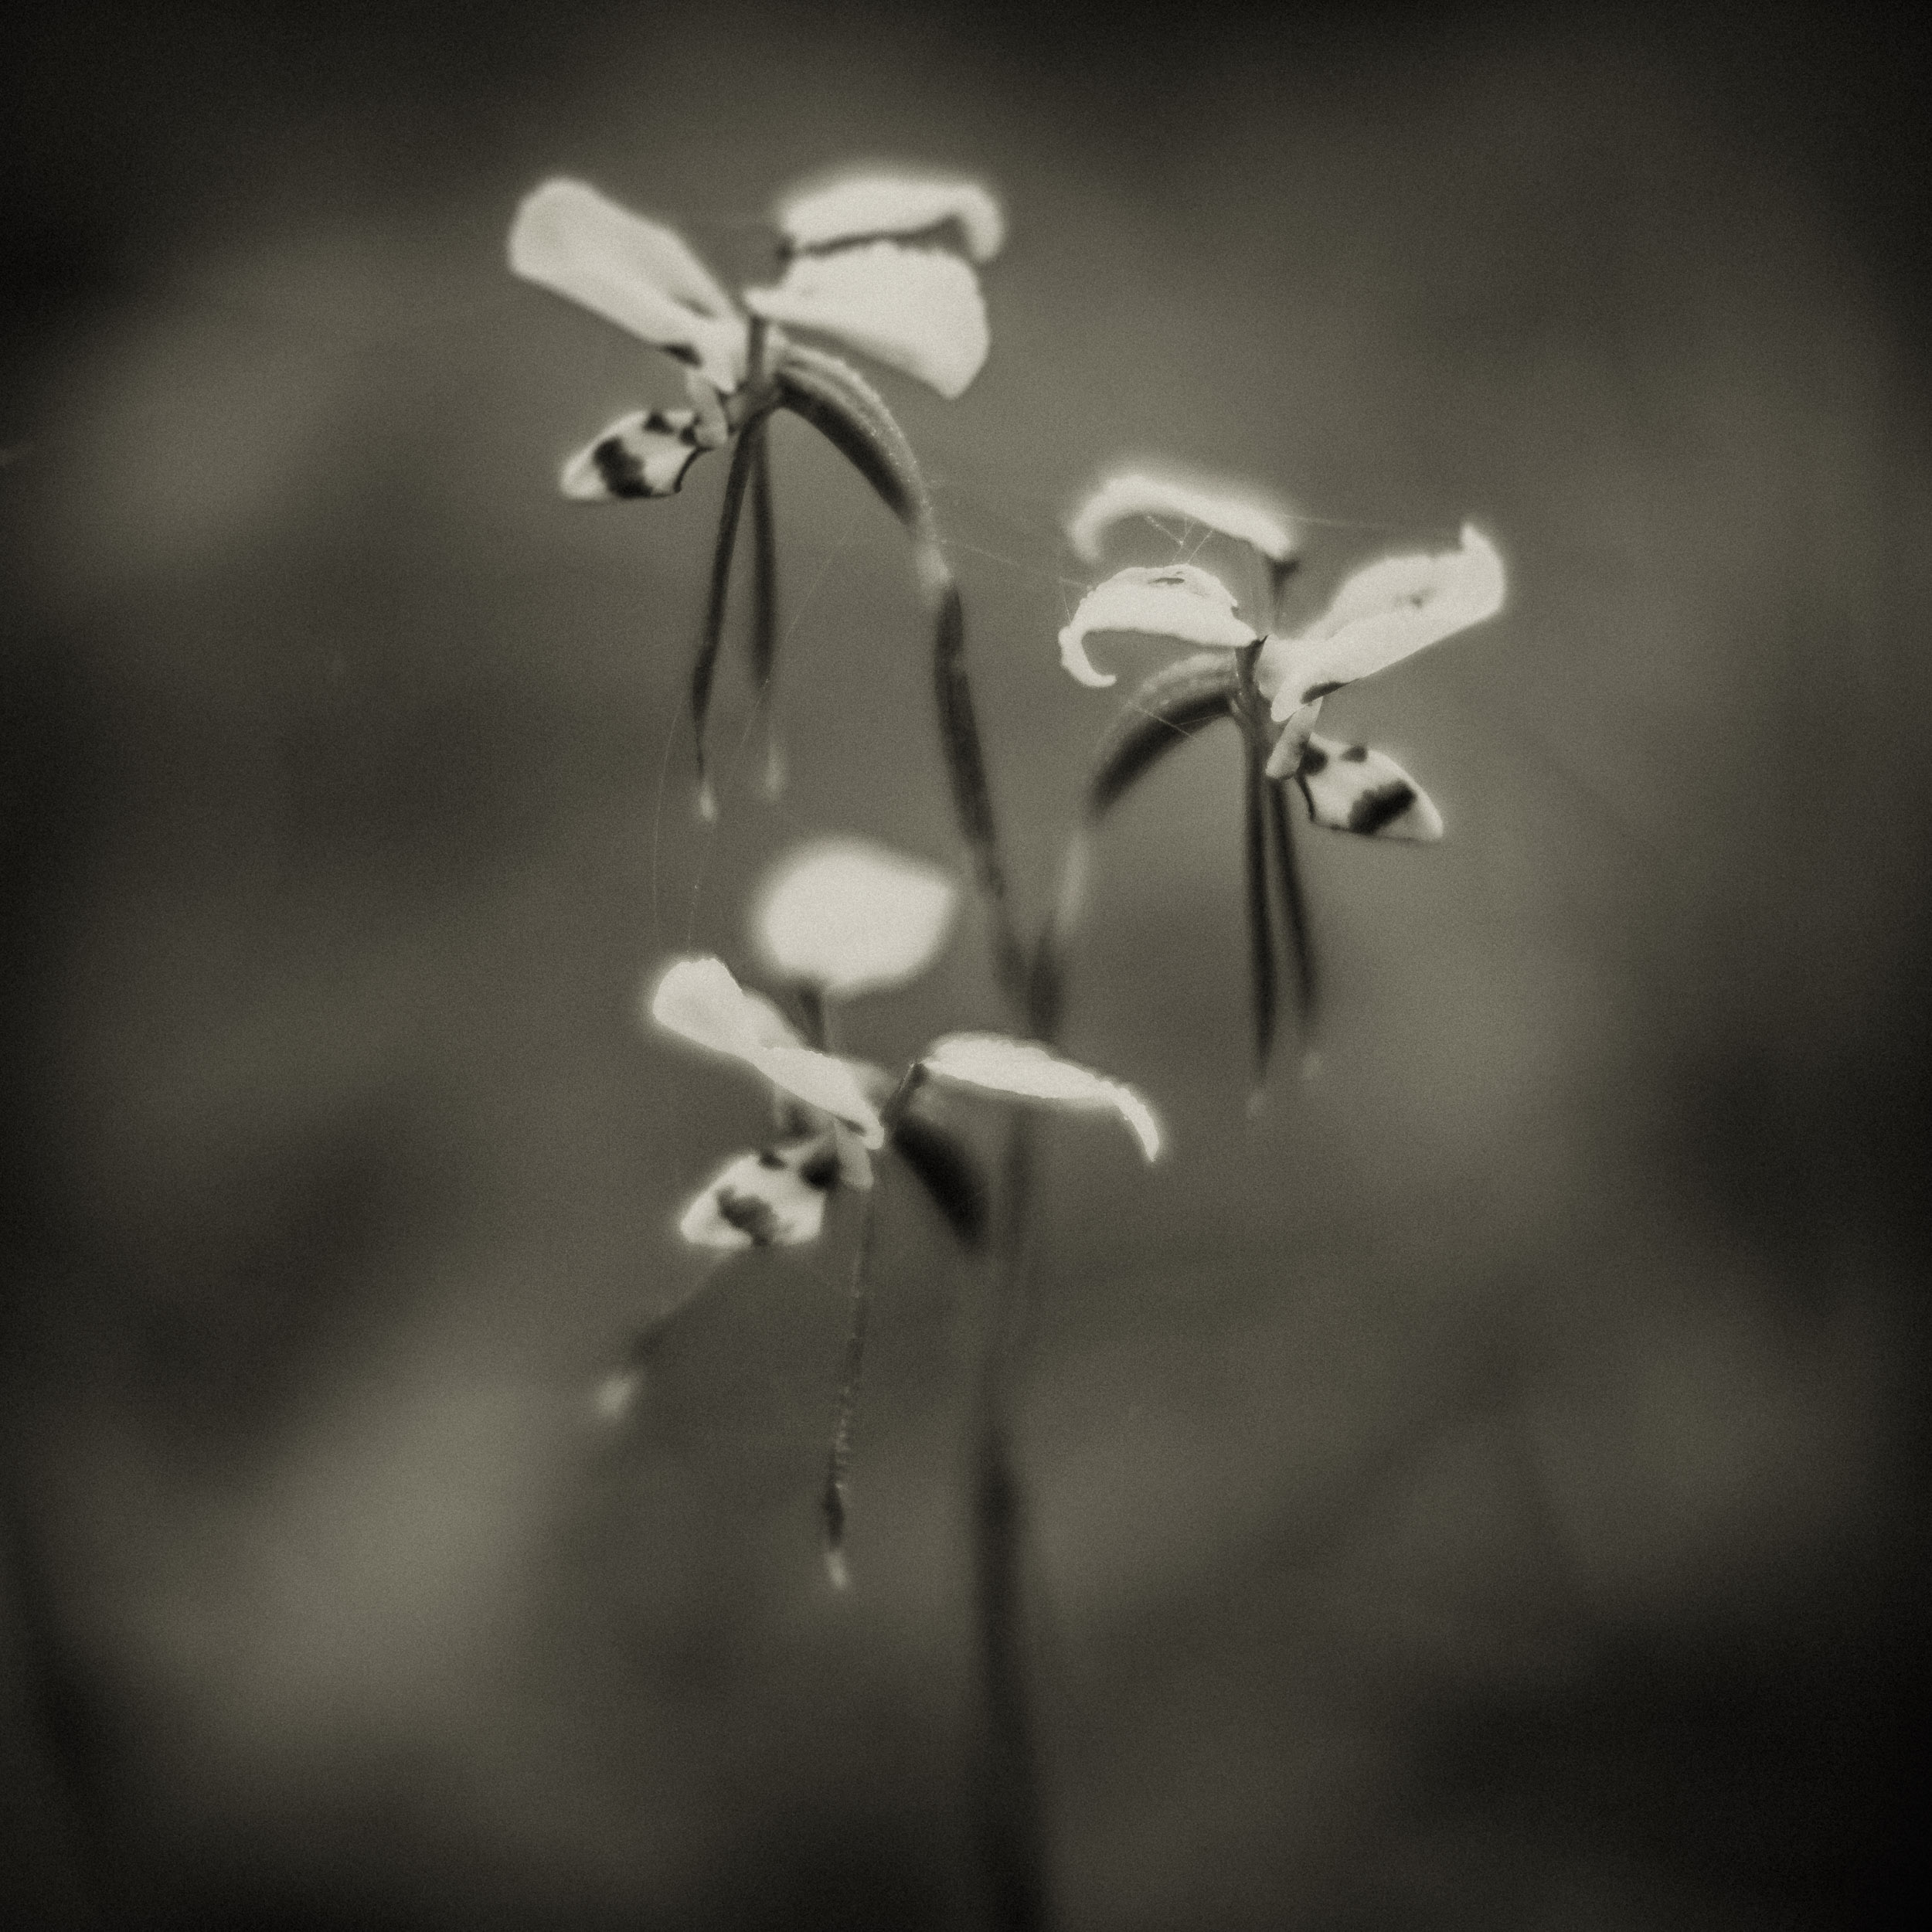
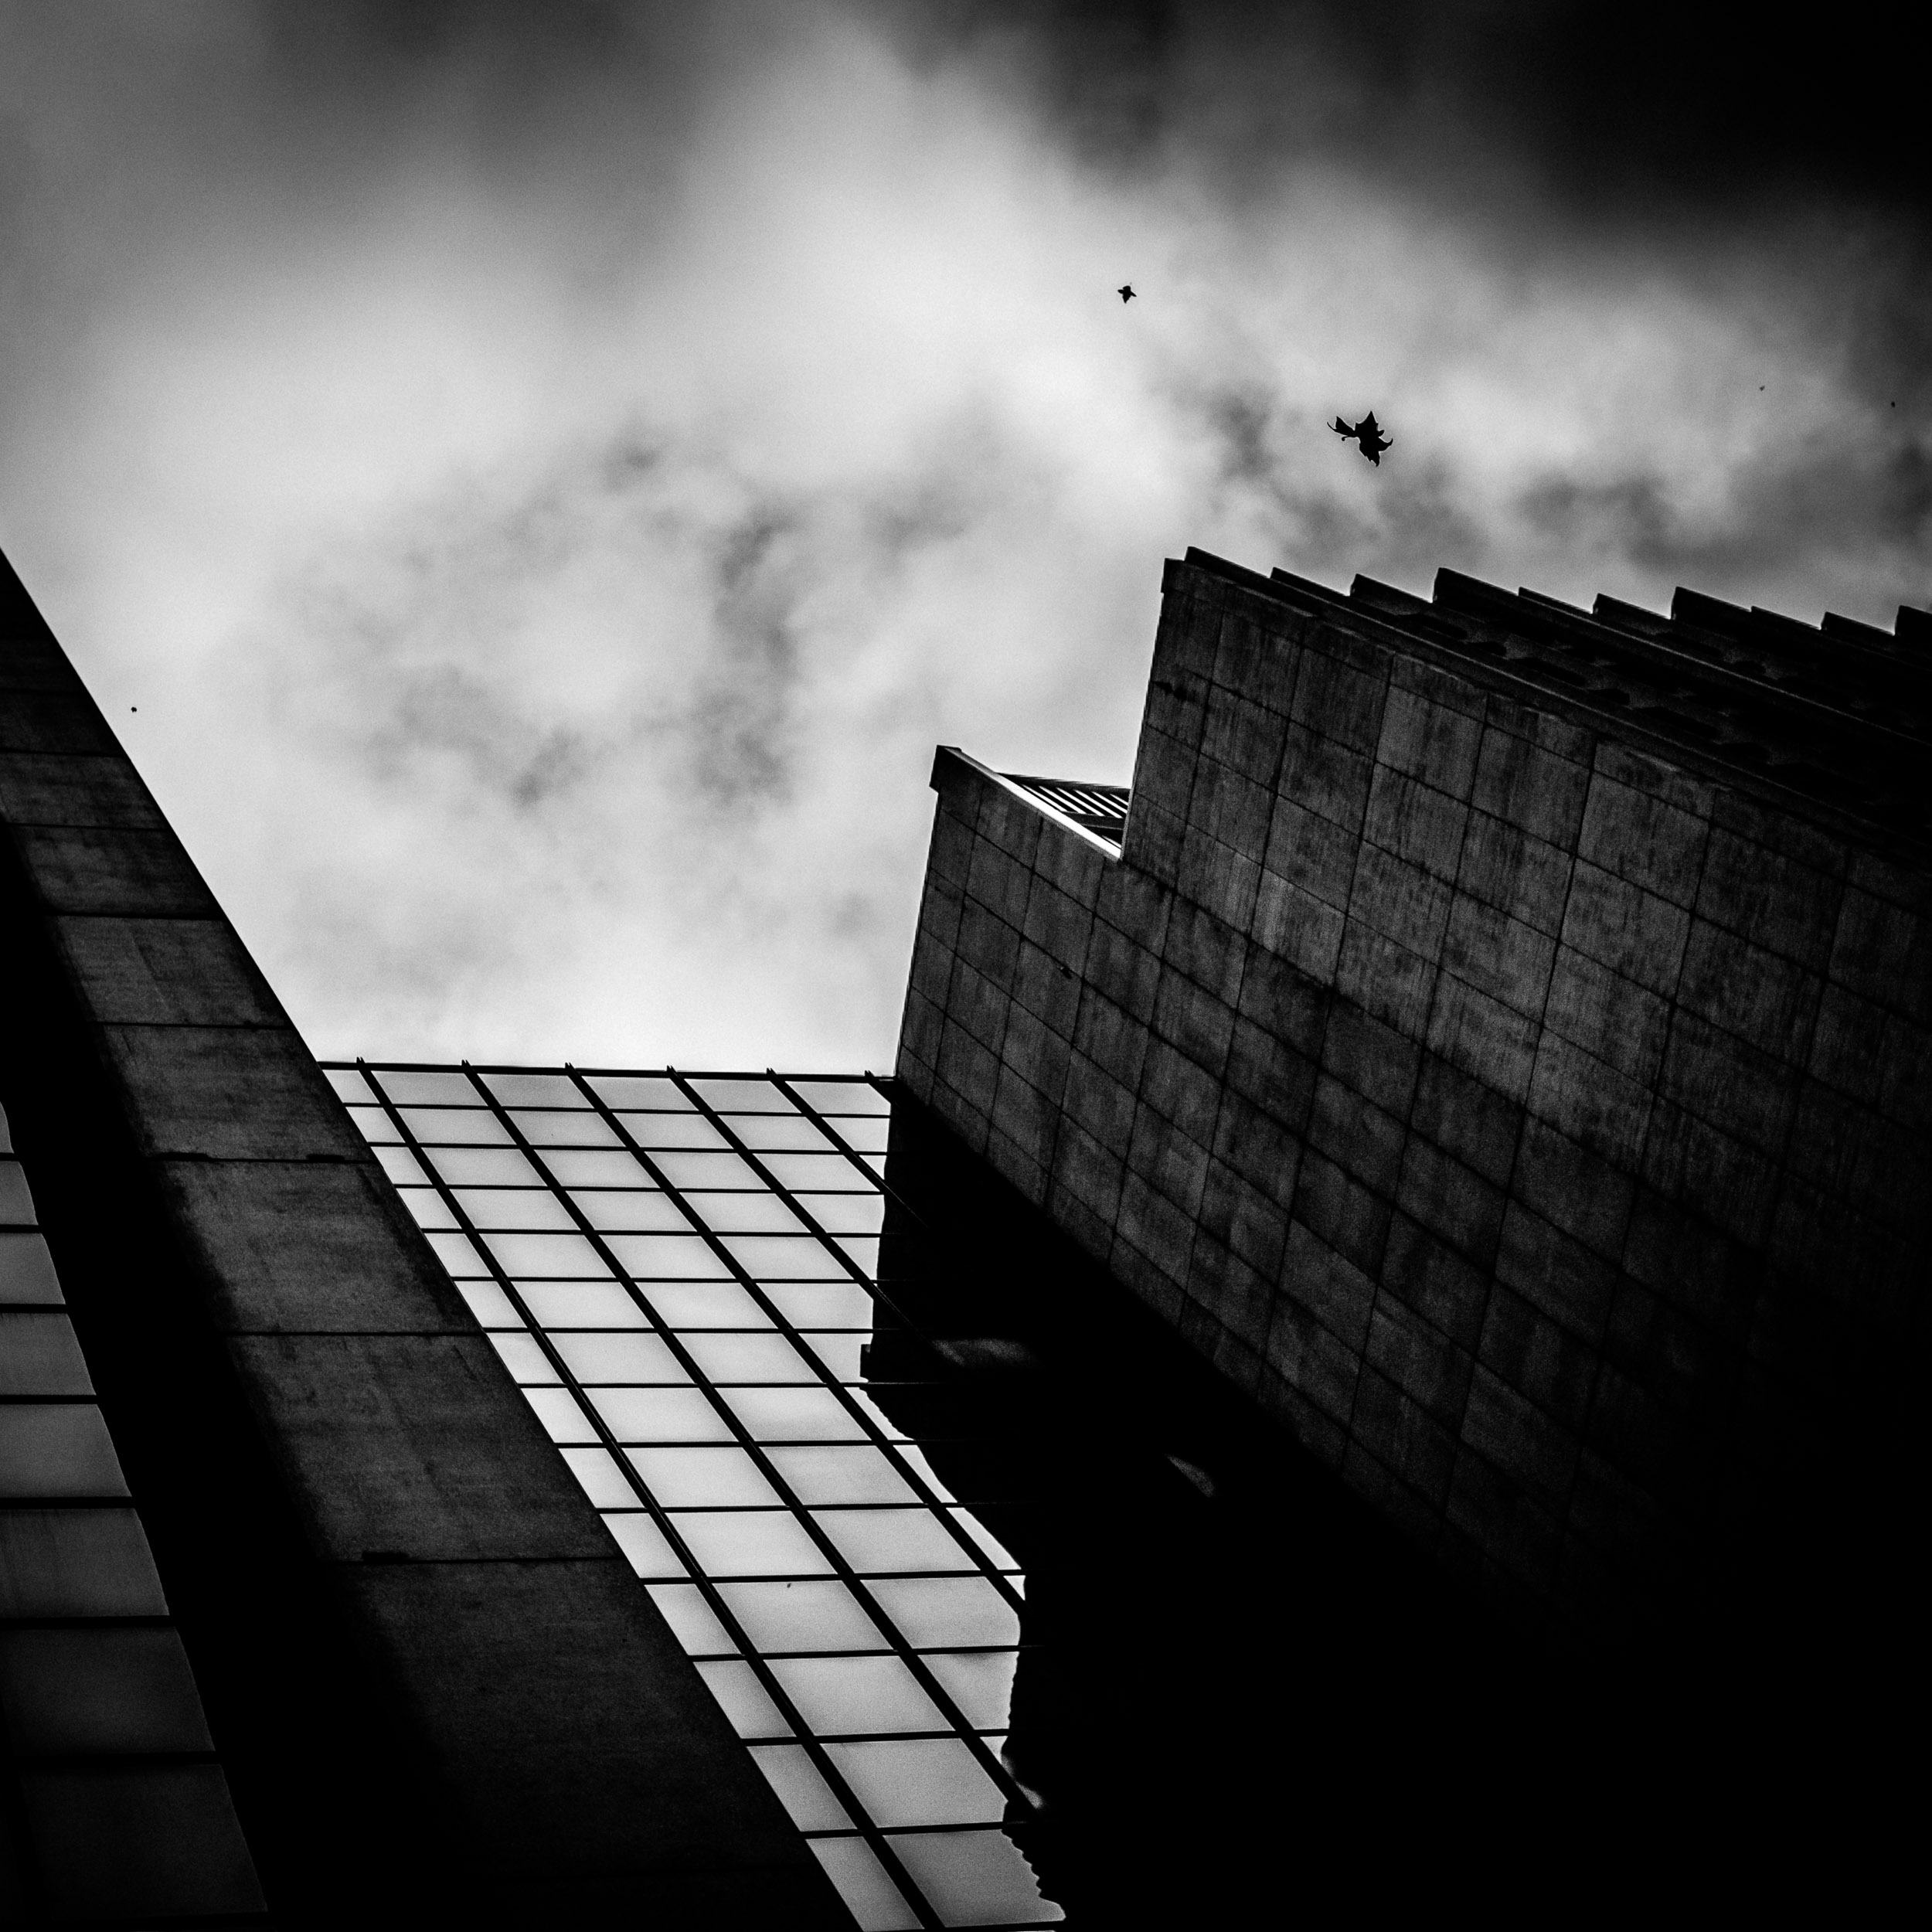
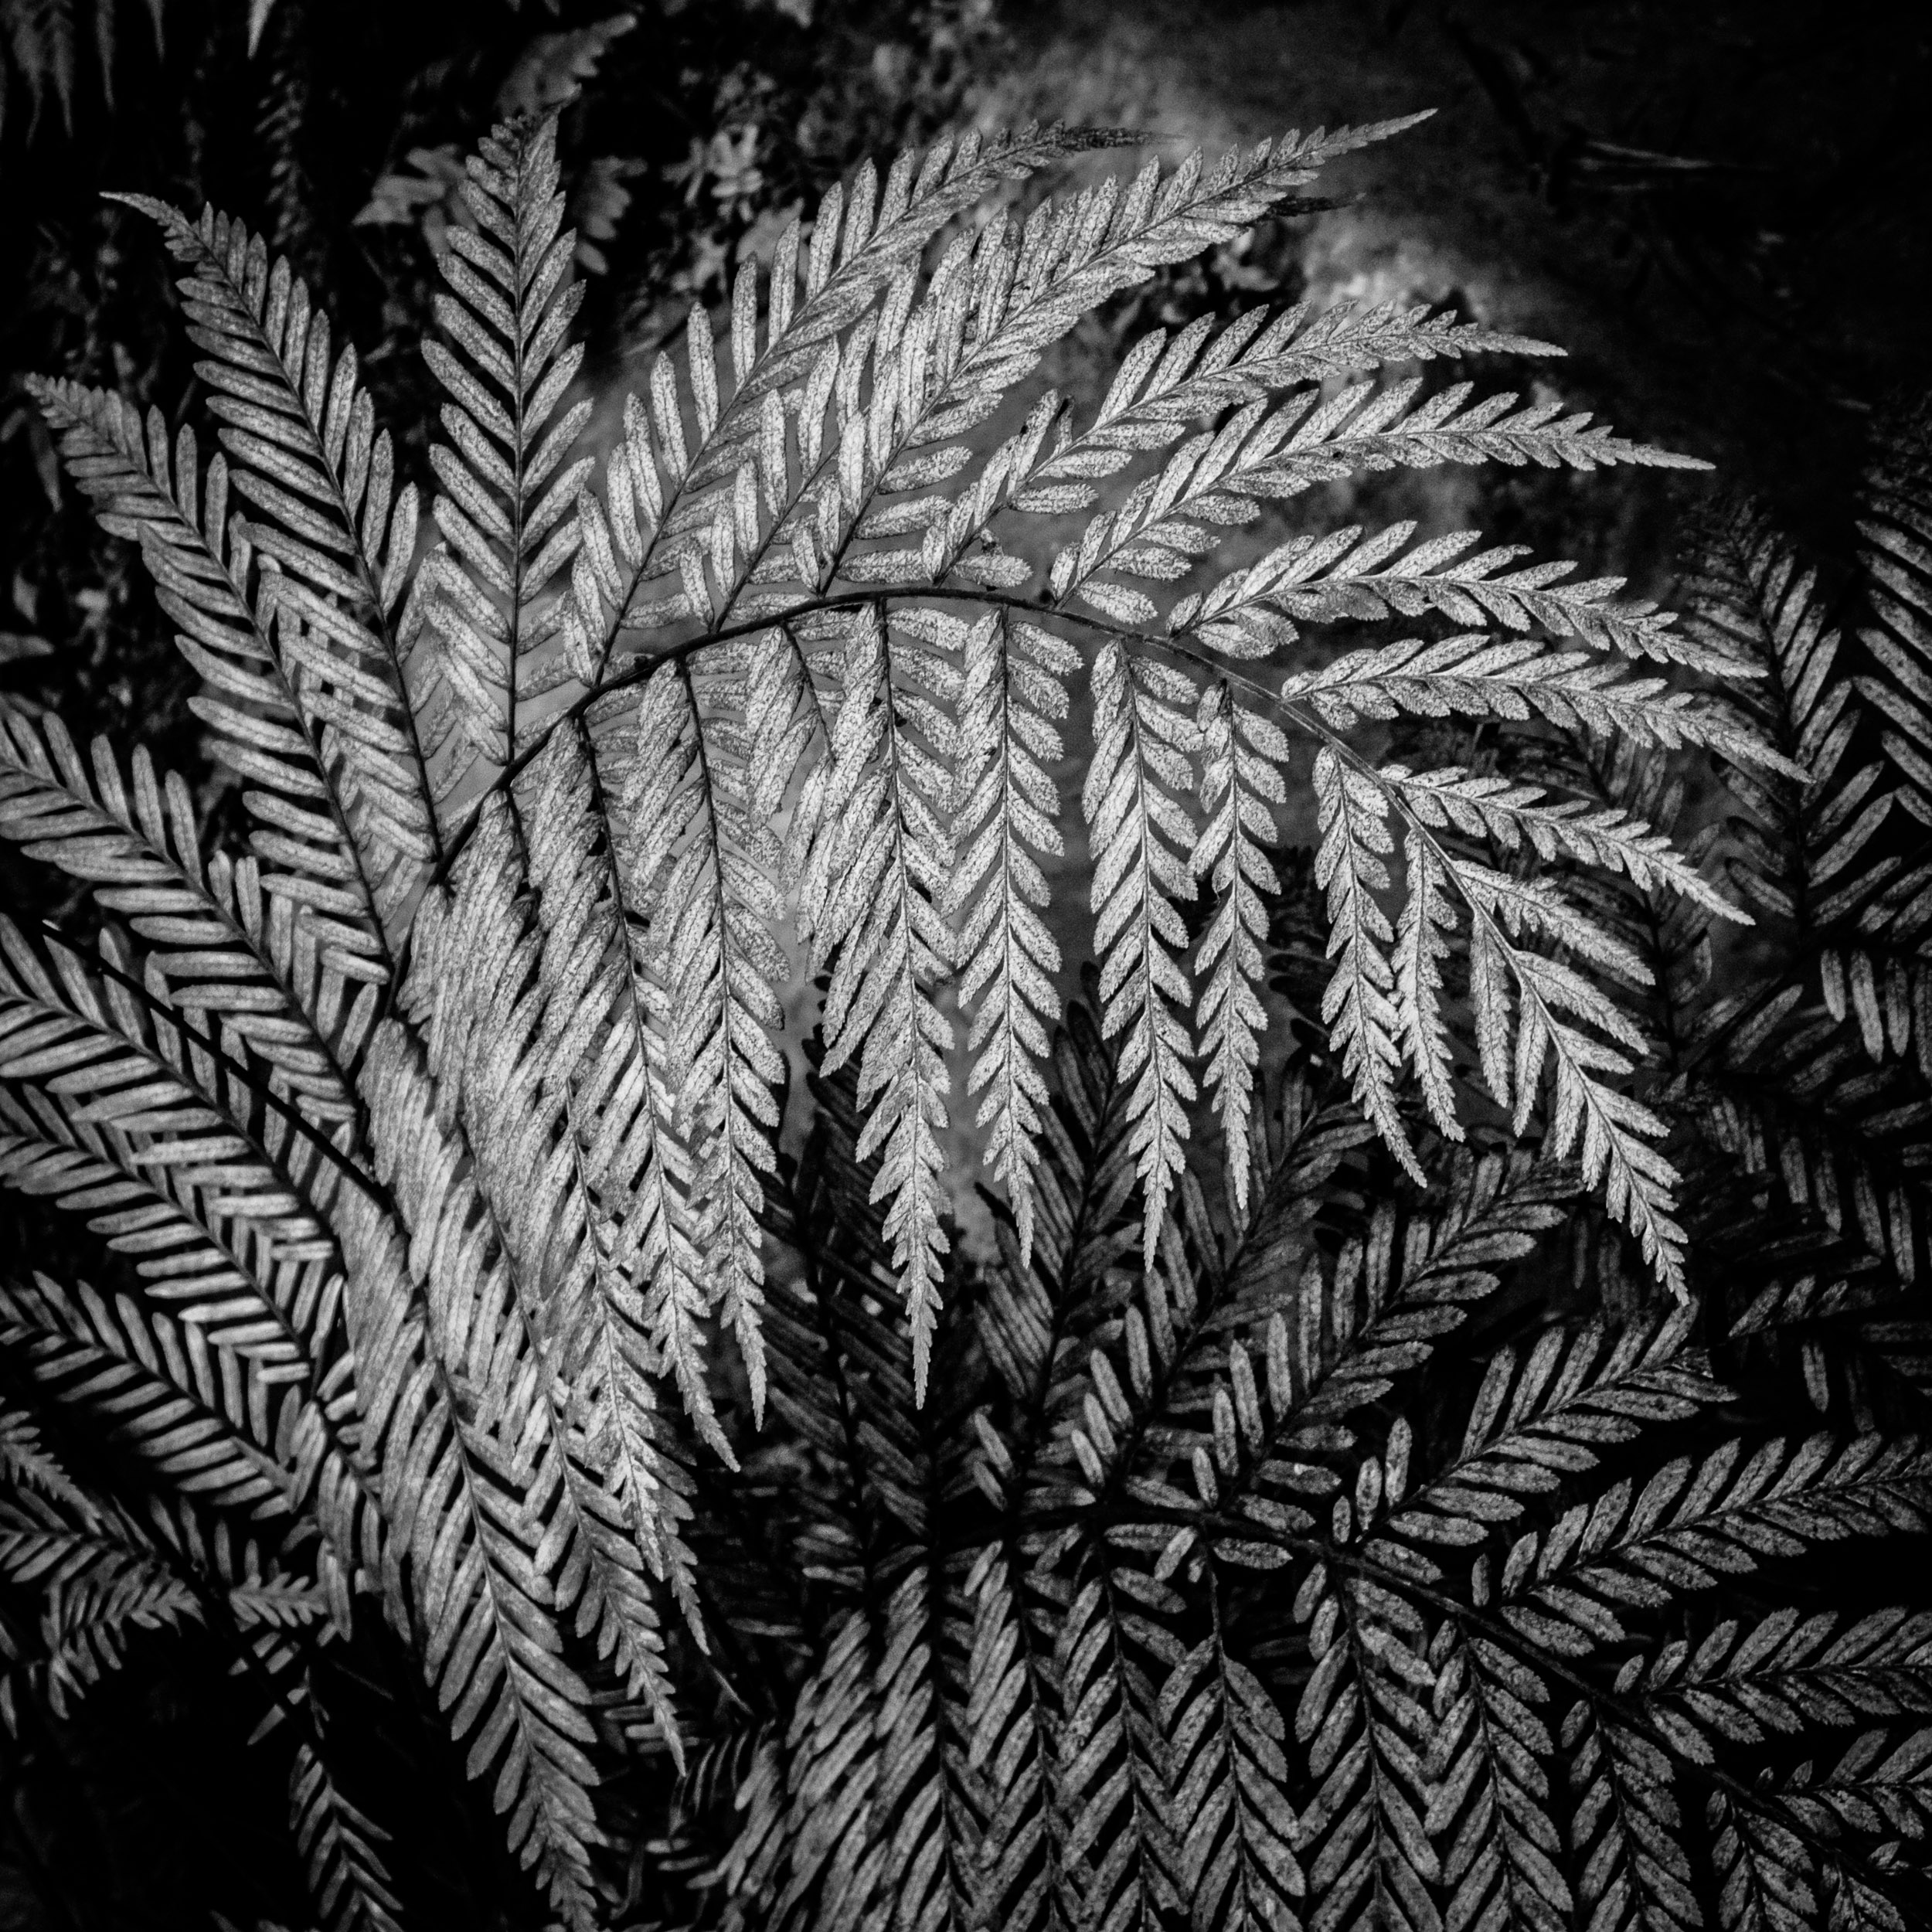
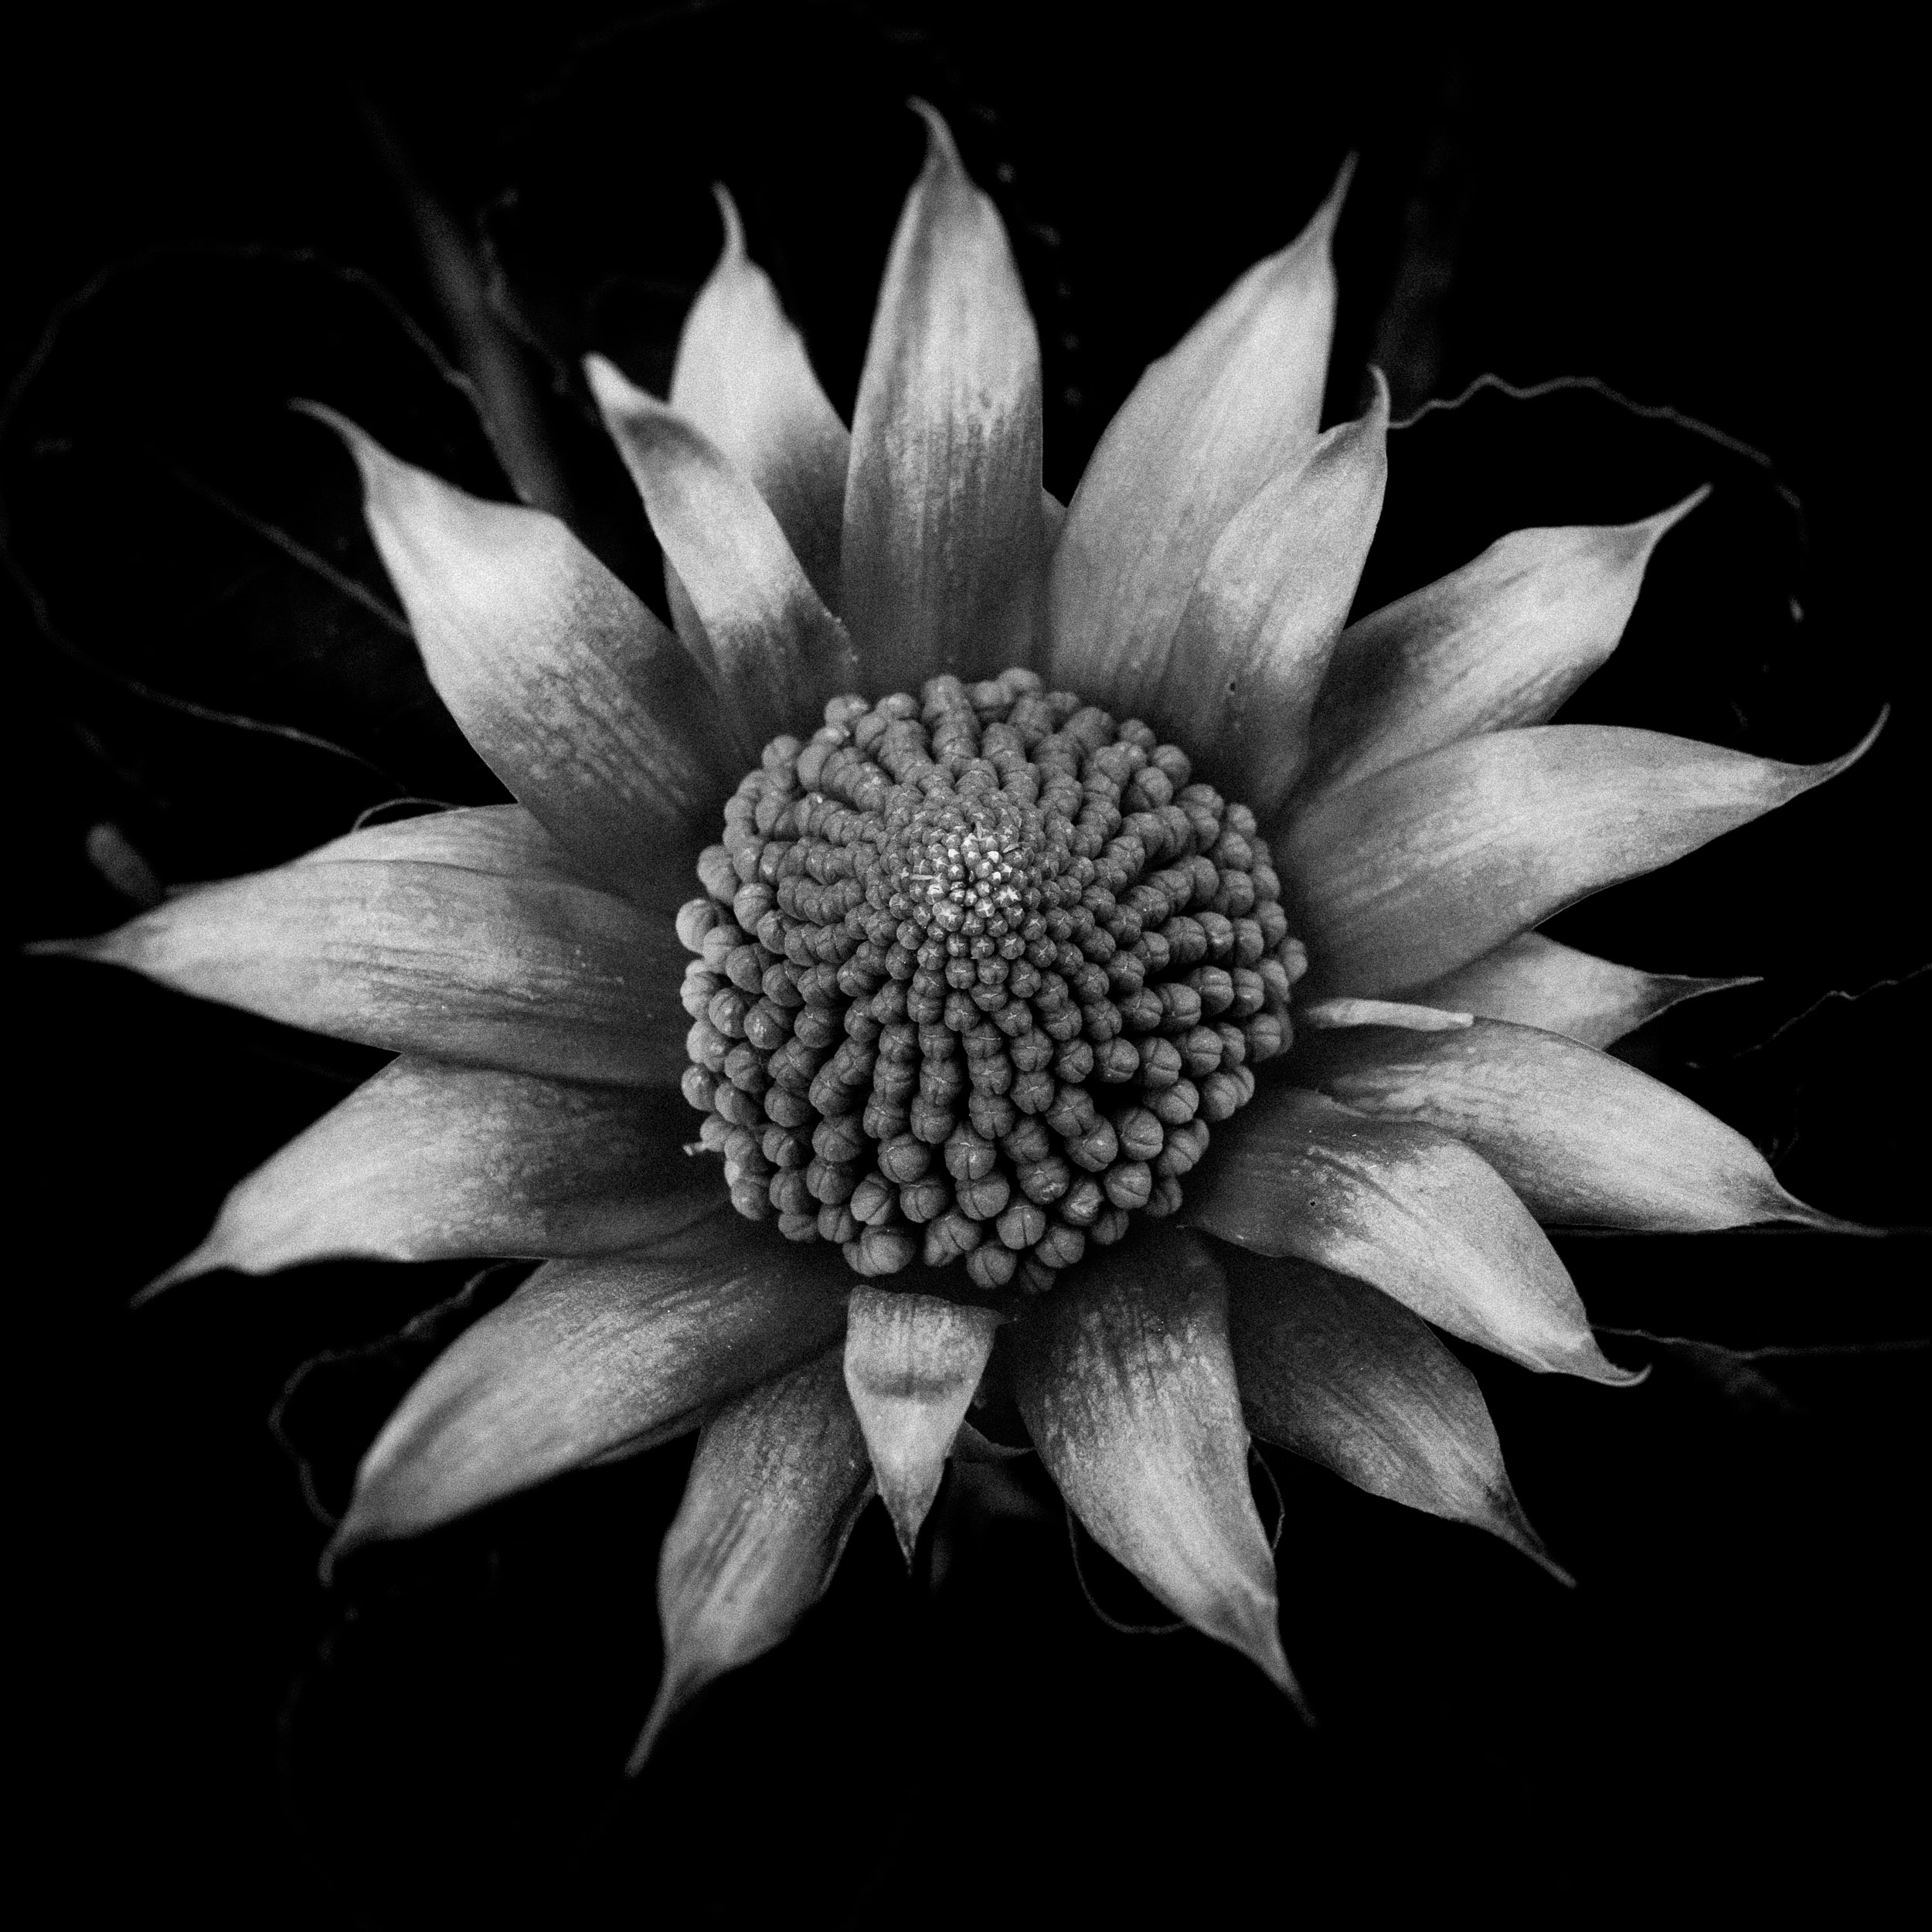
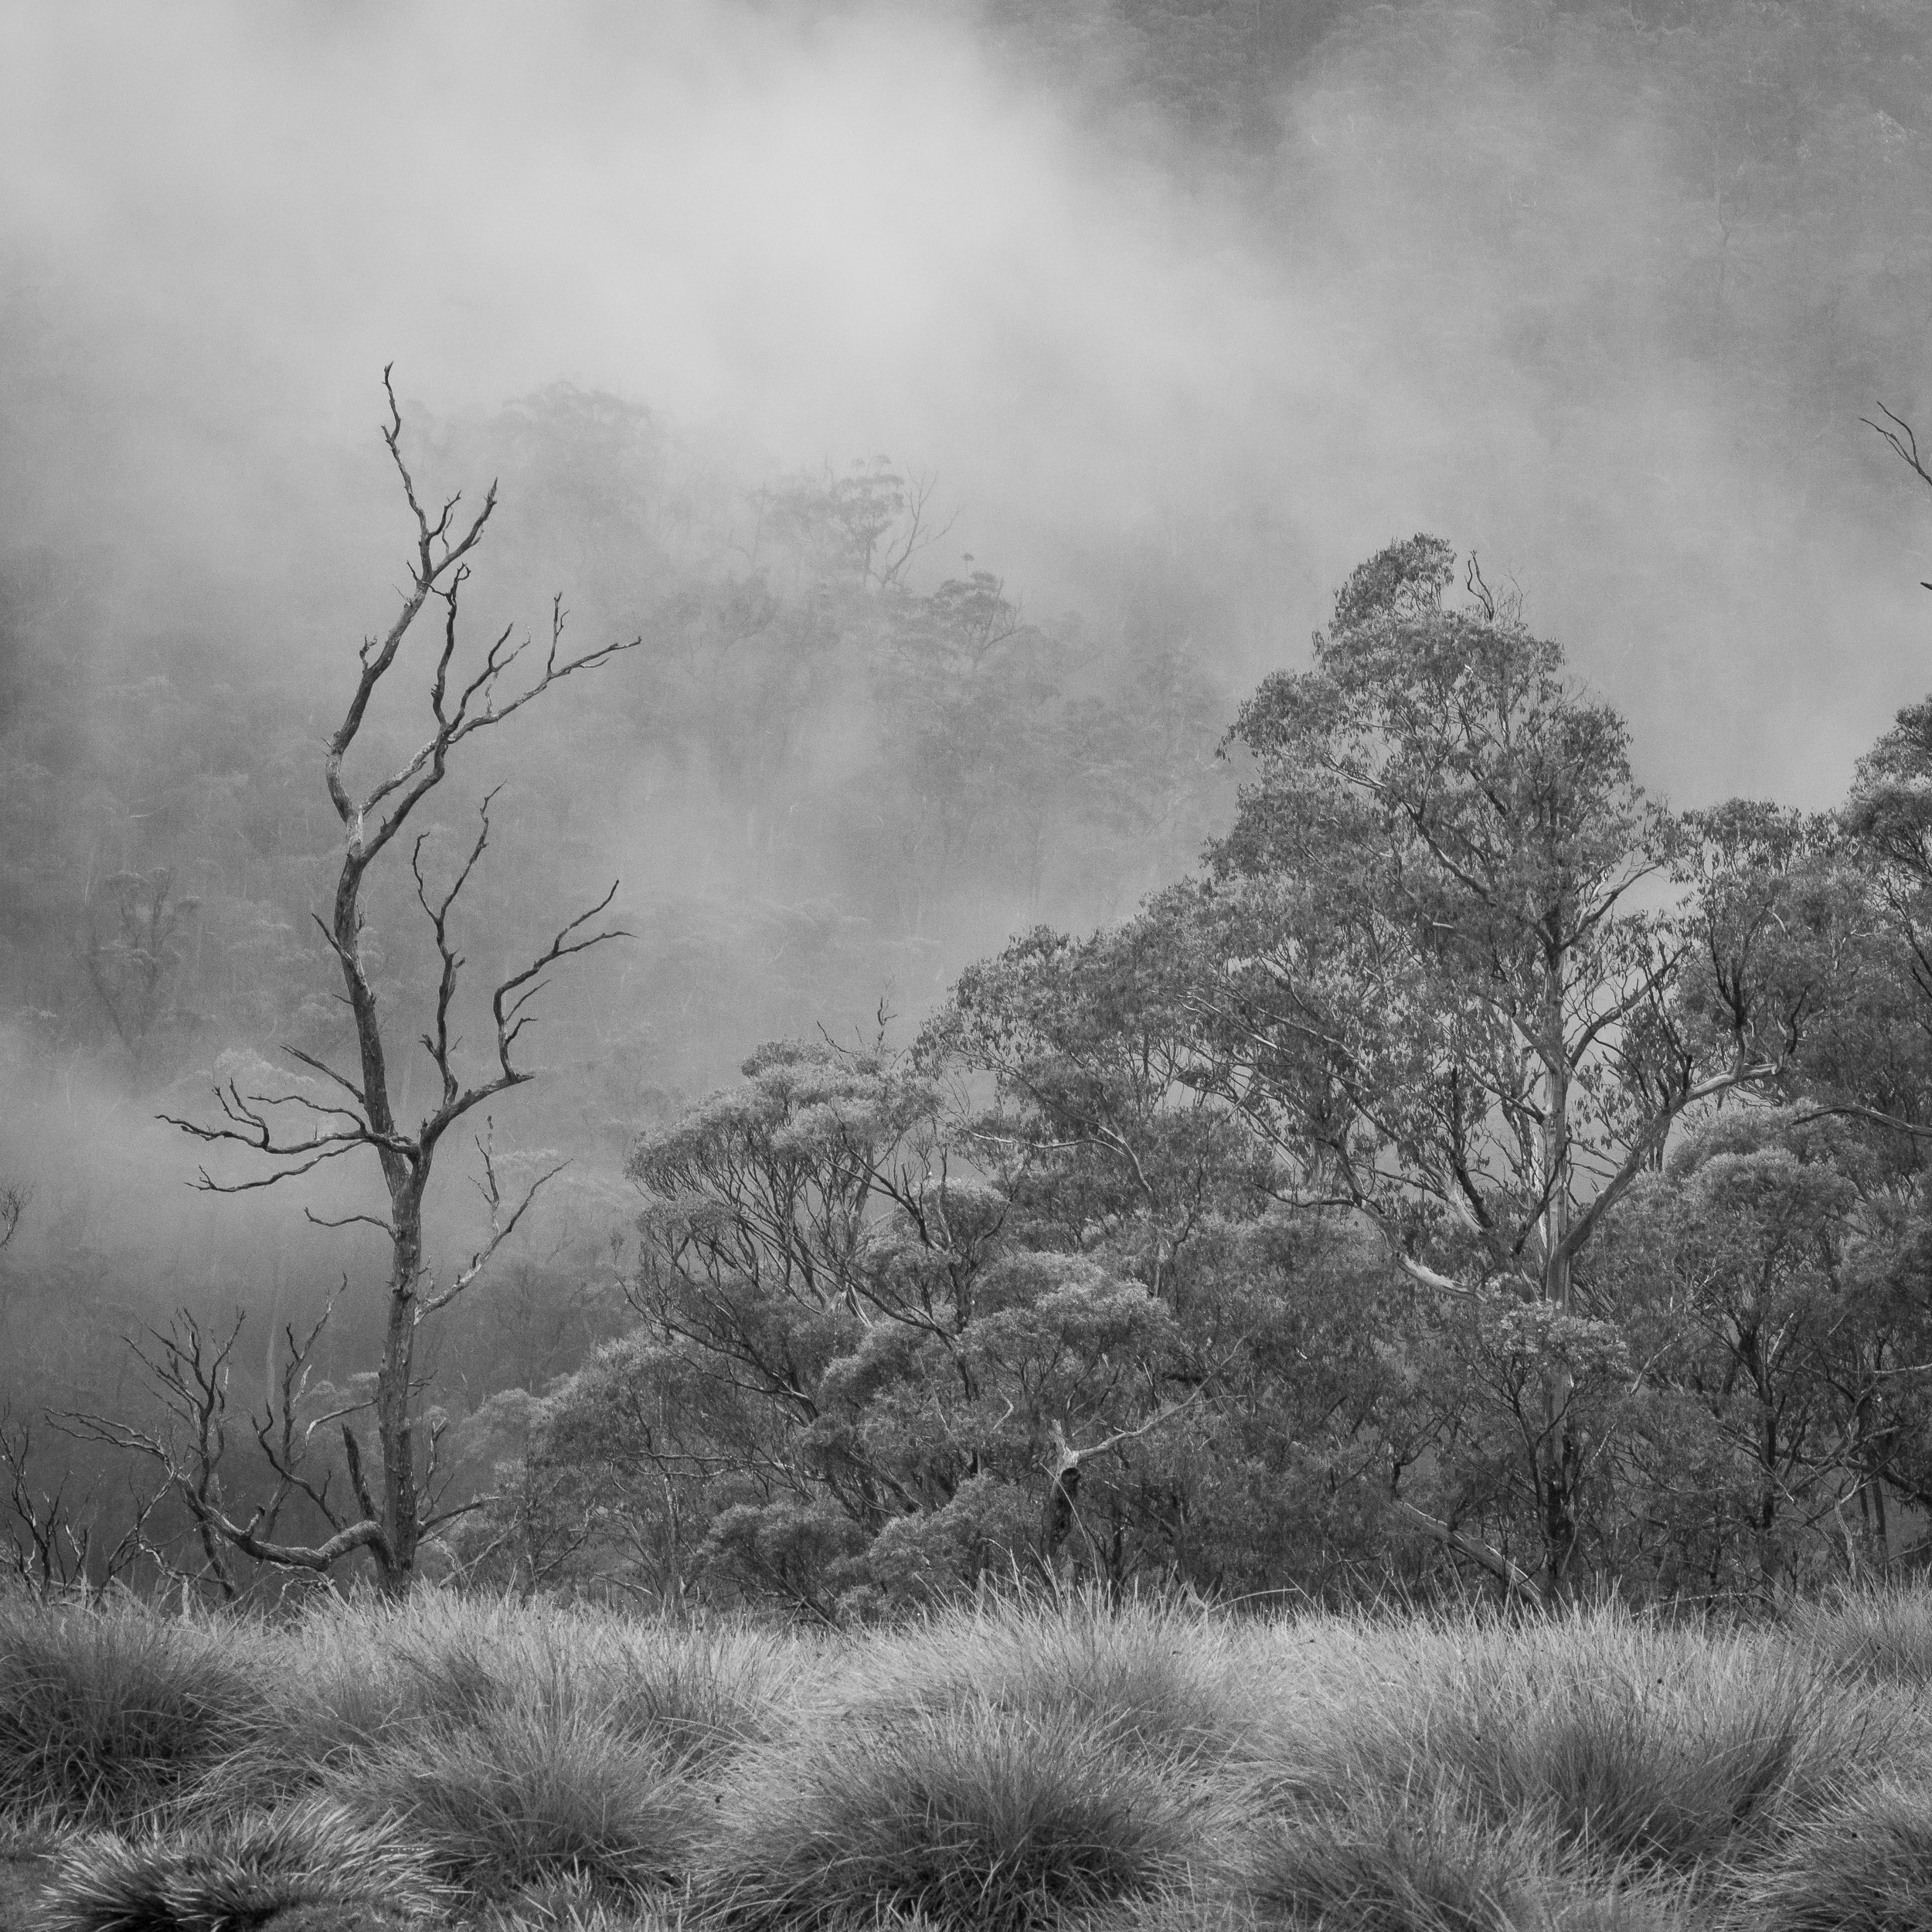
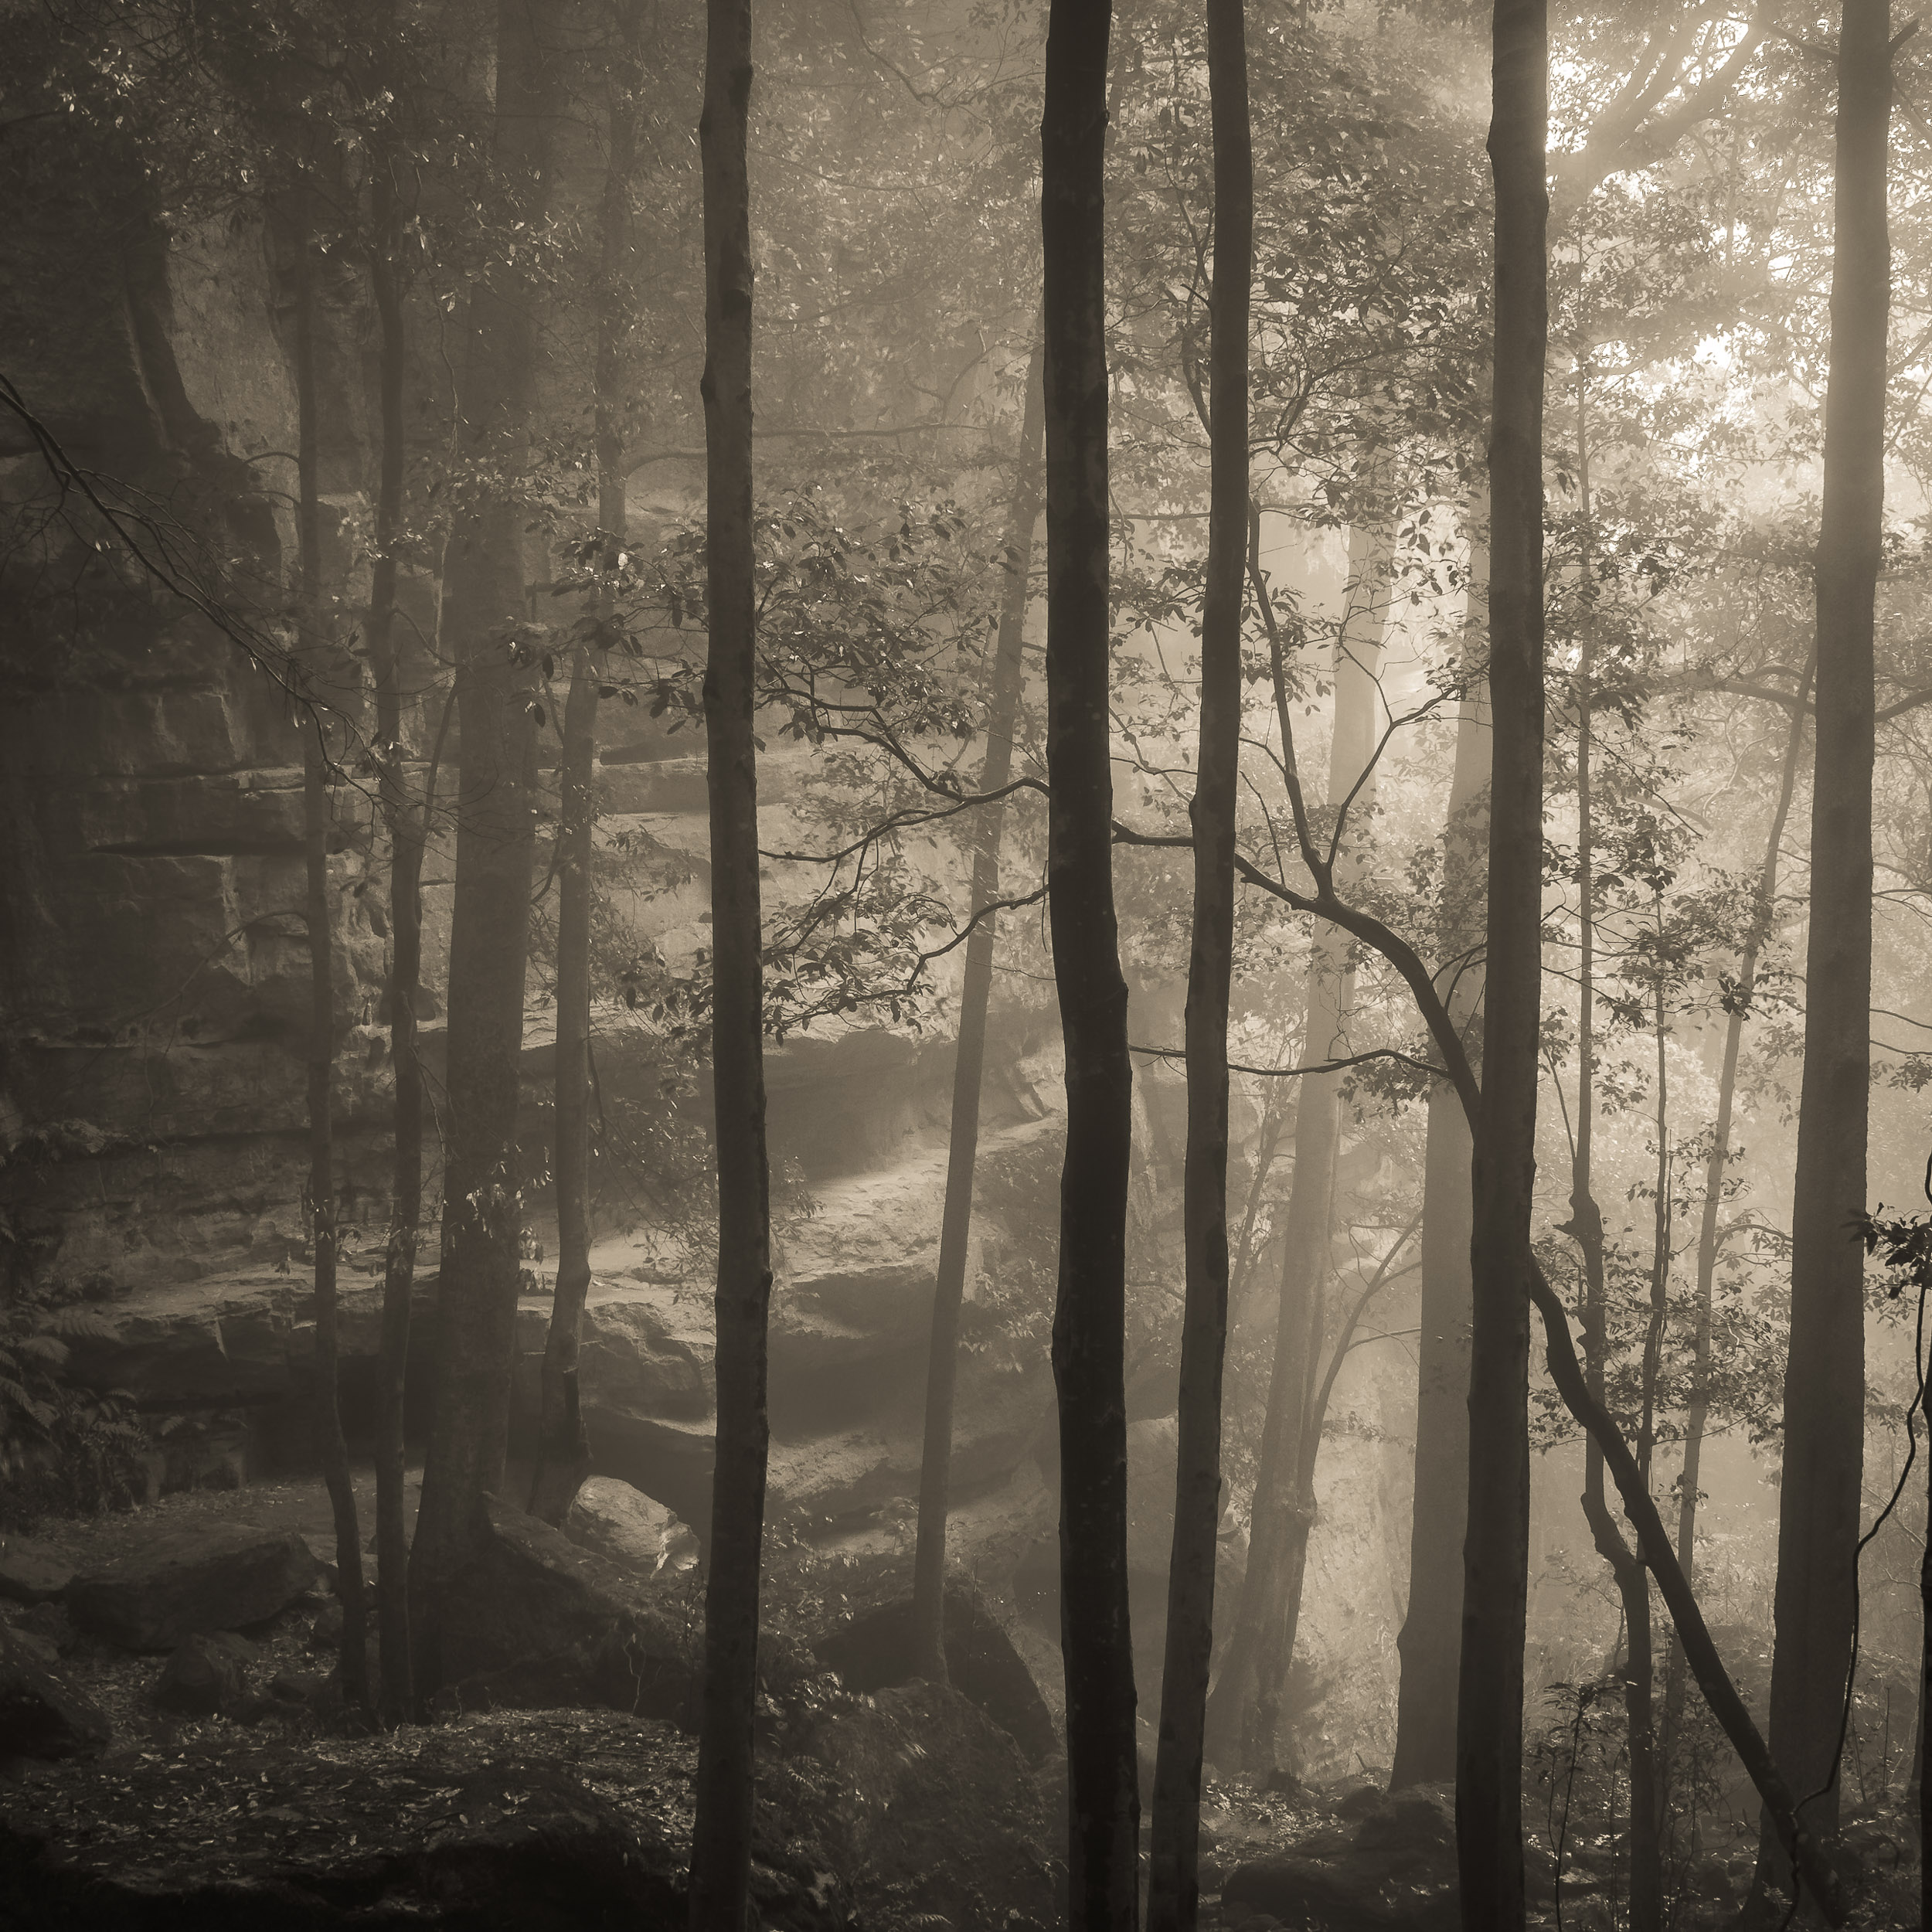
Len Metcalf’s Monchrome Lightroom 6 Presets. The ones he uses to make striking digital Black and White images. Over 50 to choose from. Works in the older Lightroom 6 version.
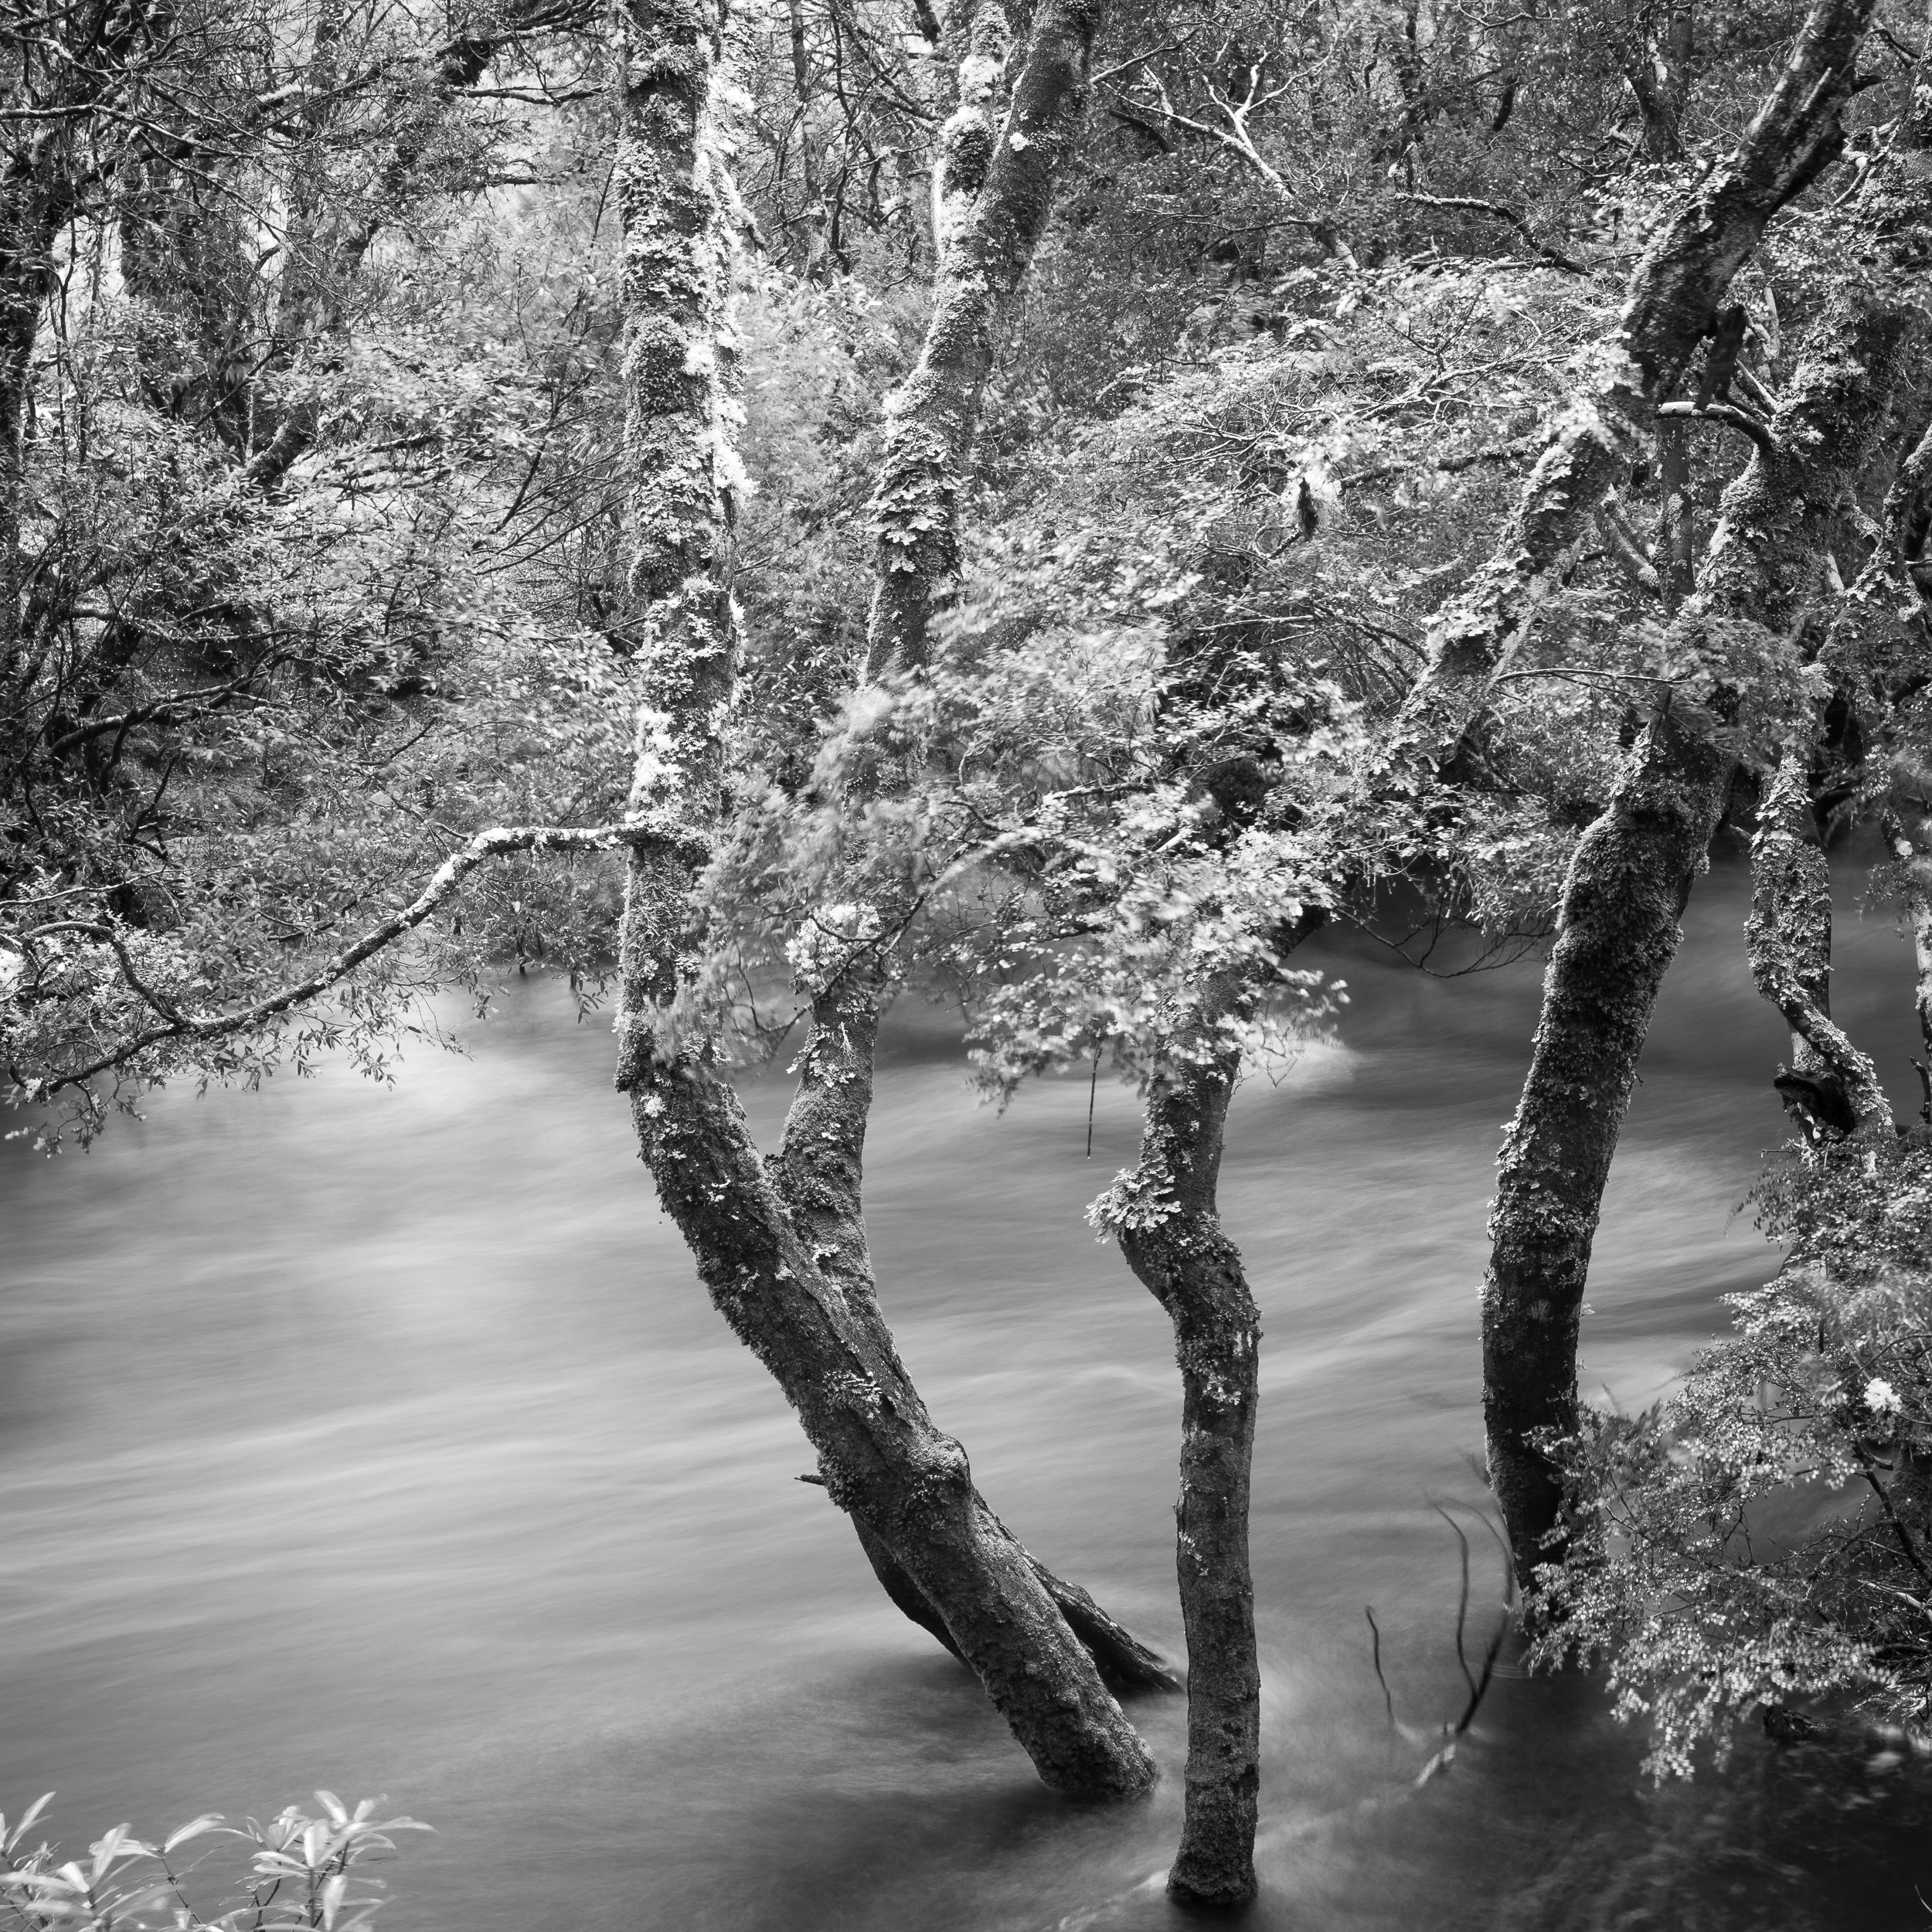
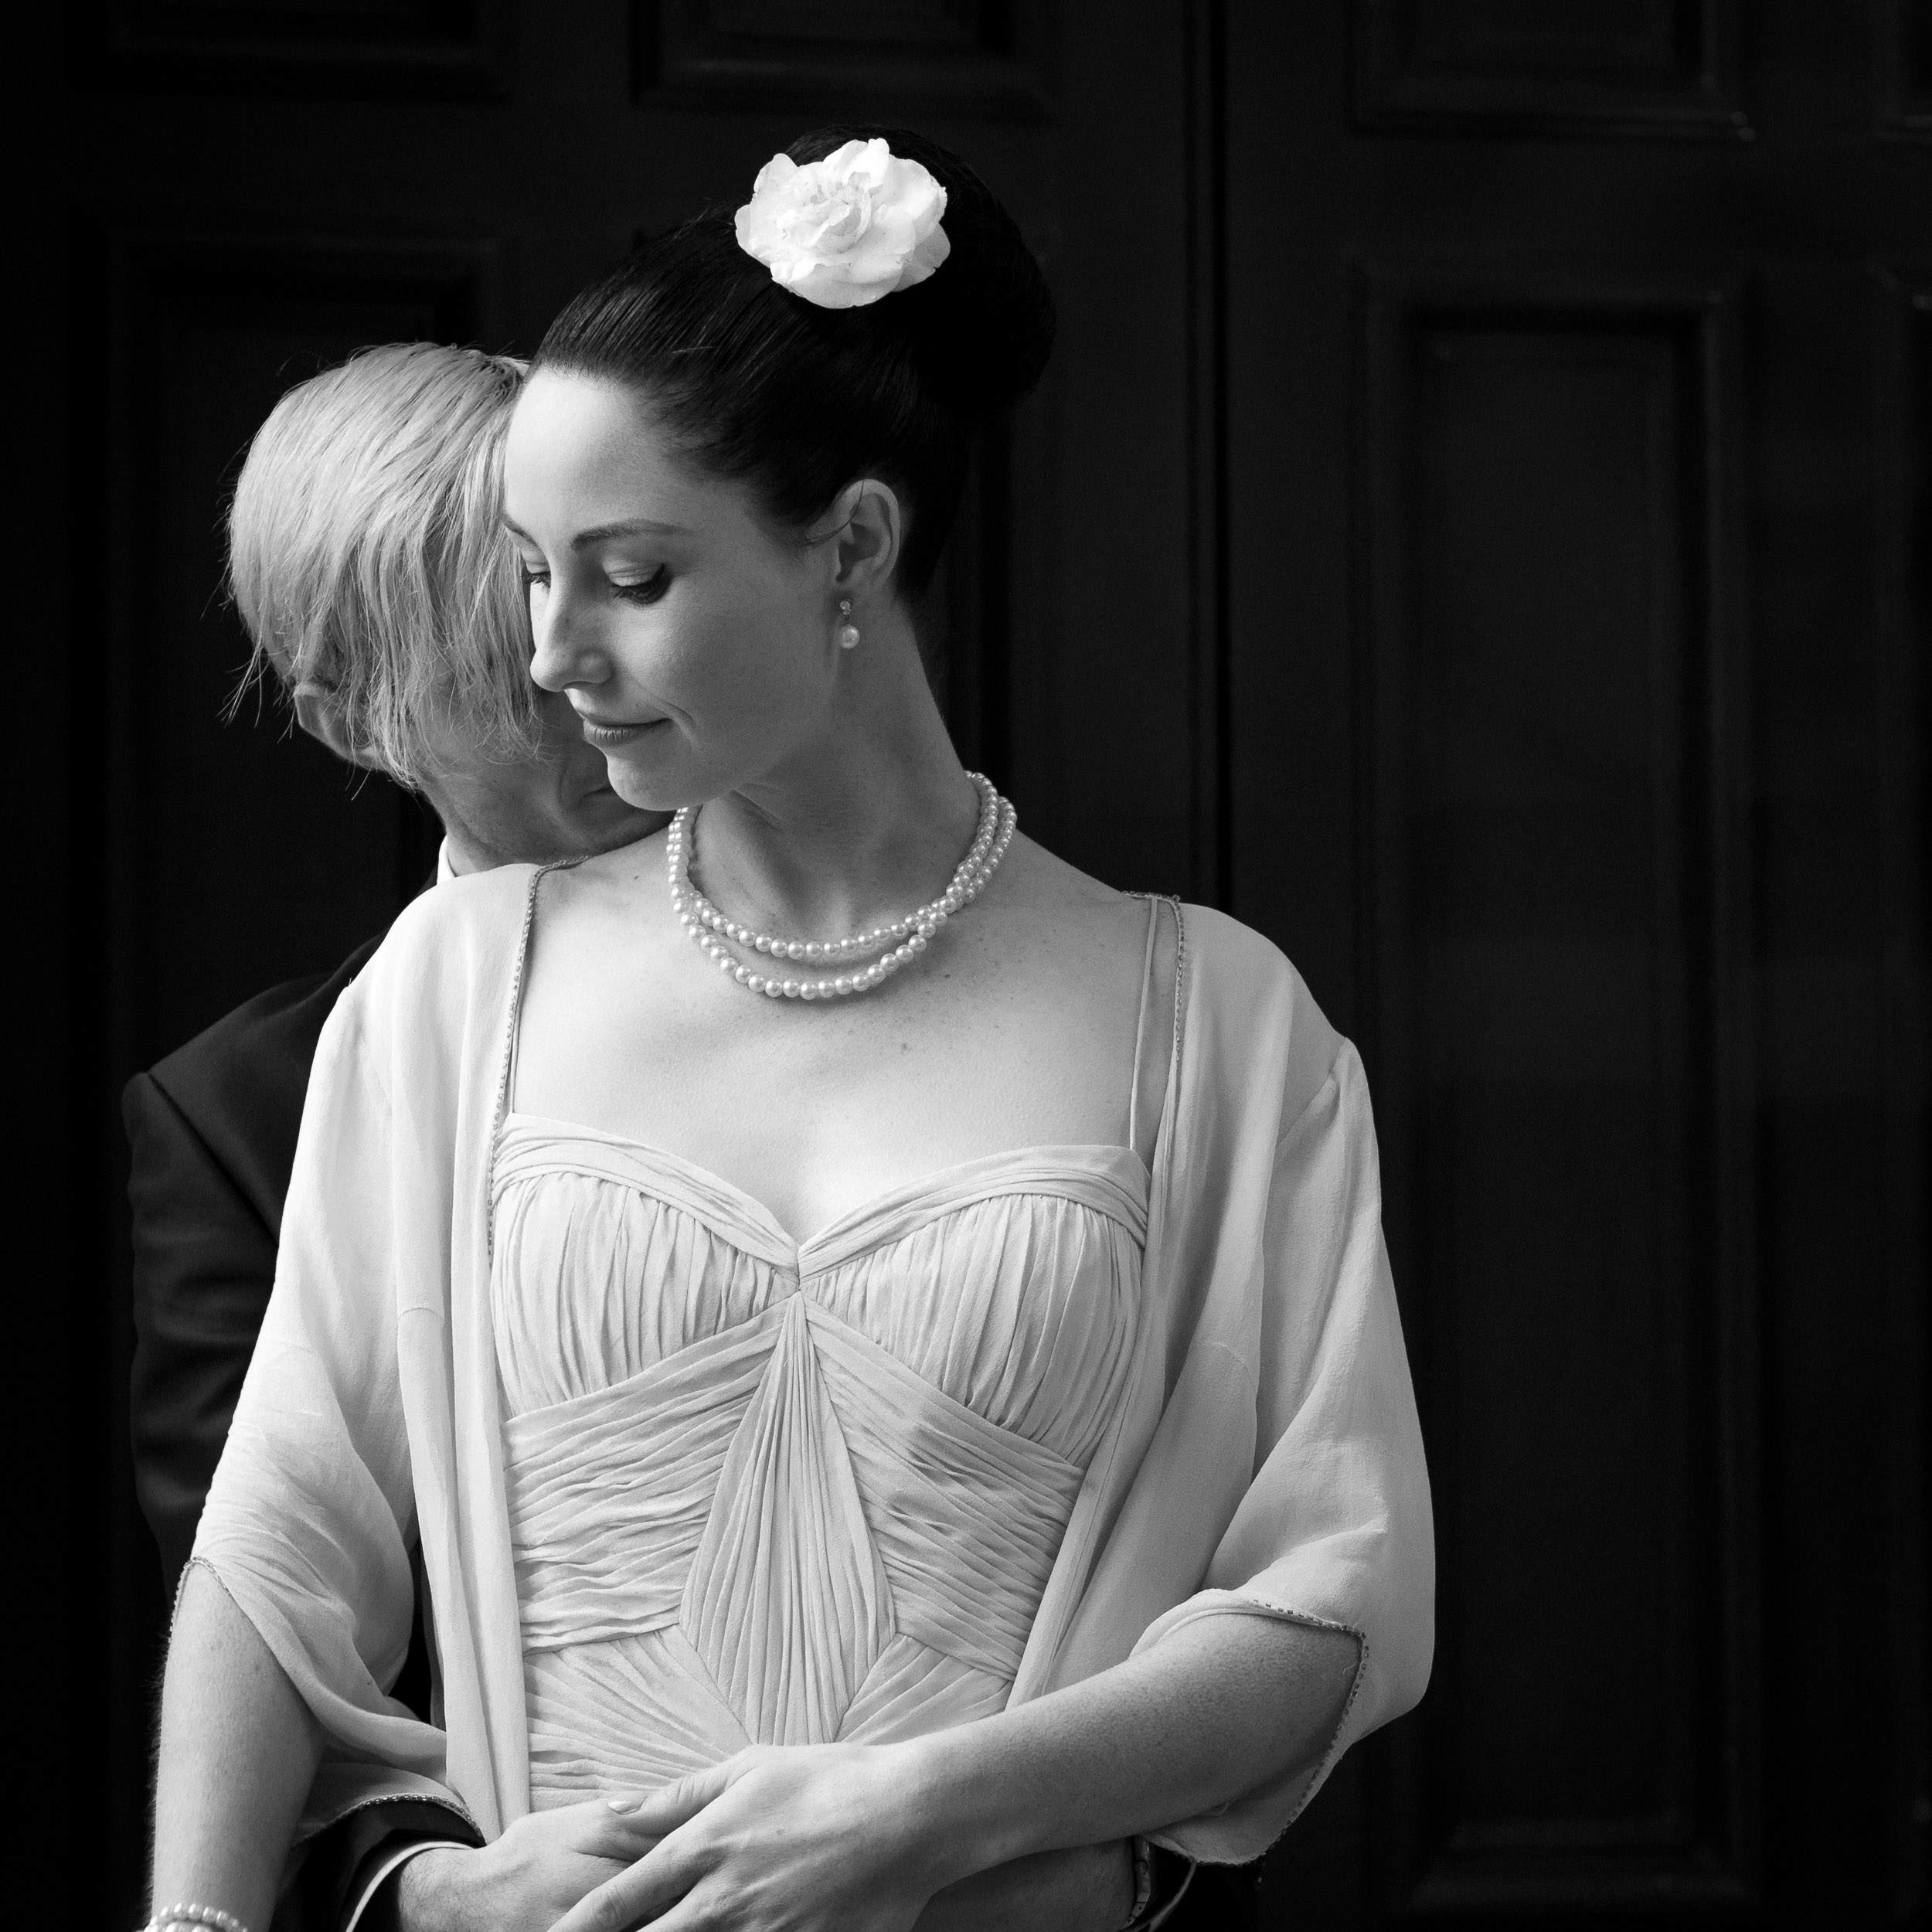
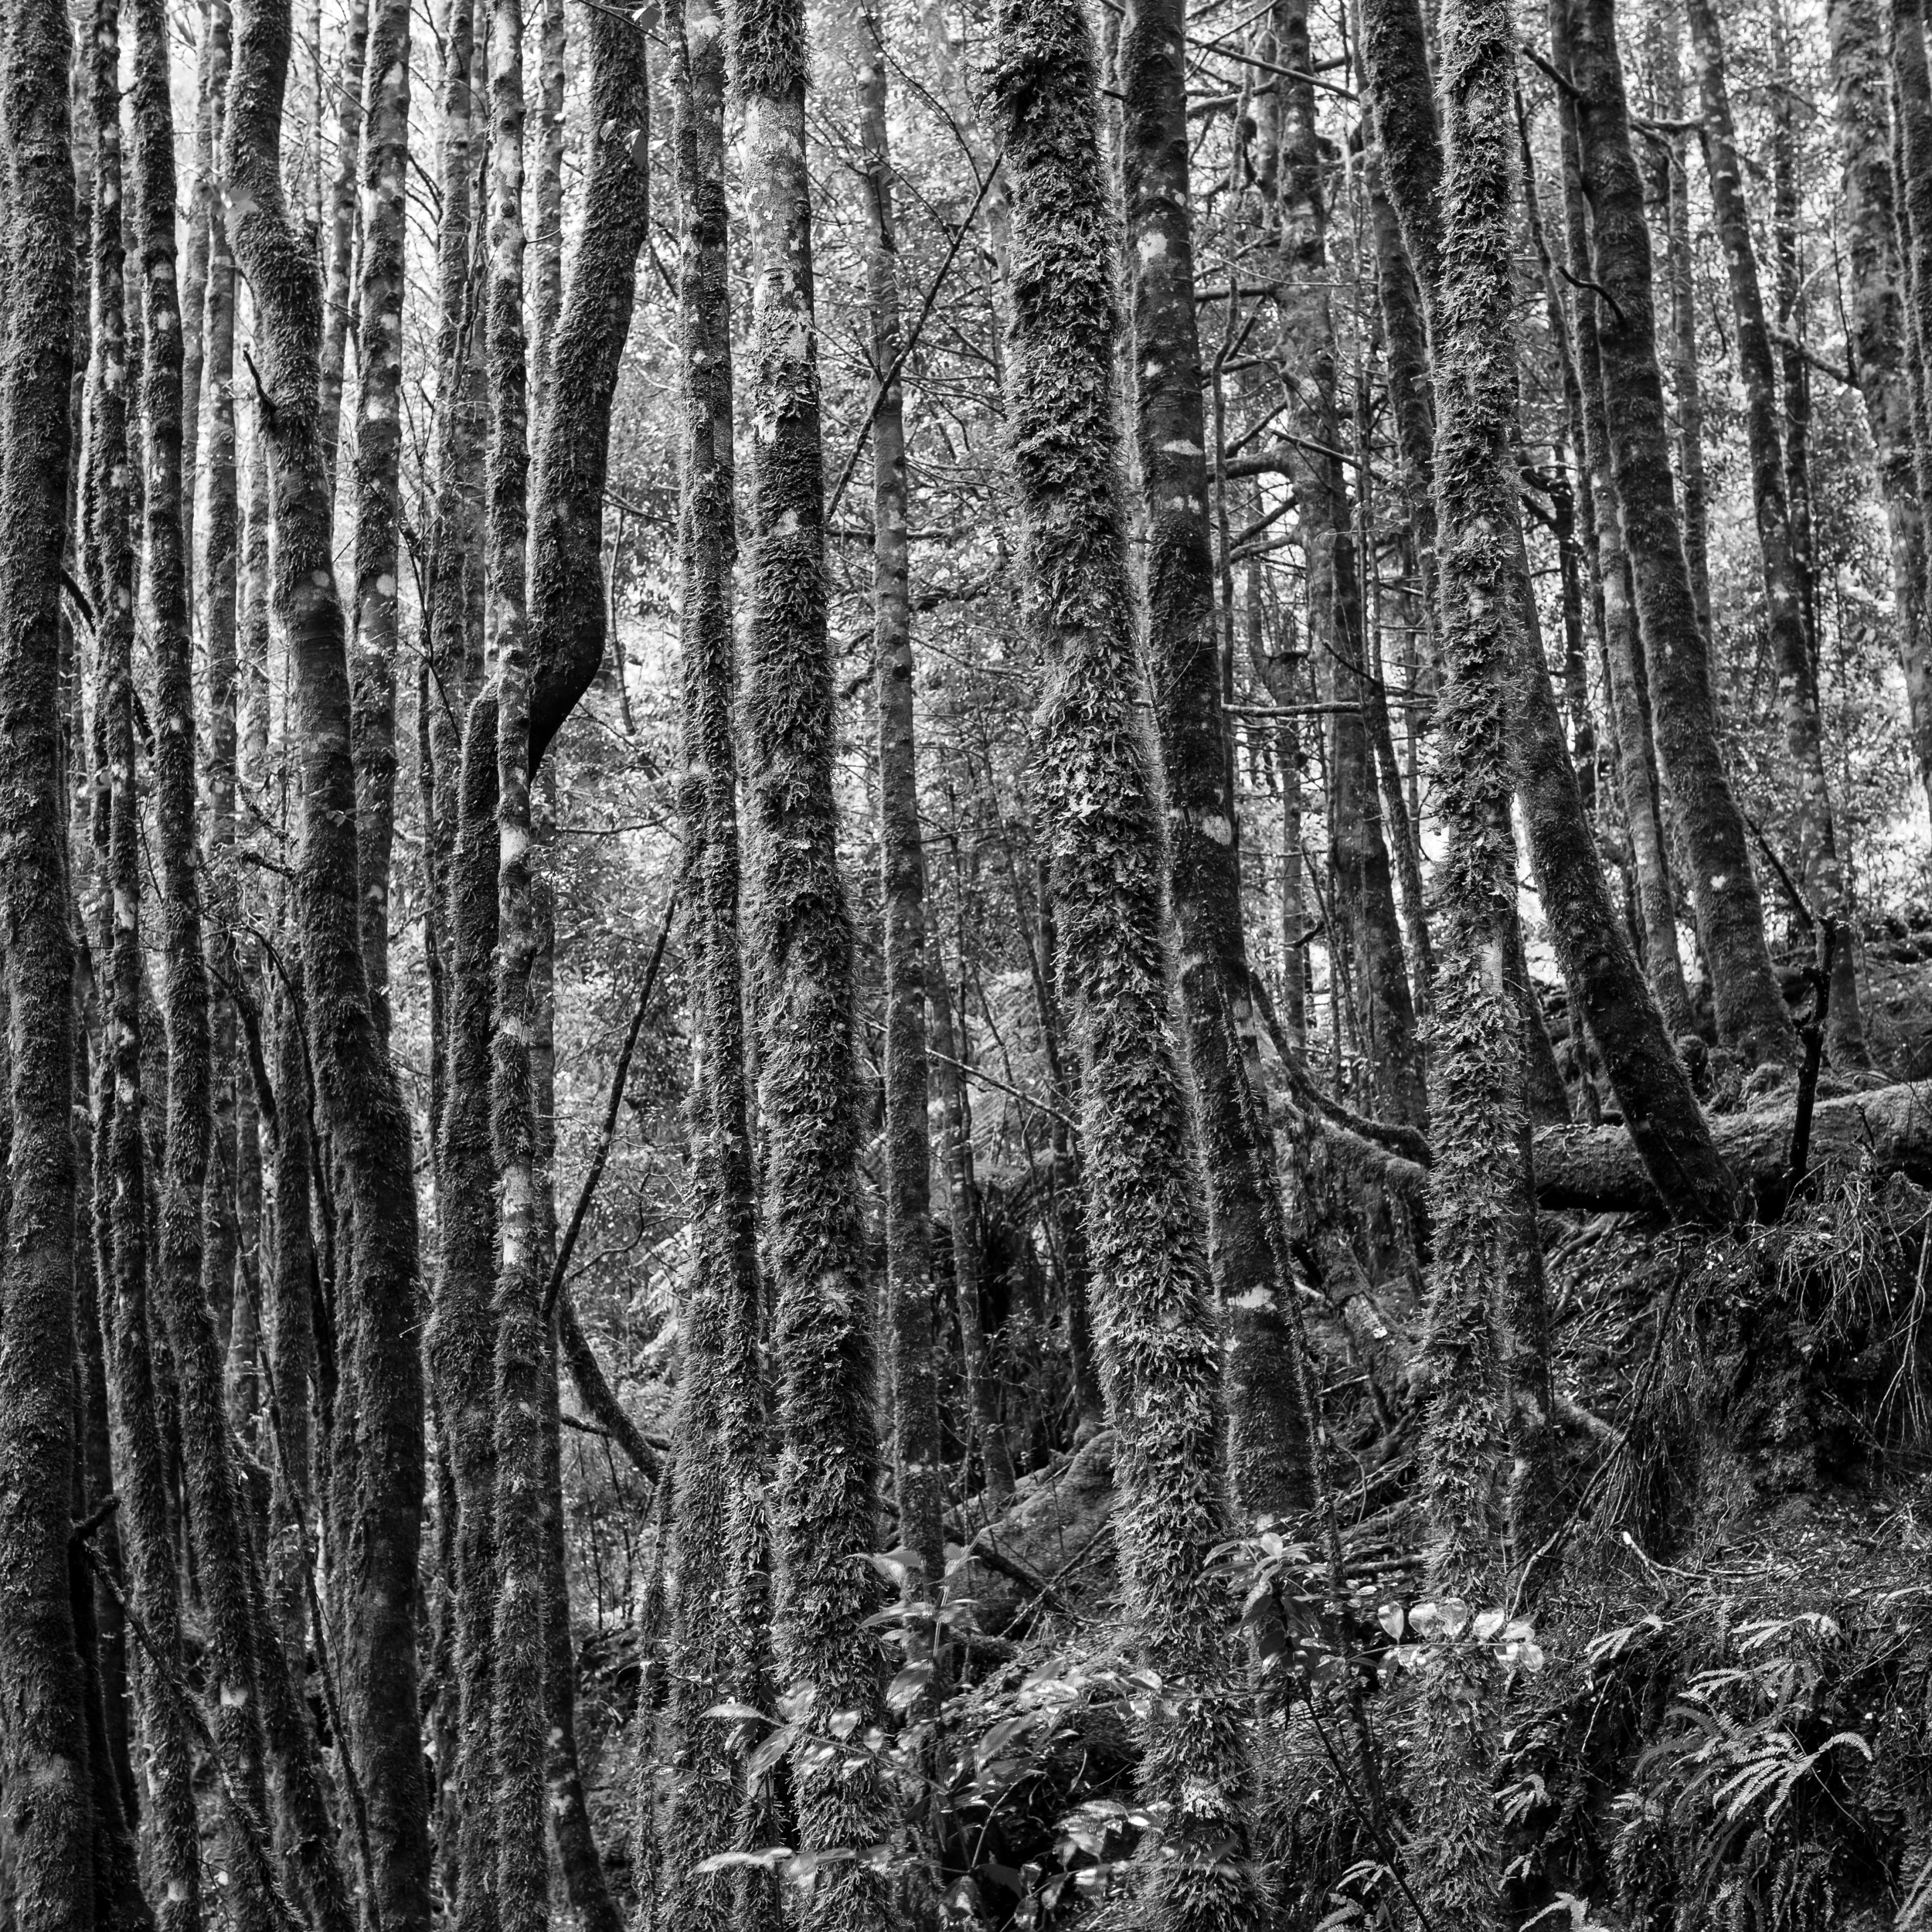
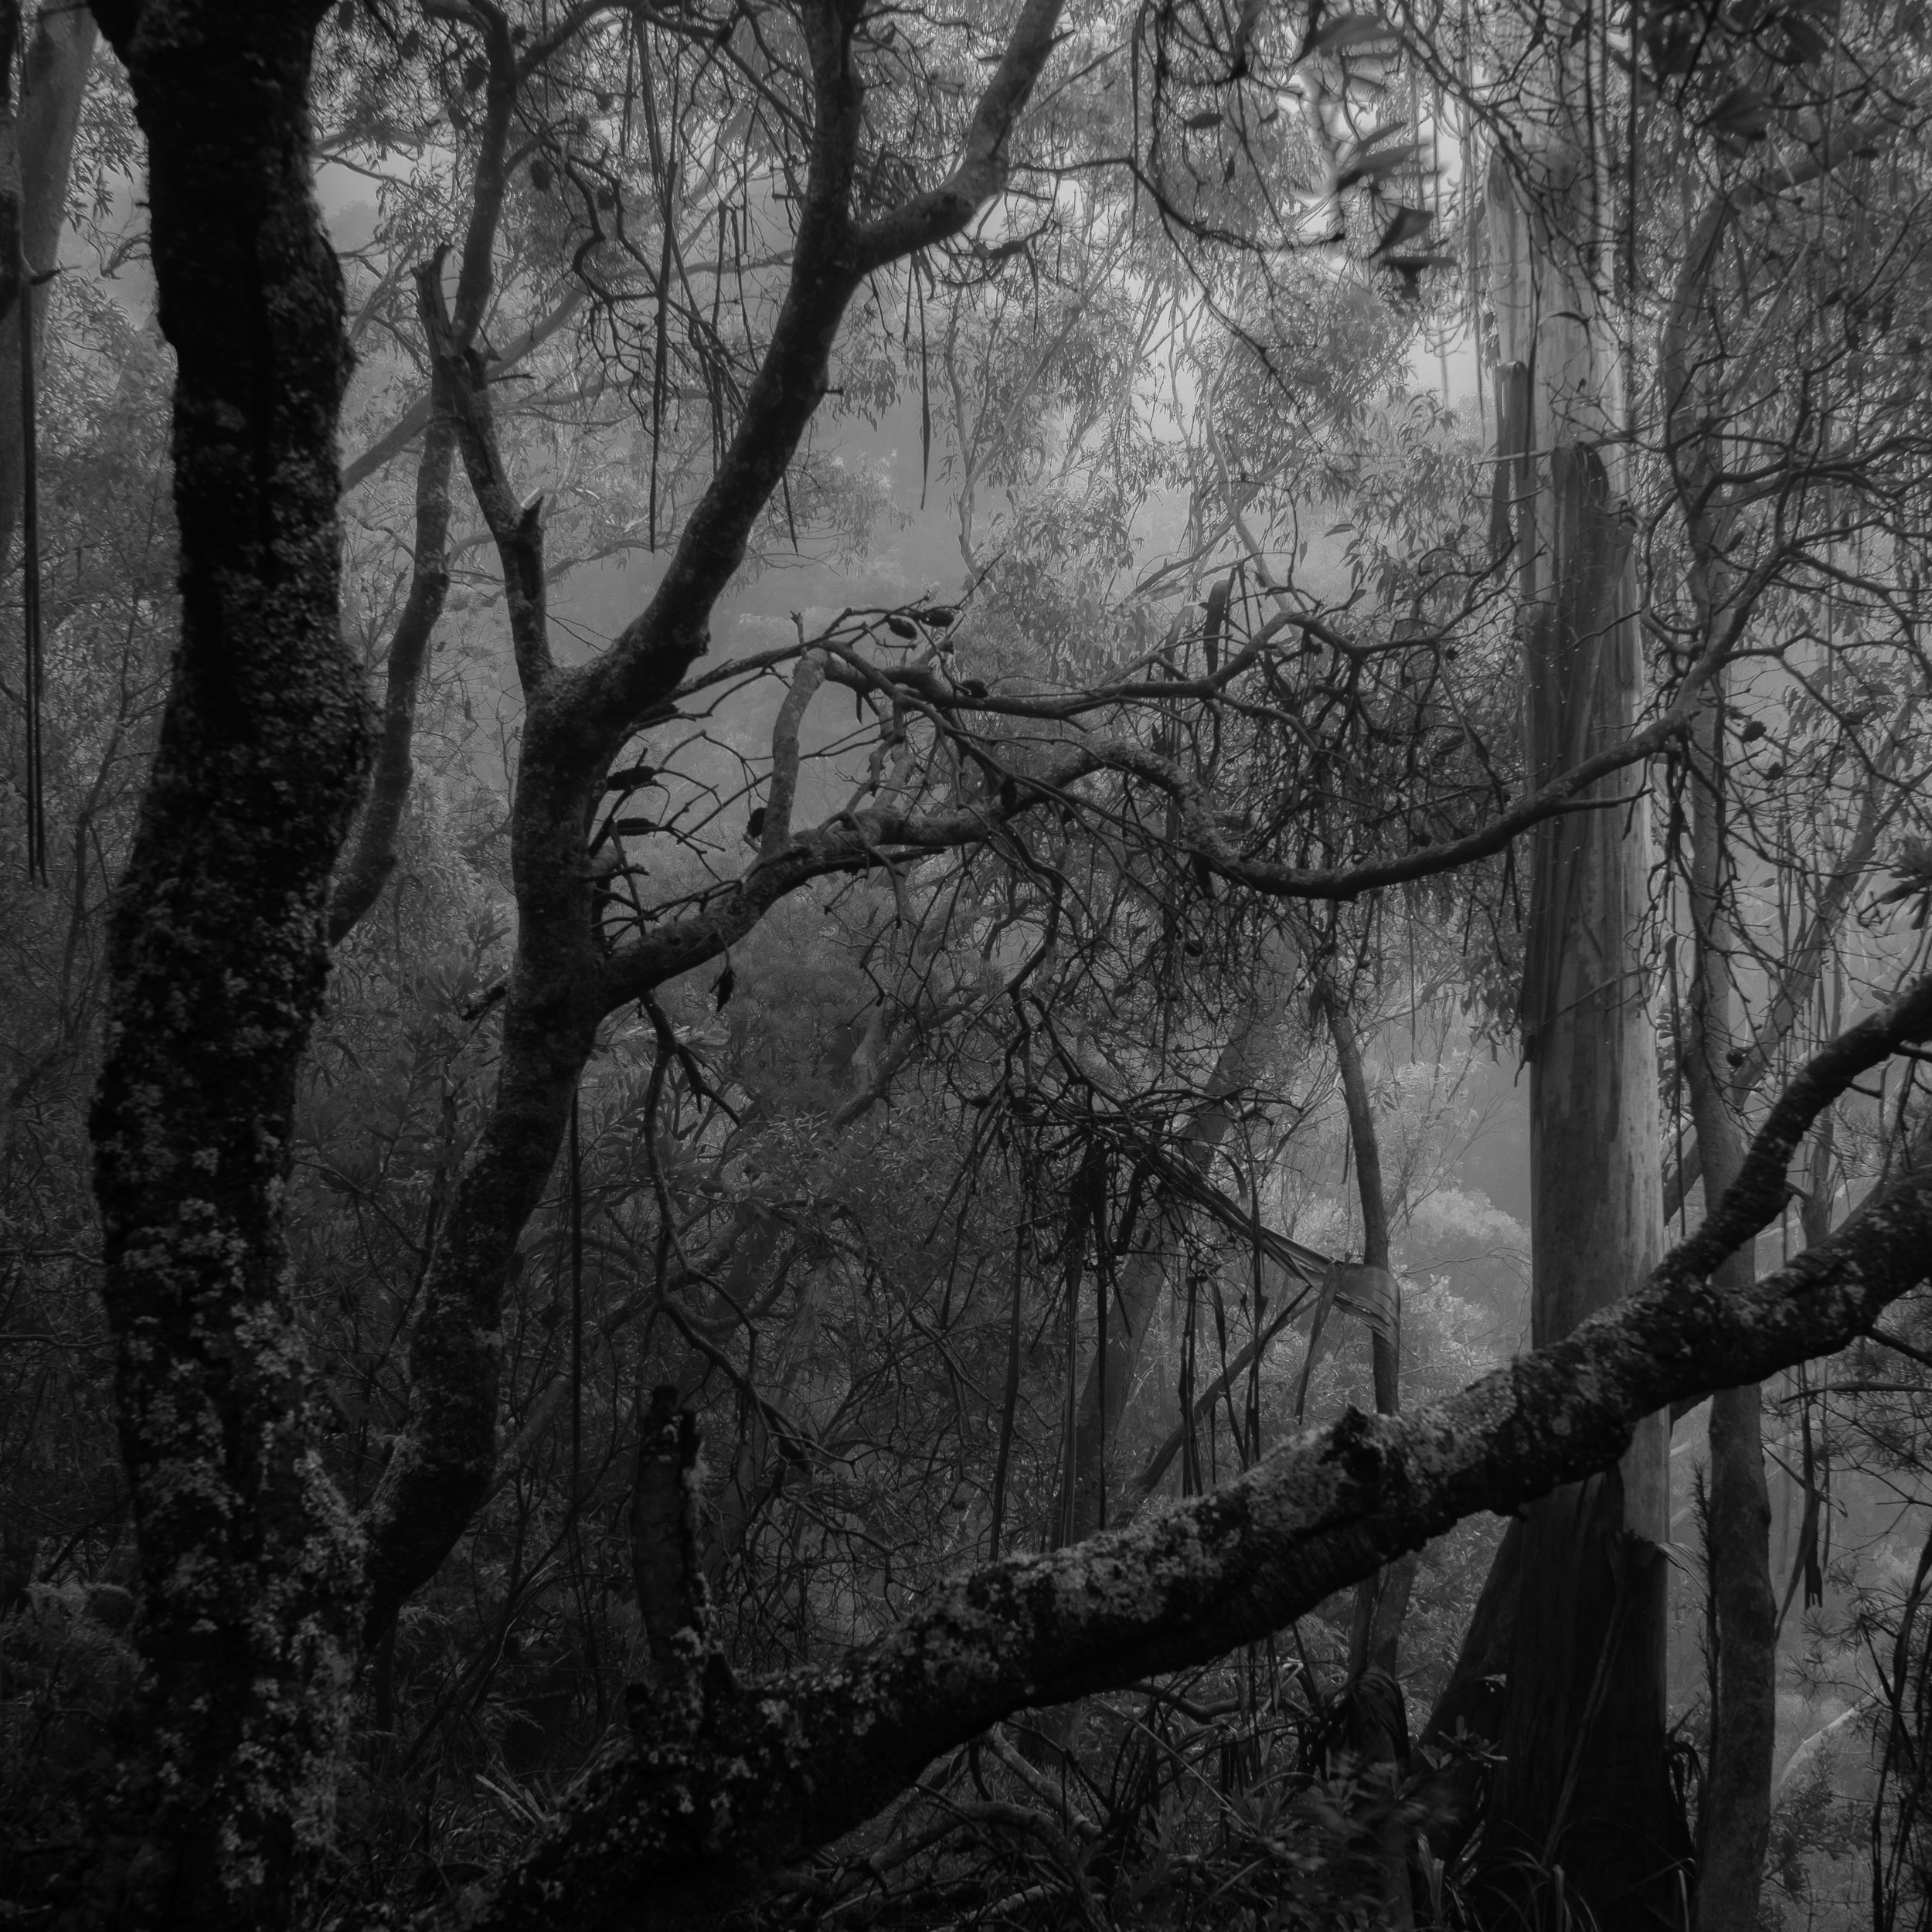
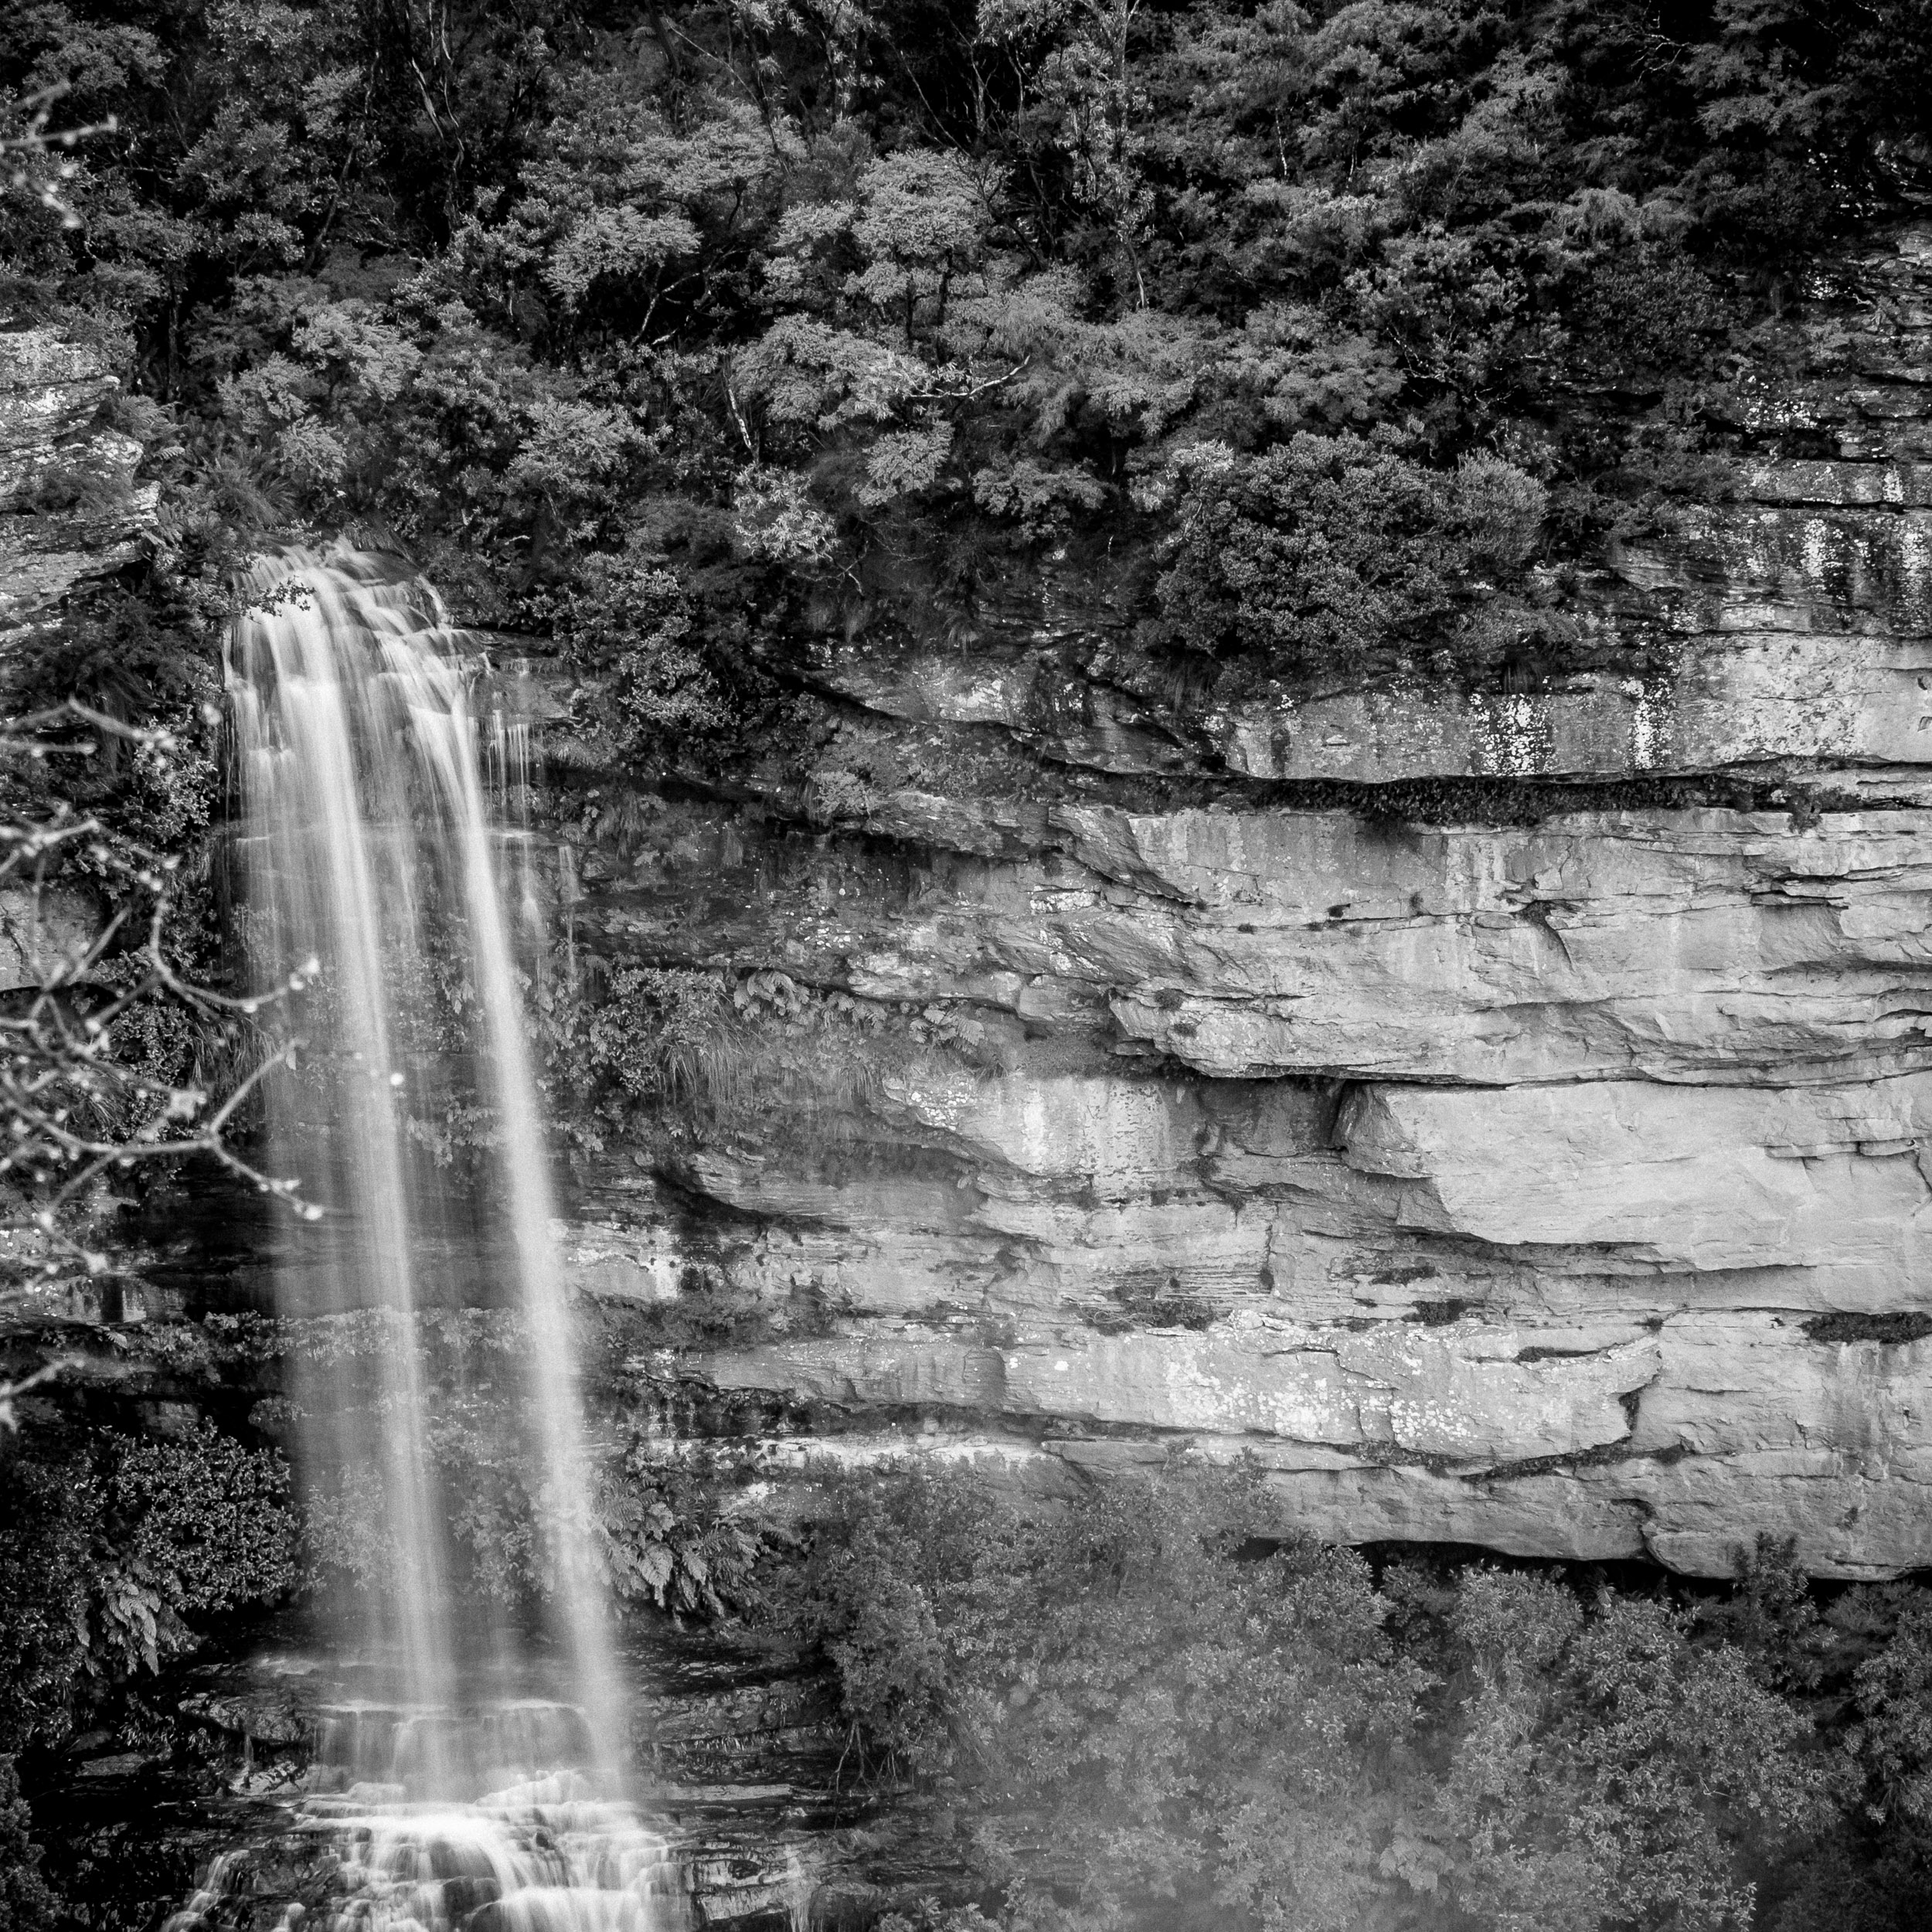
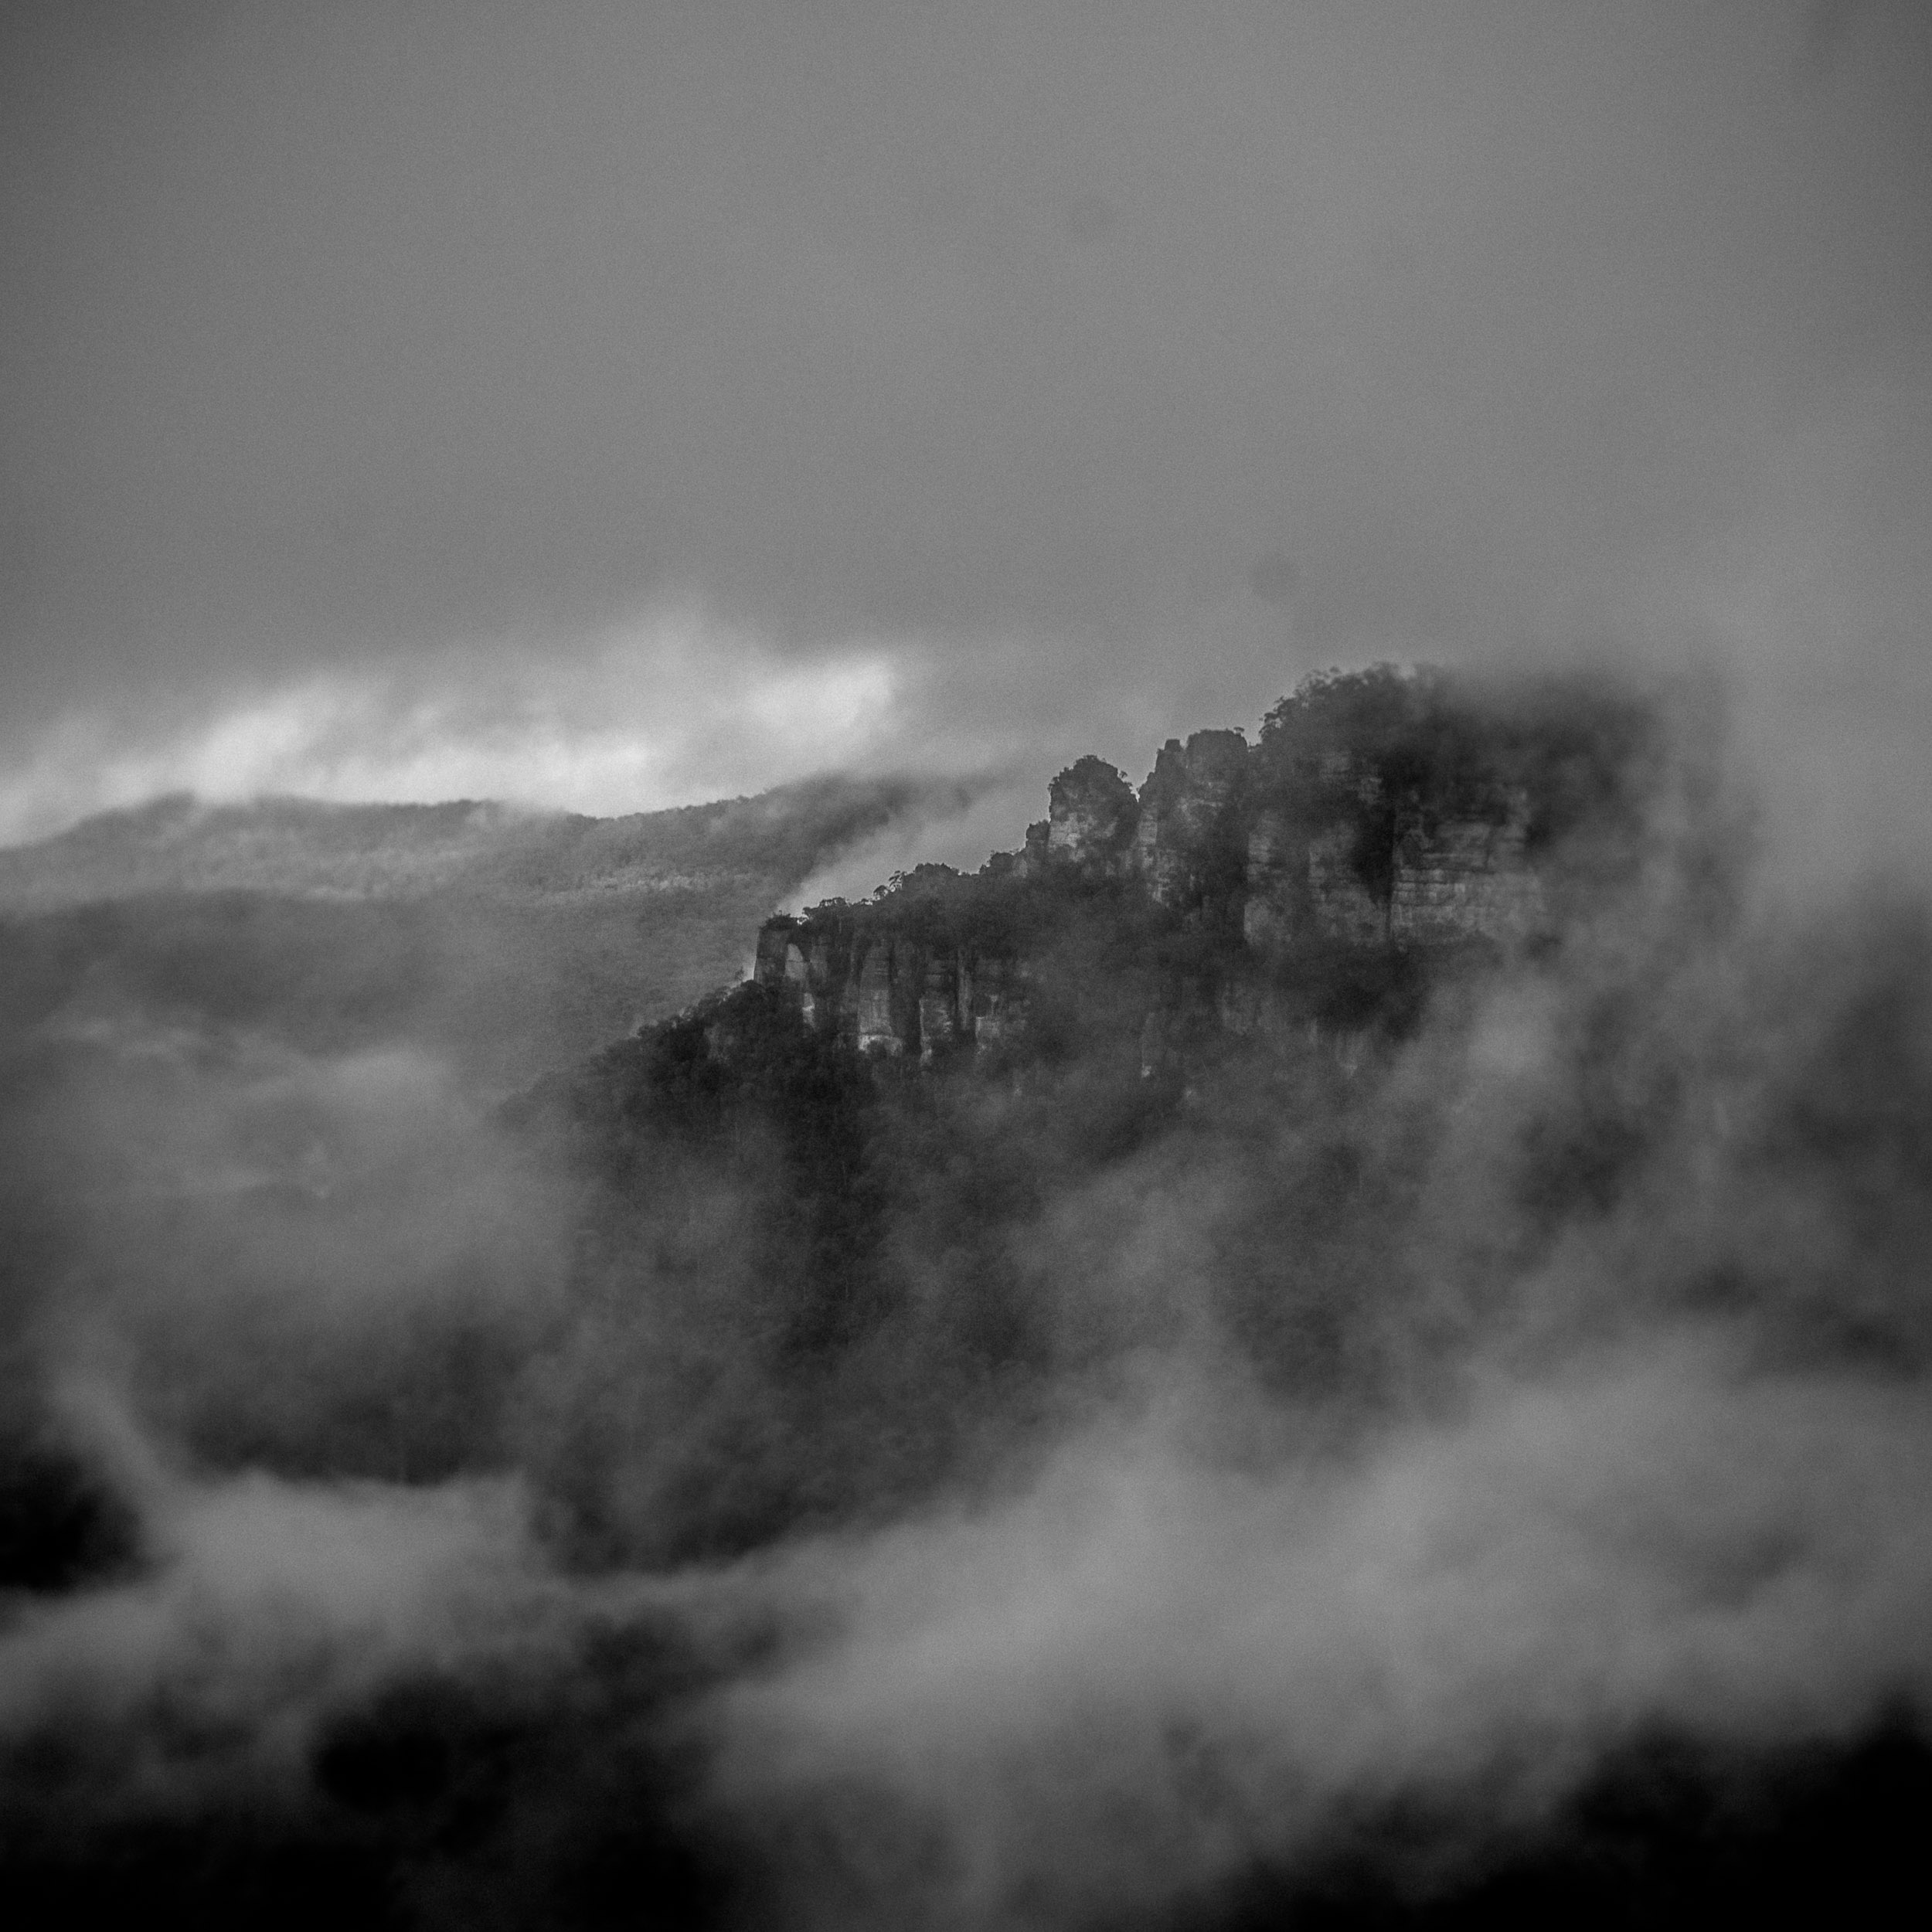
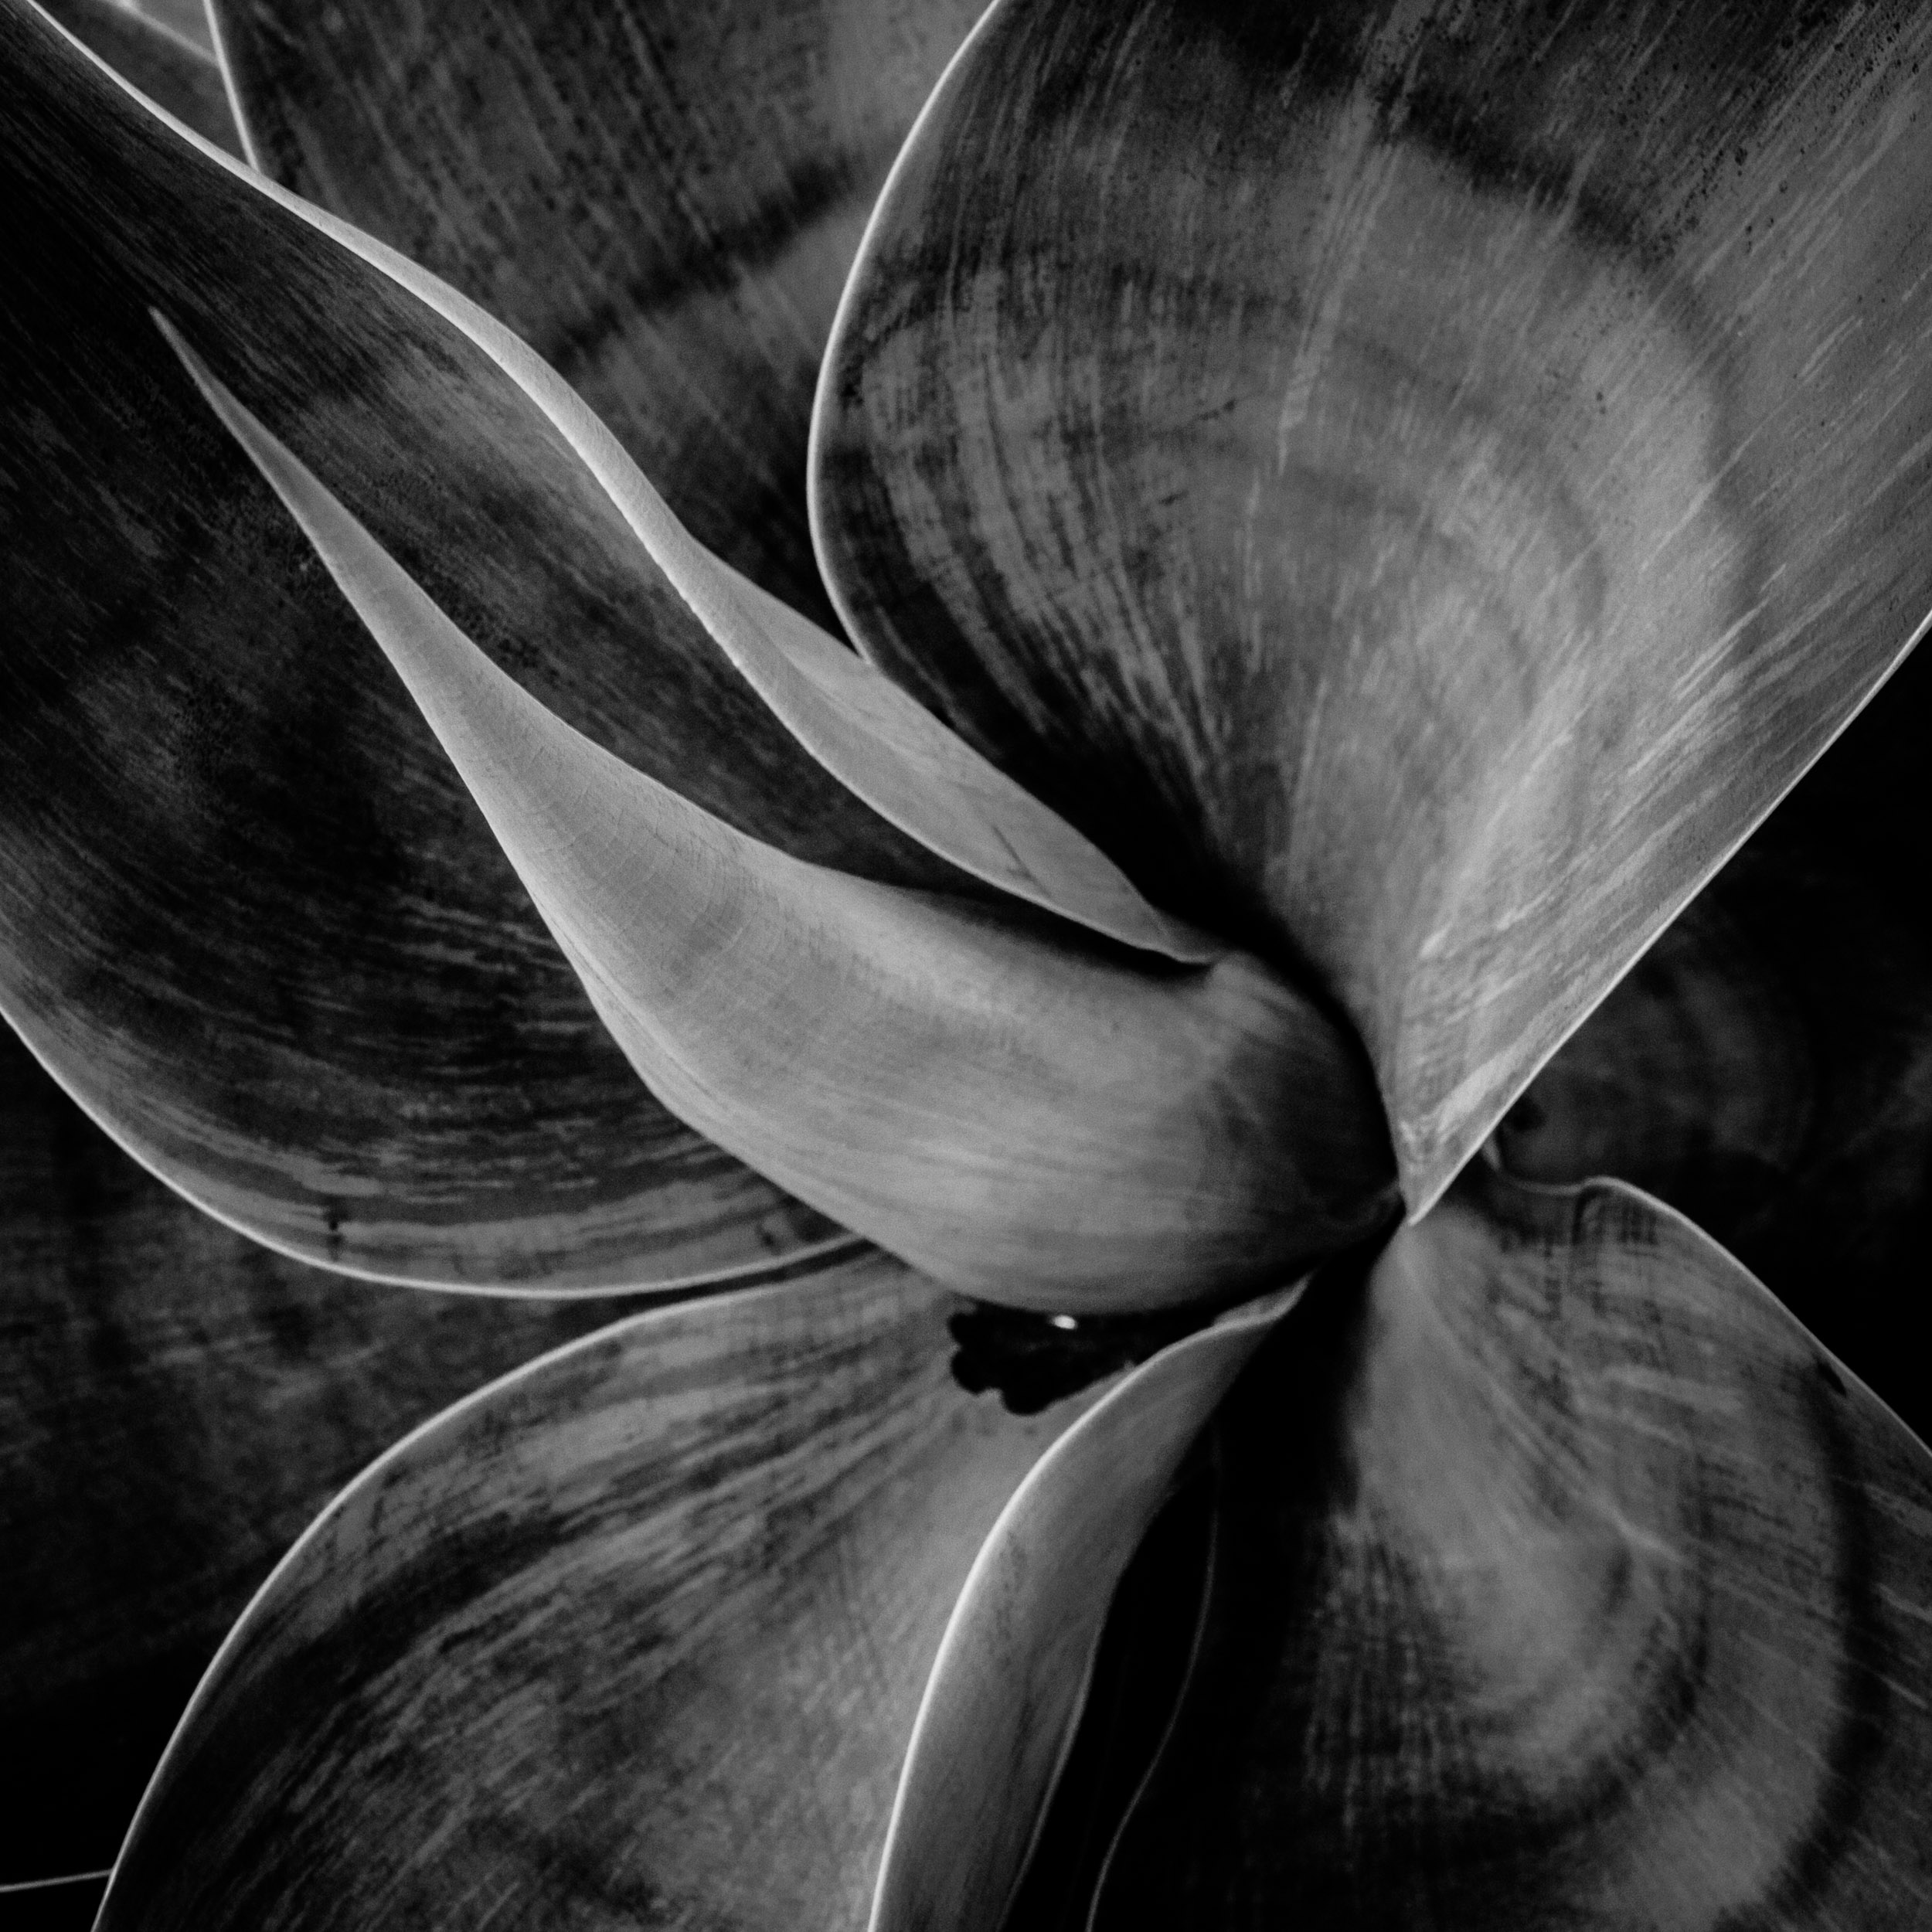
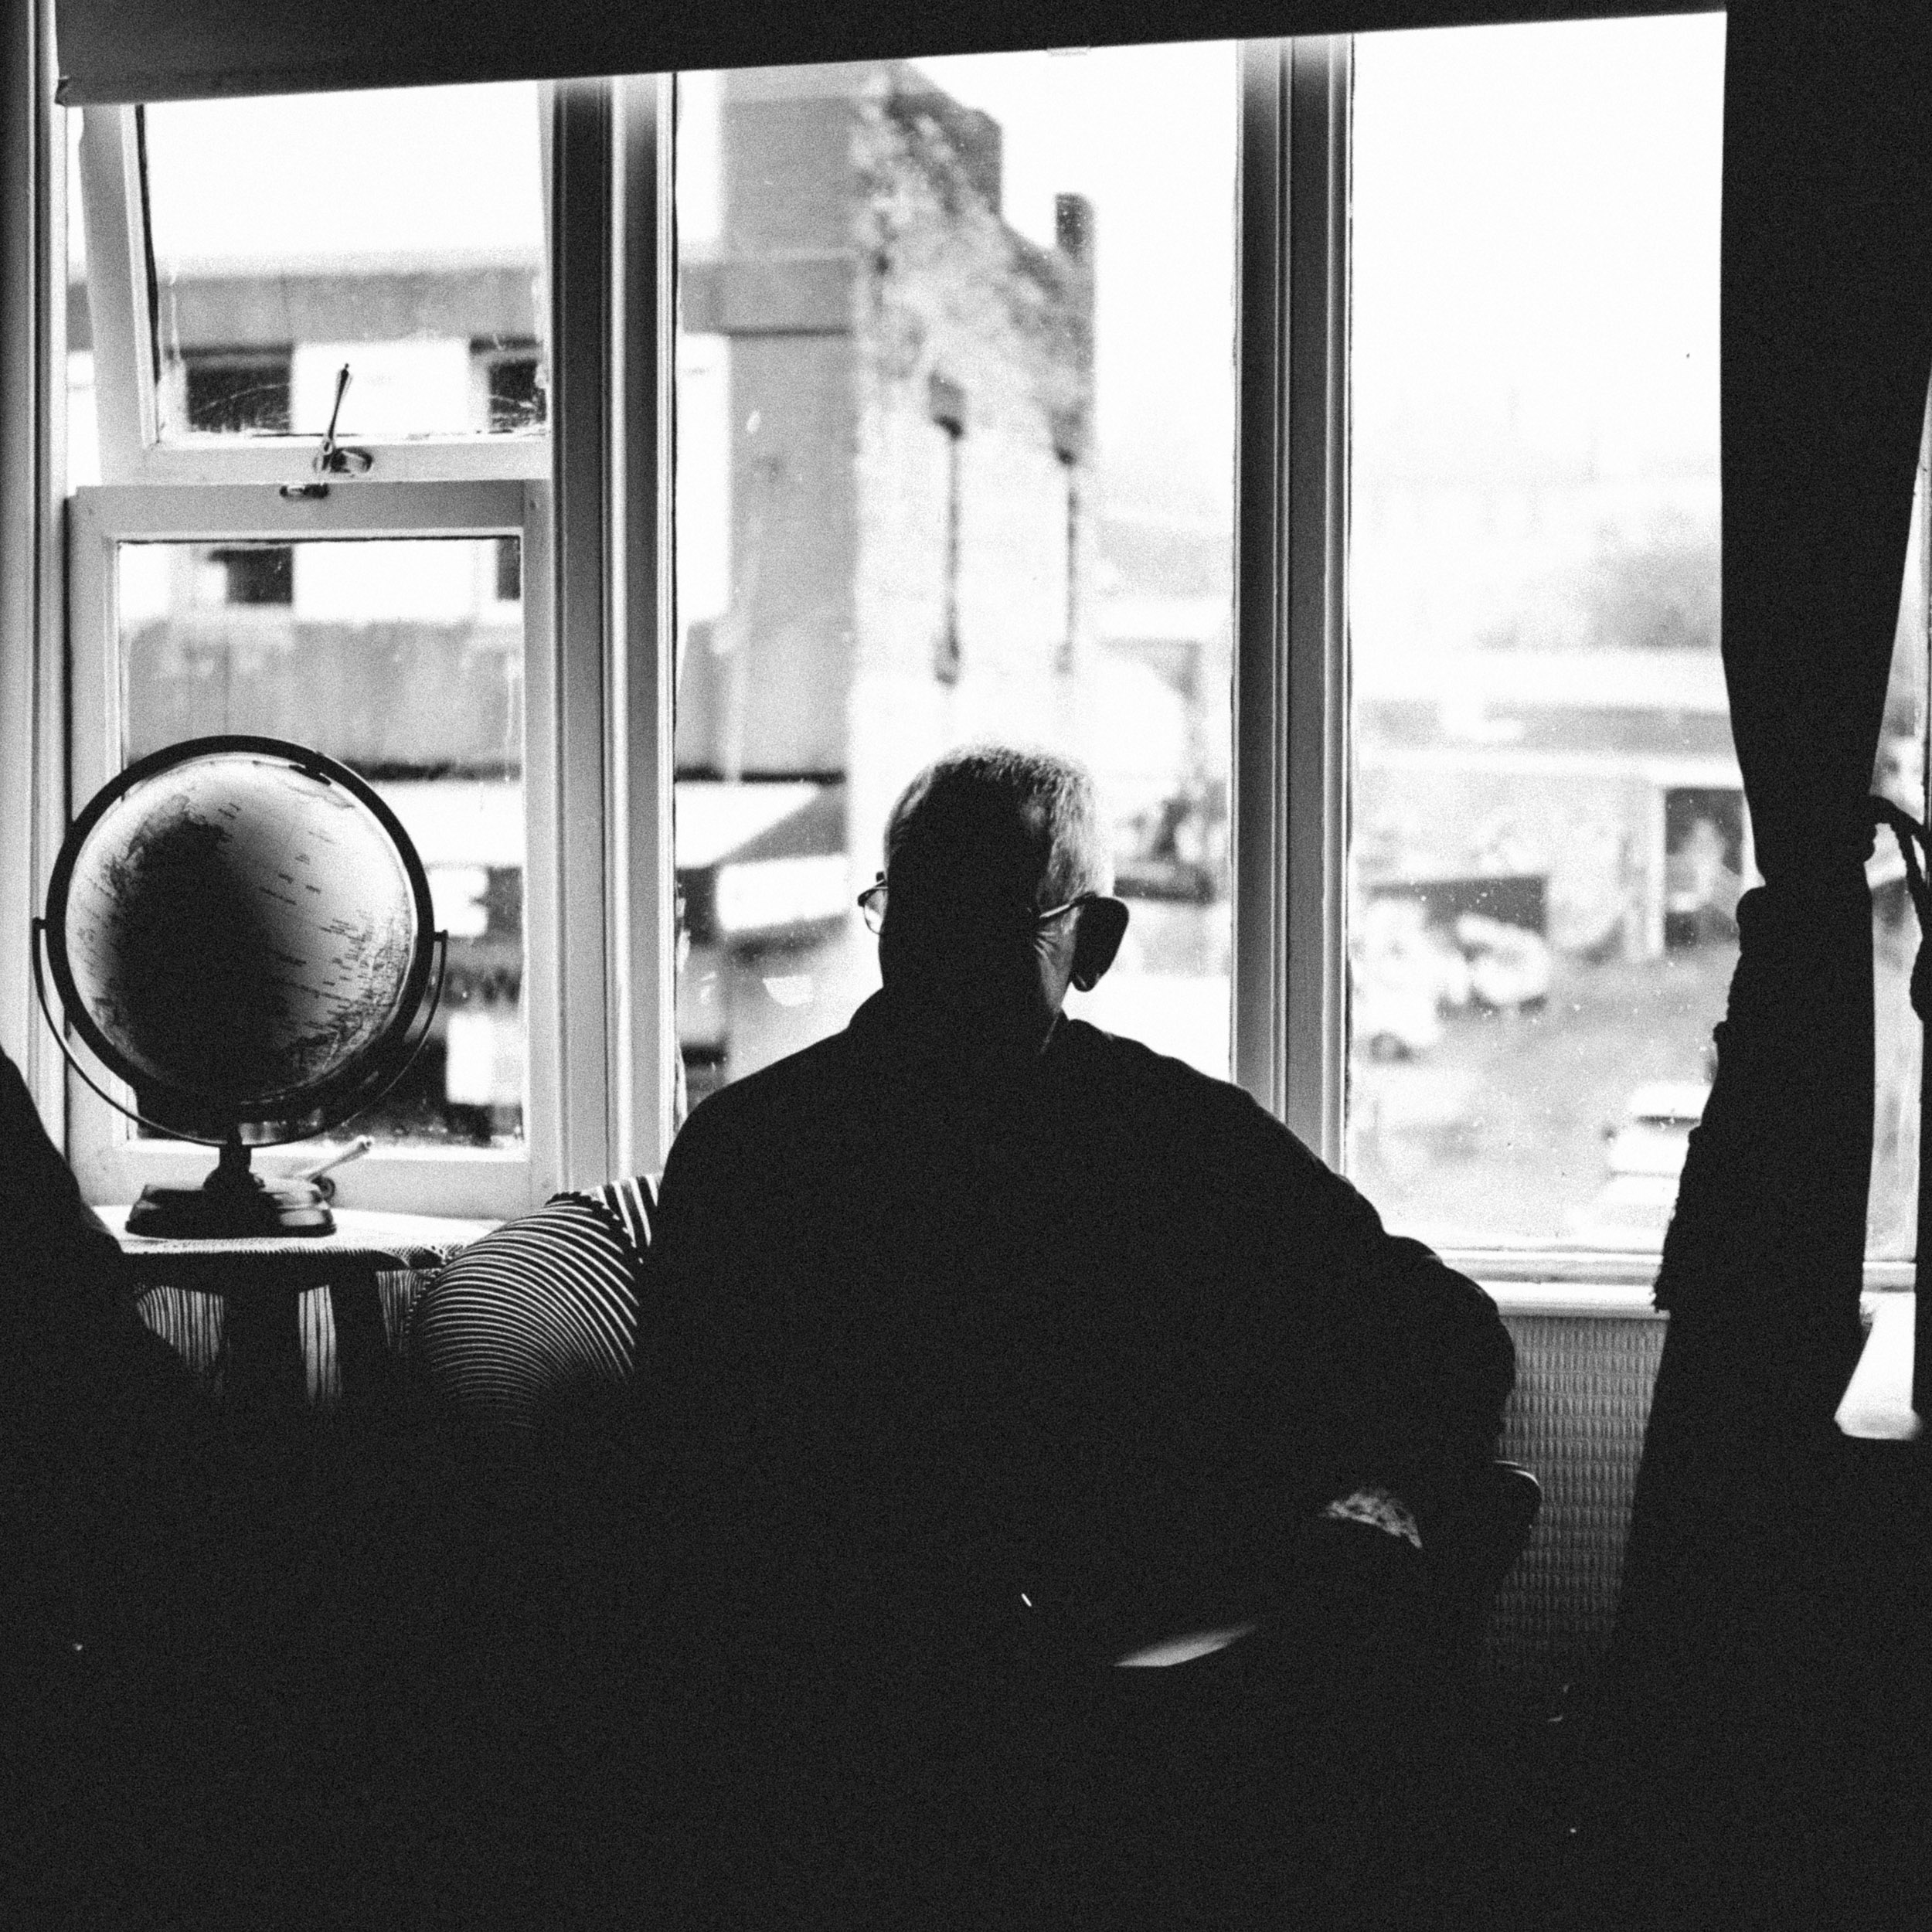
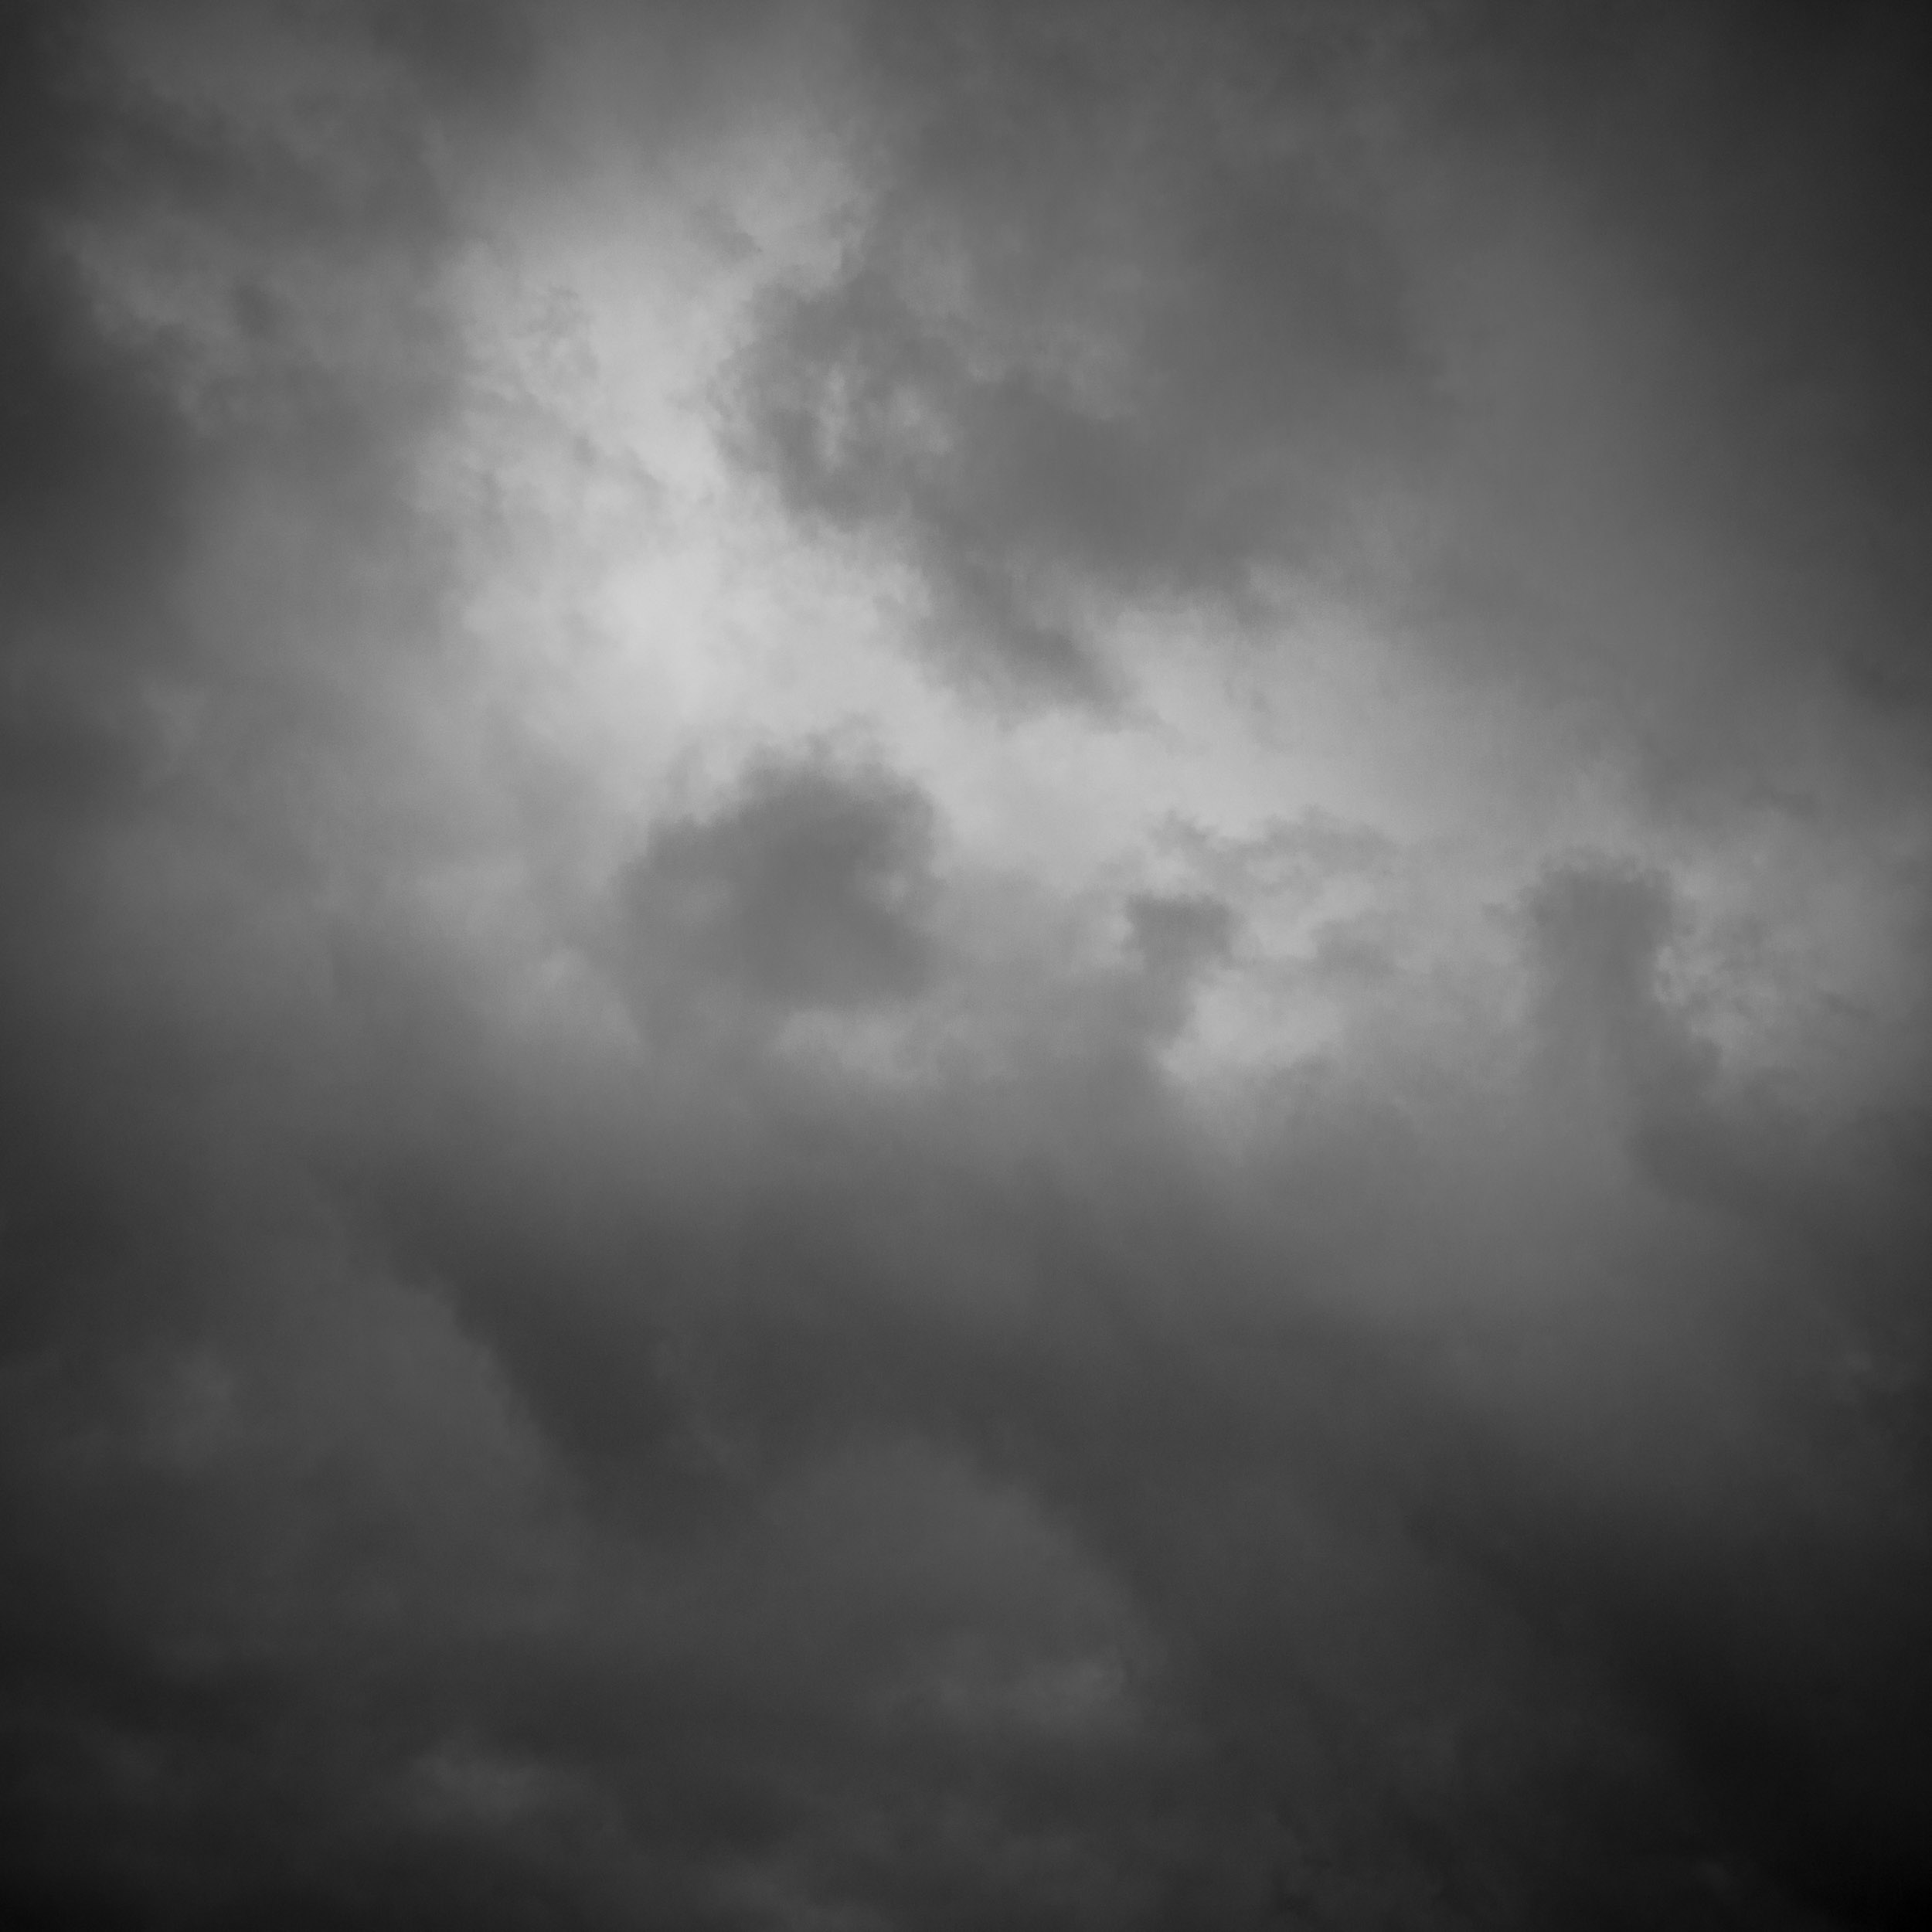
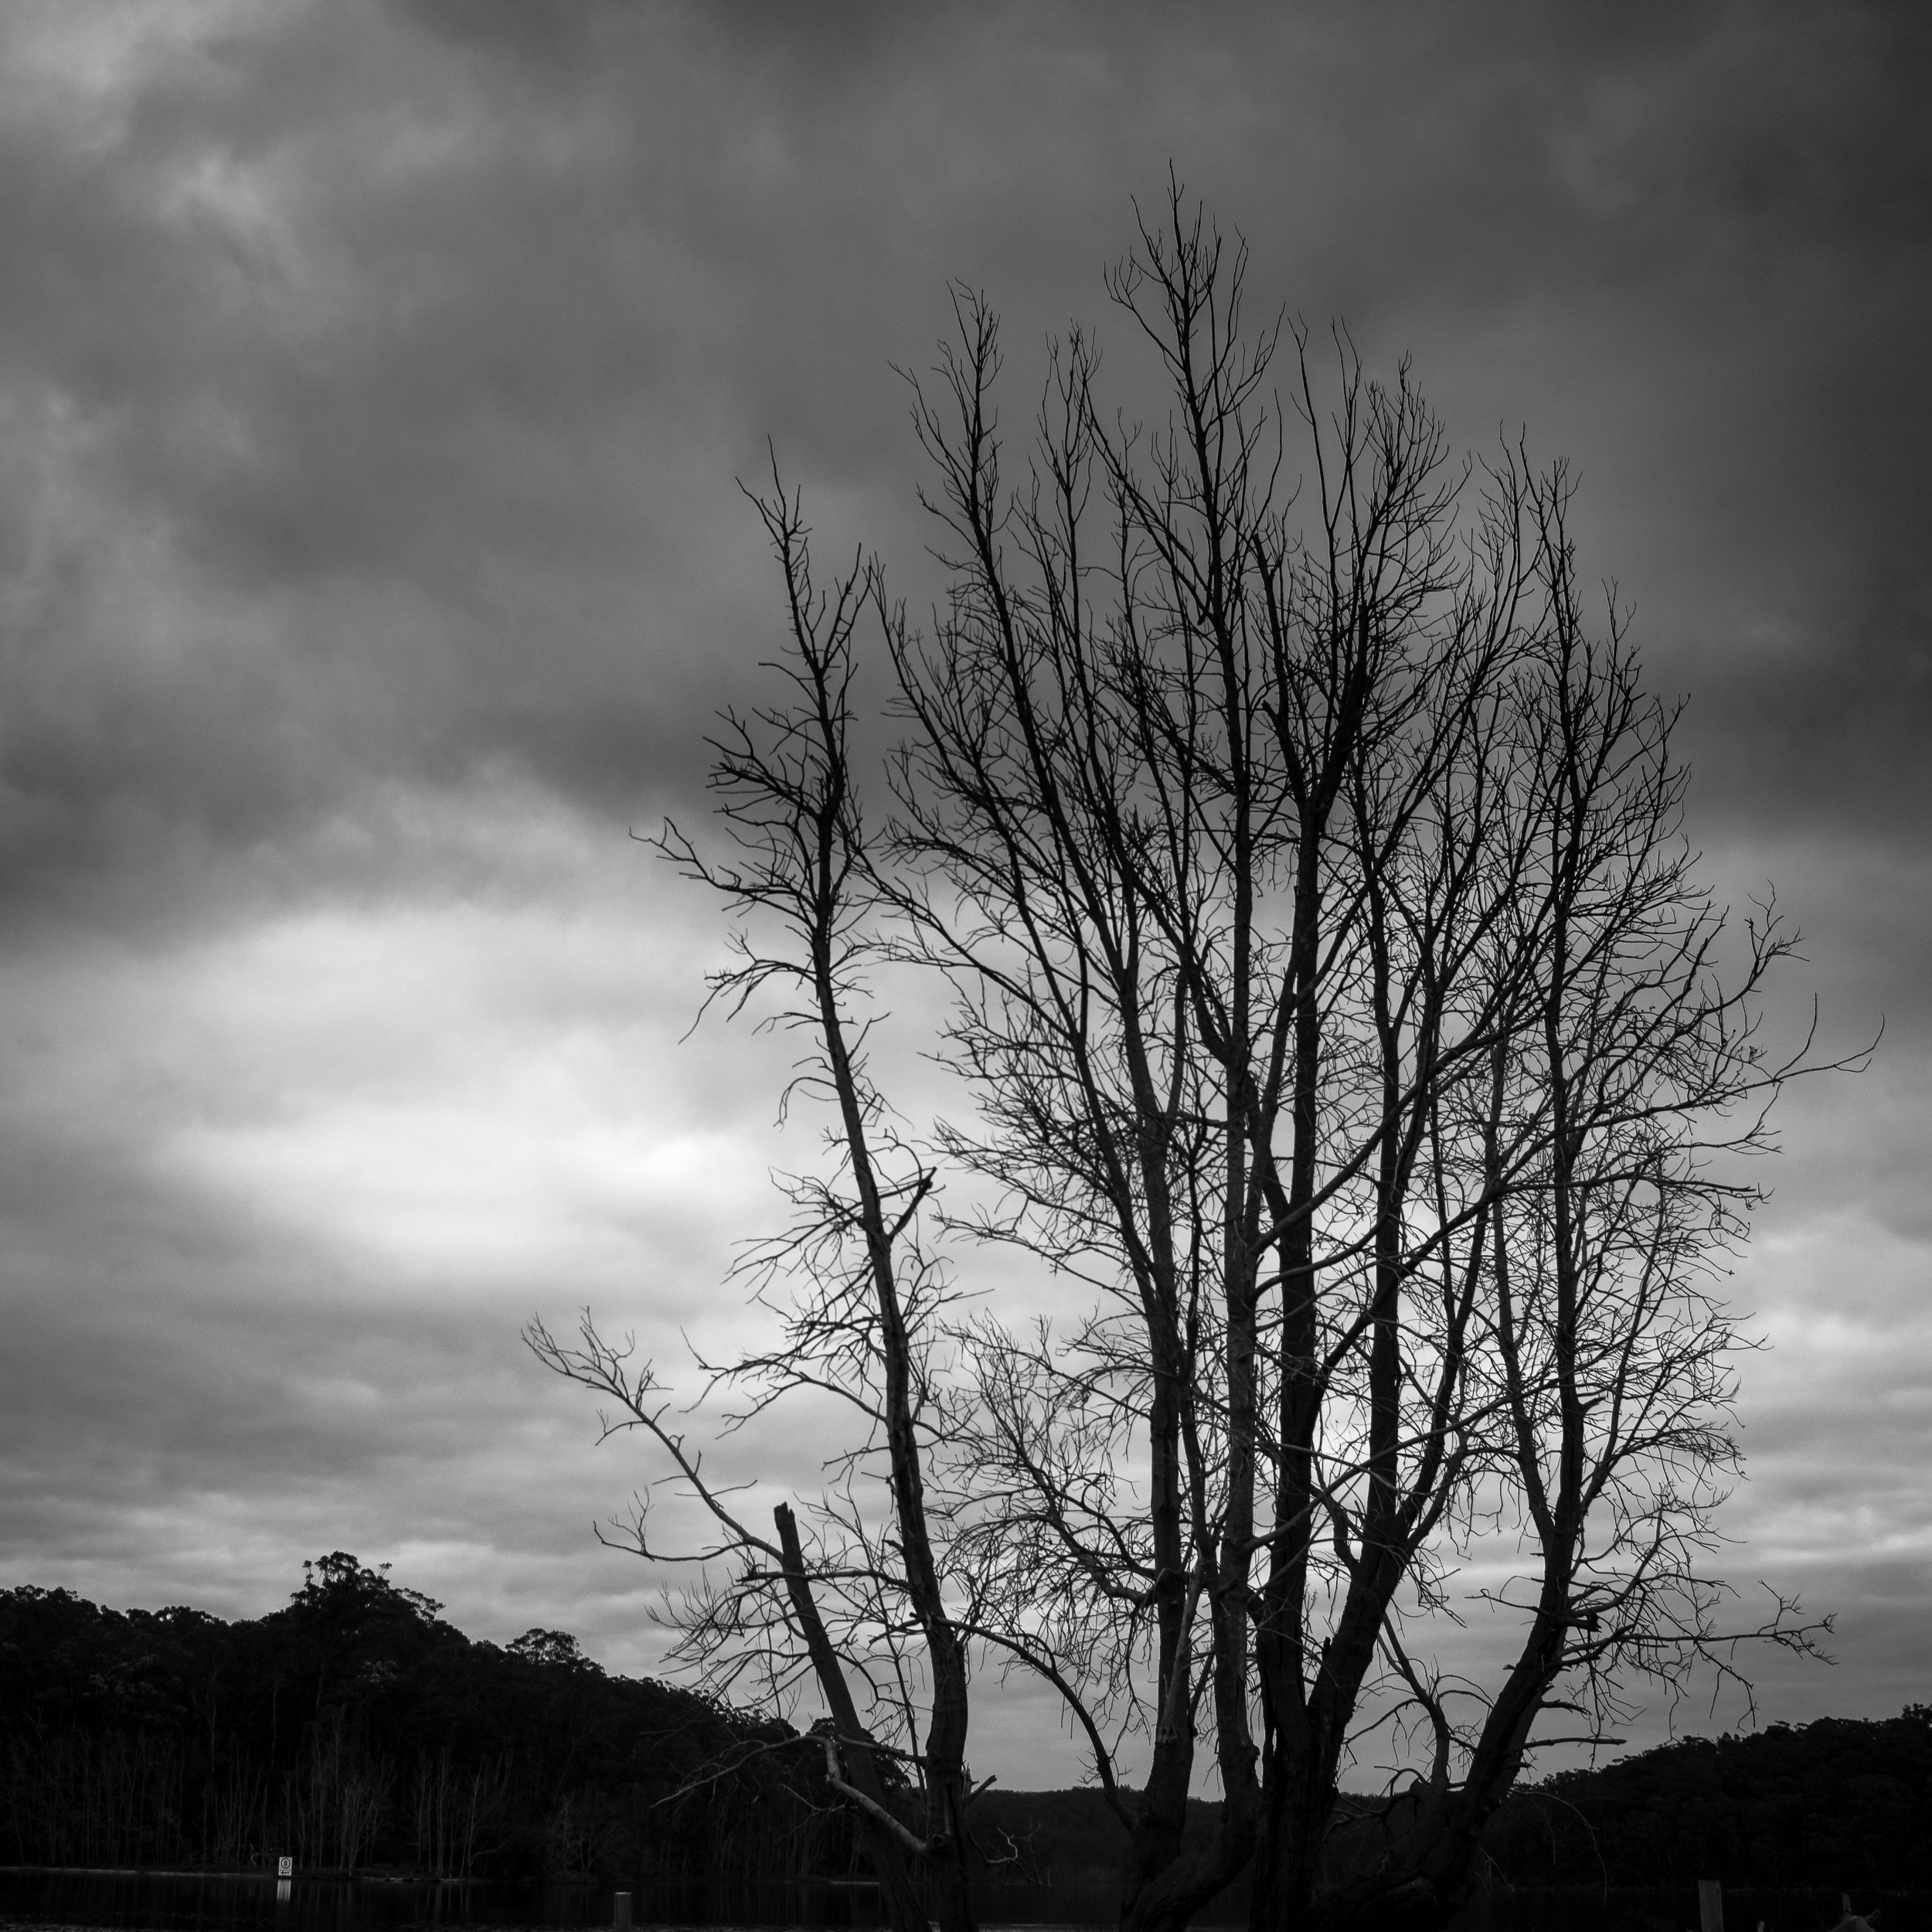
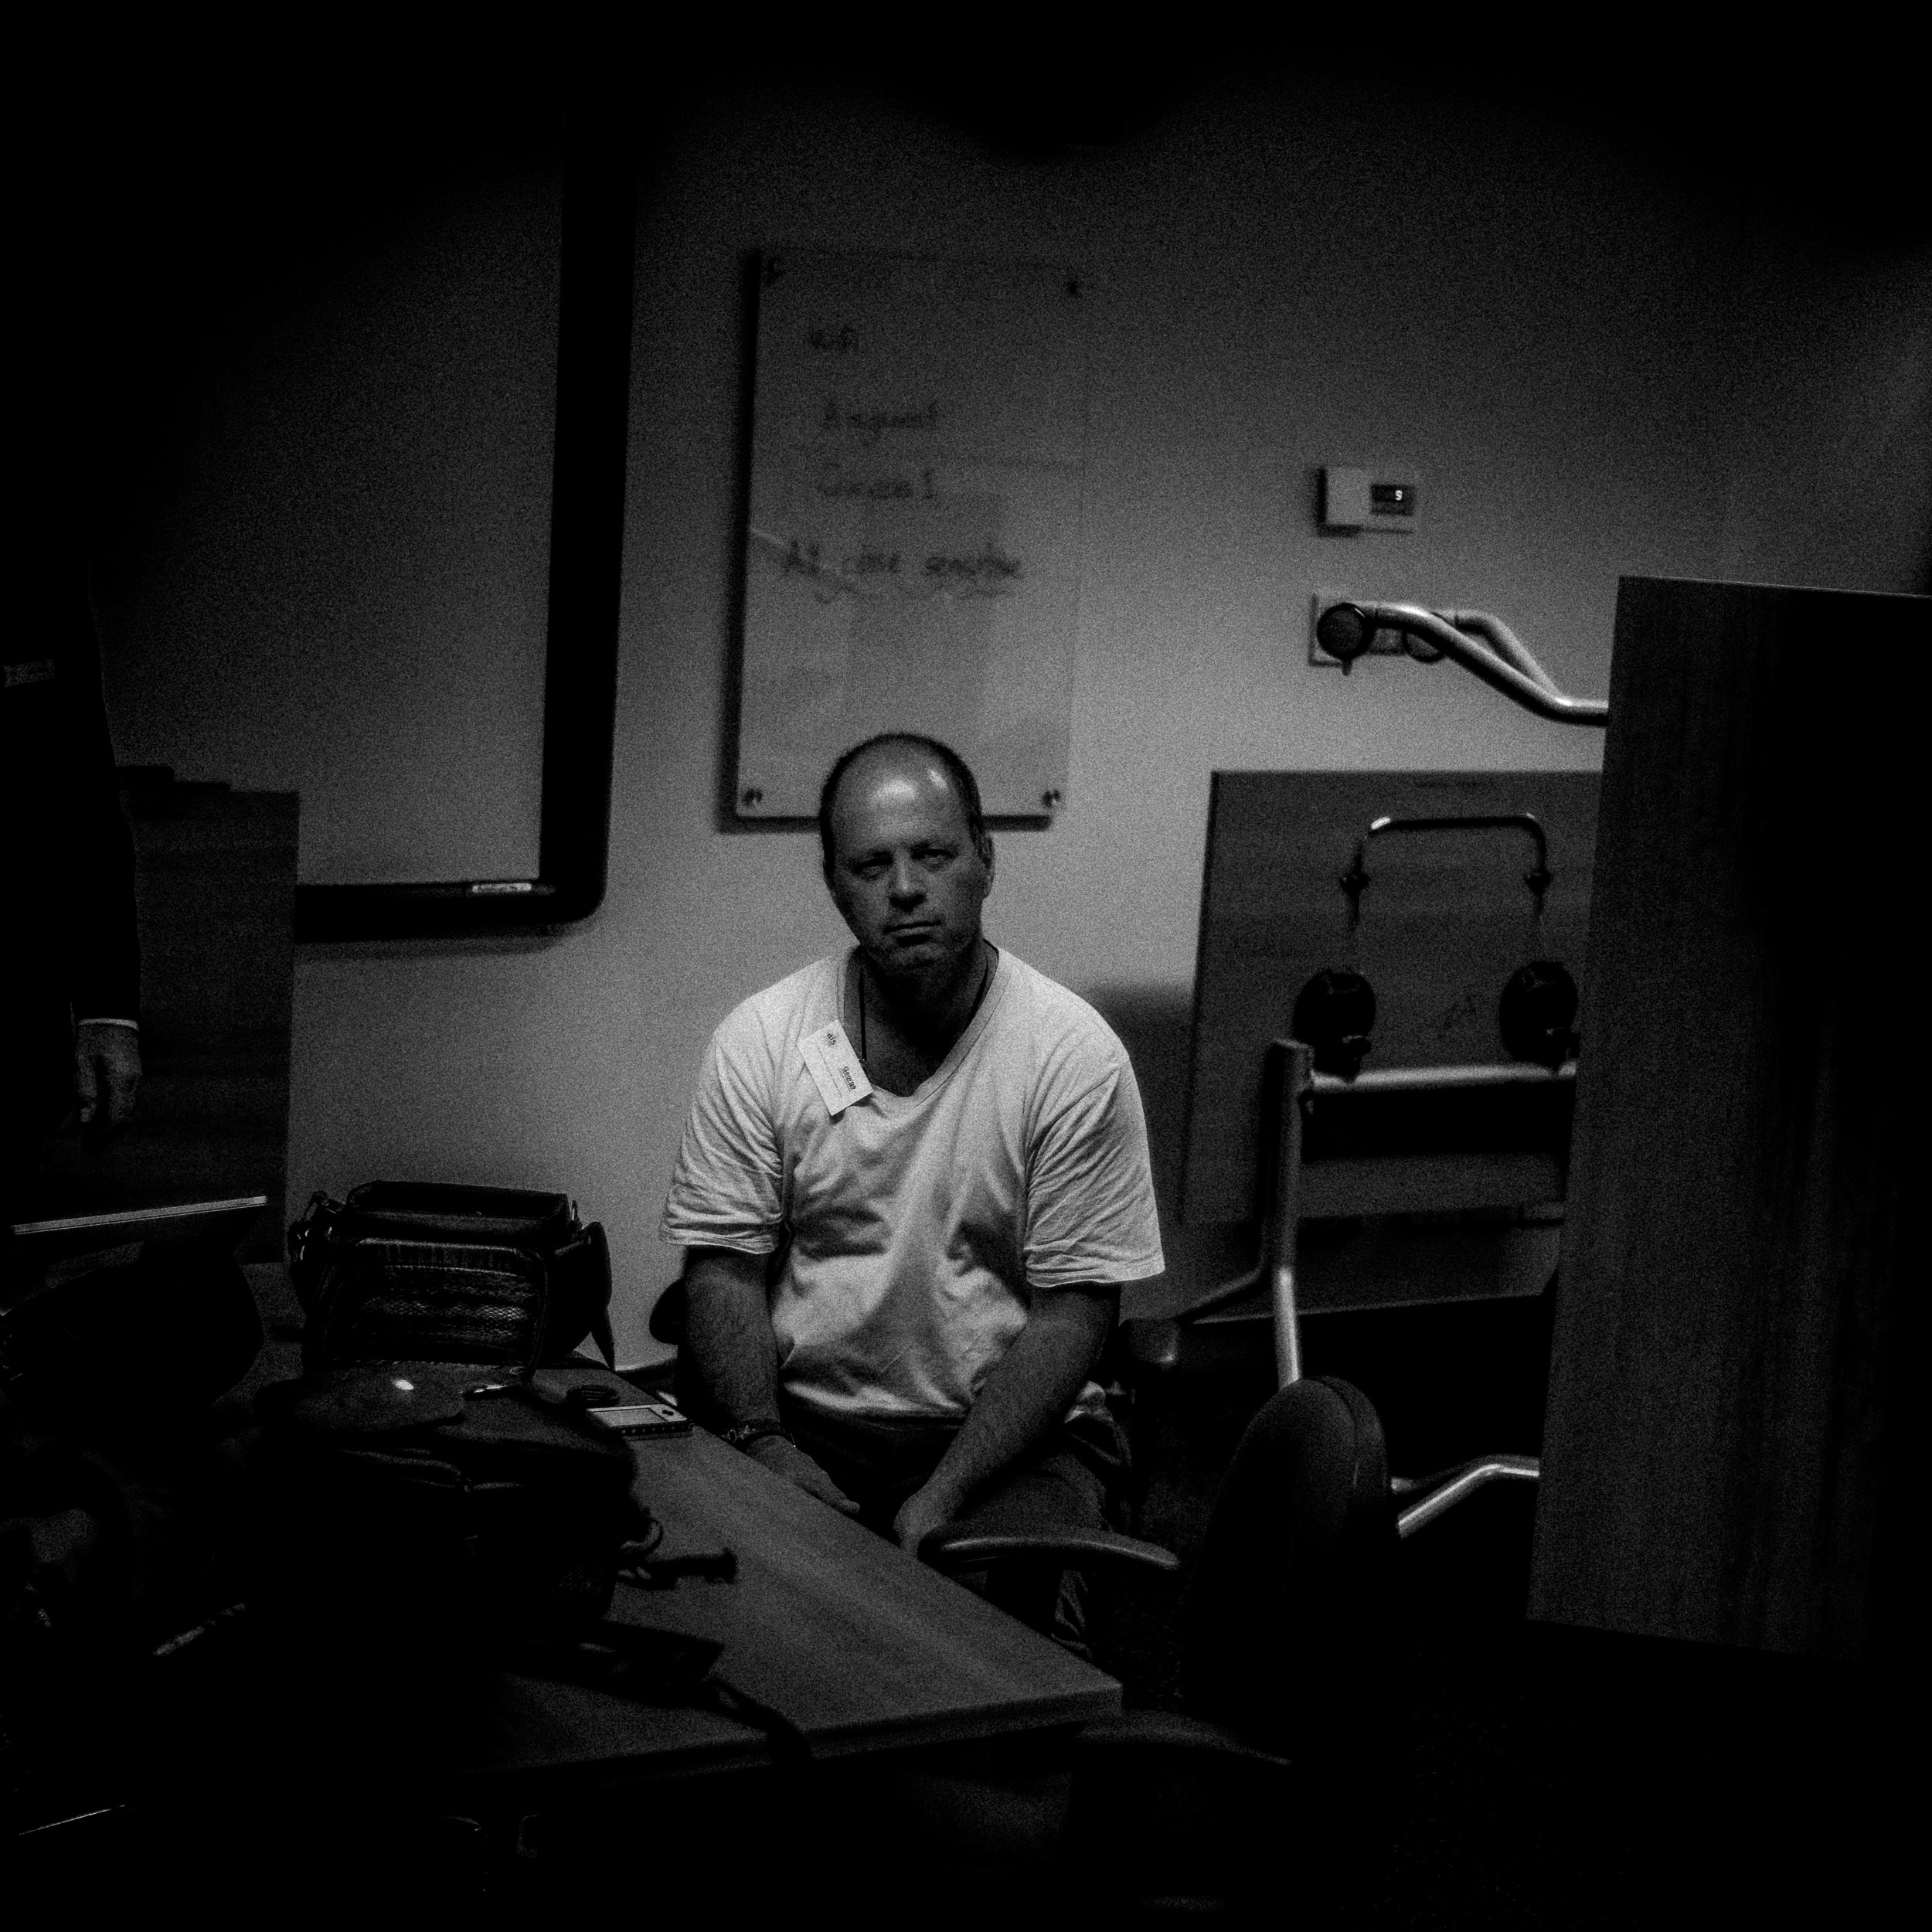
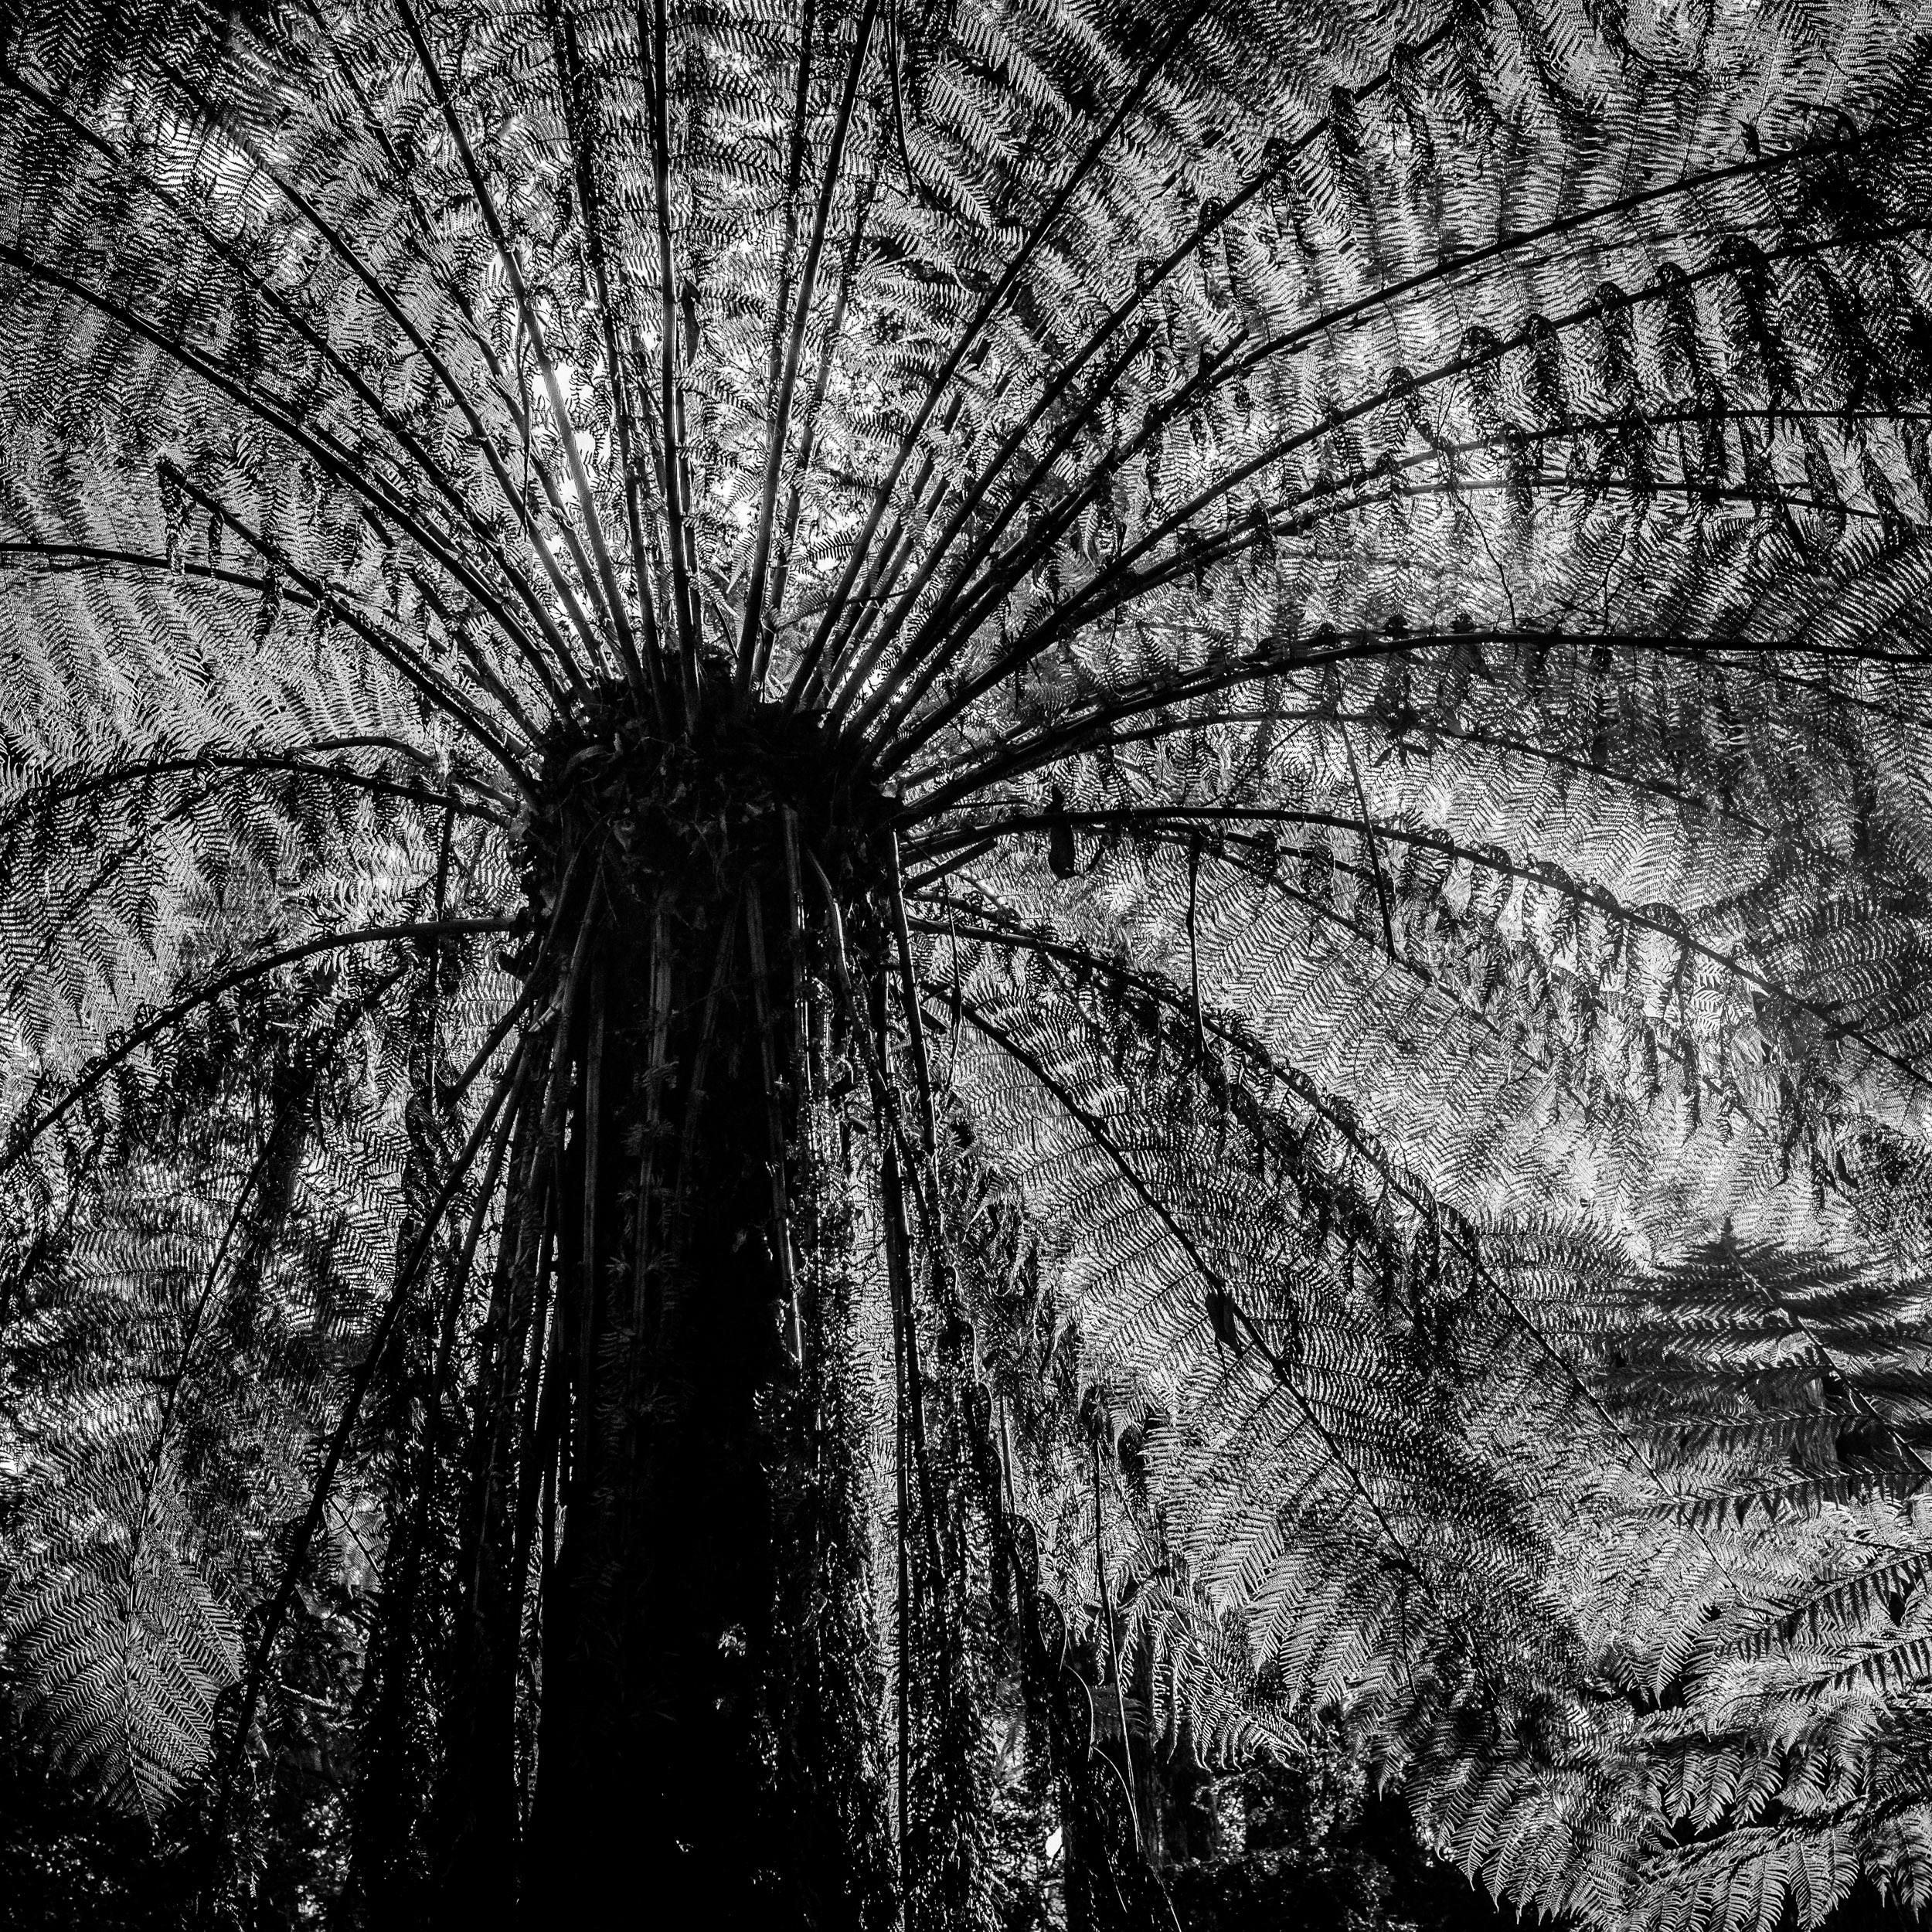
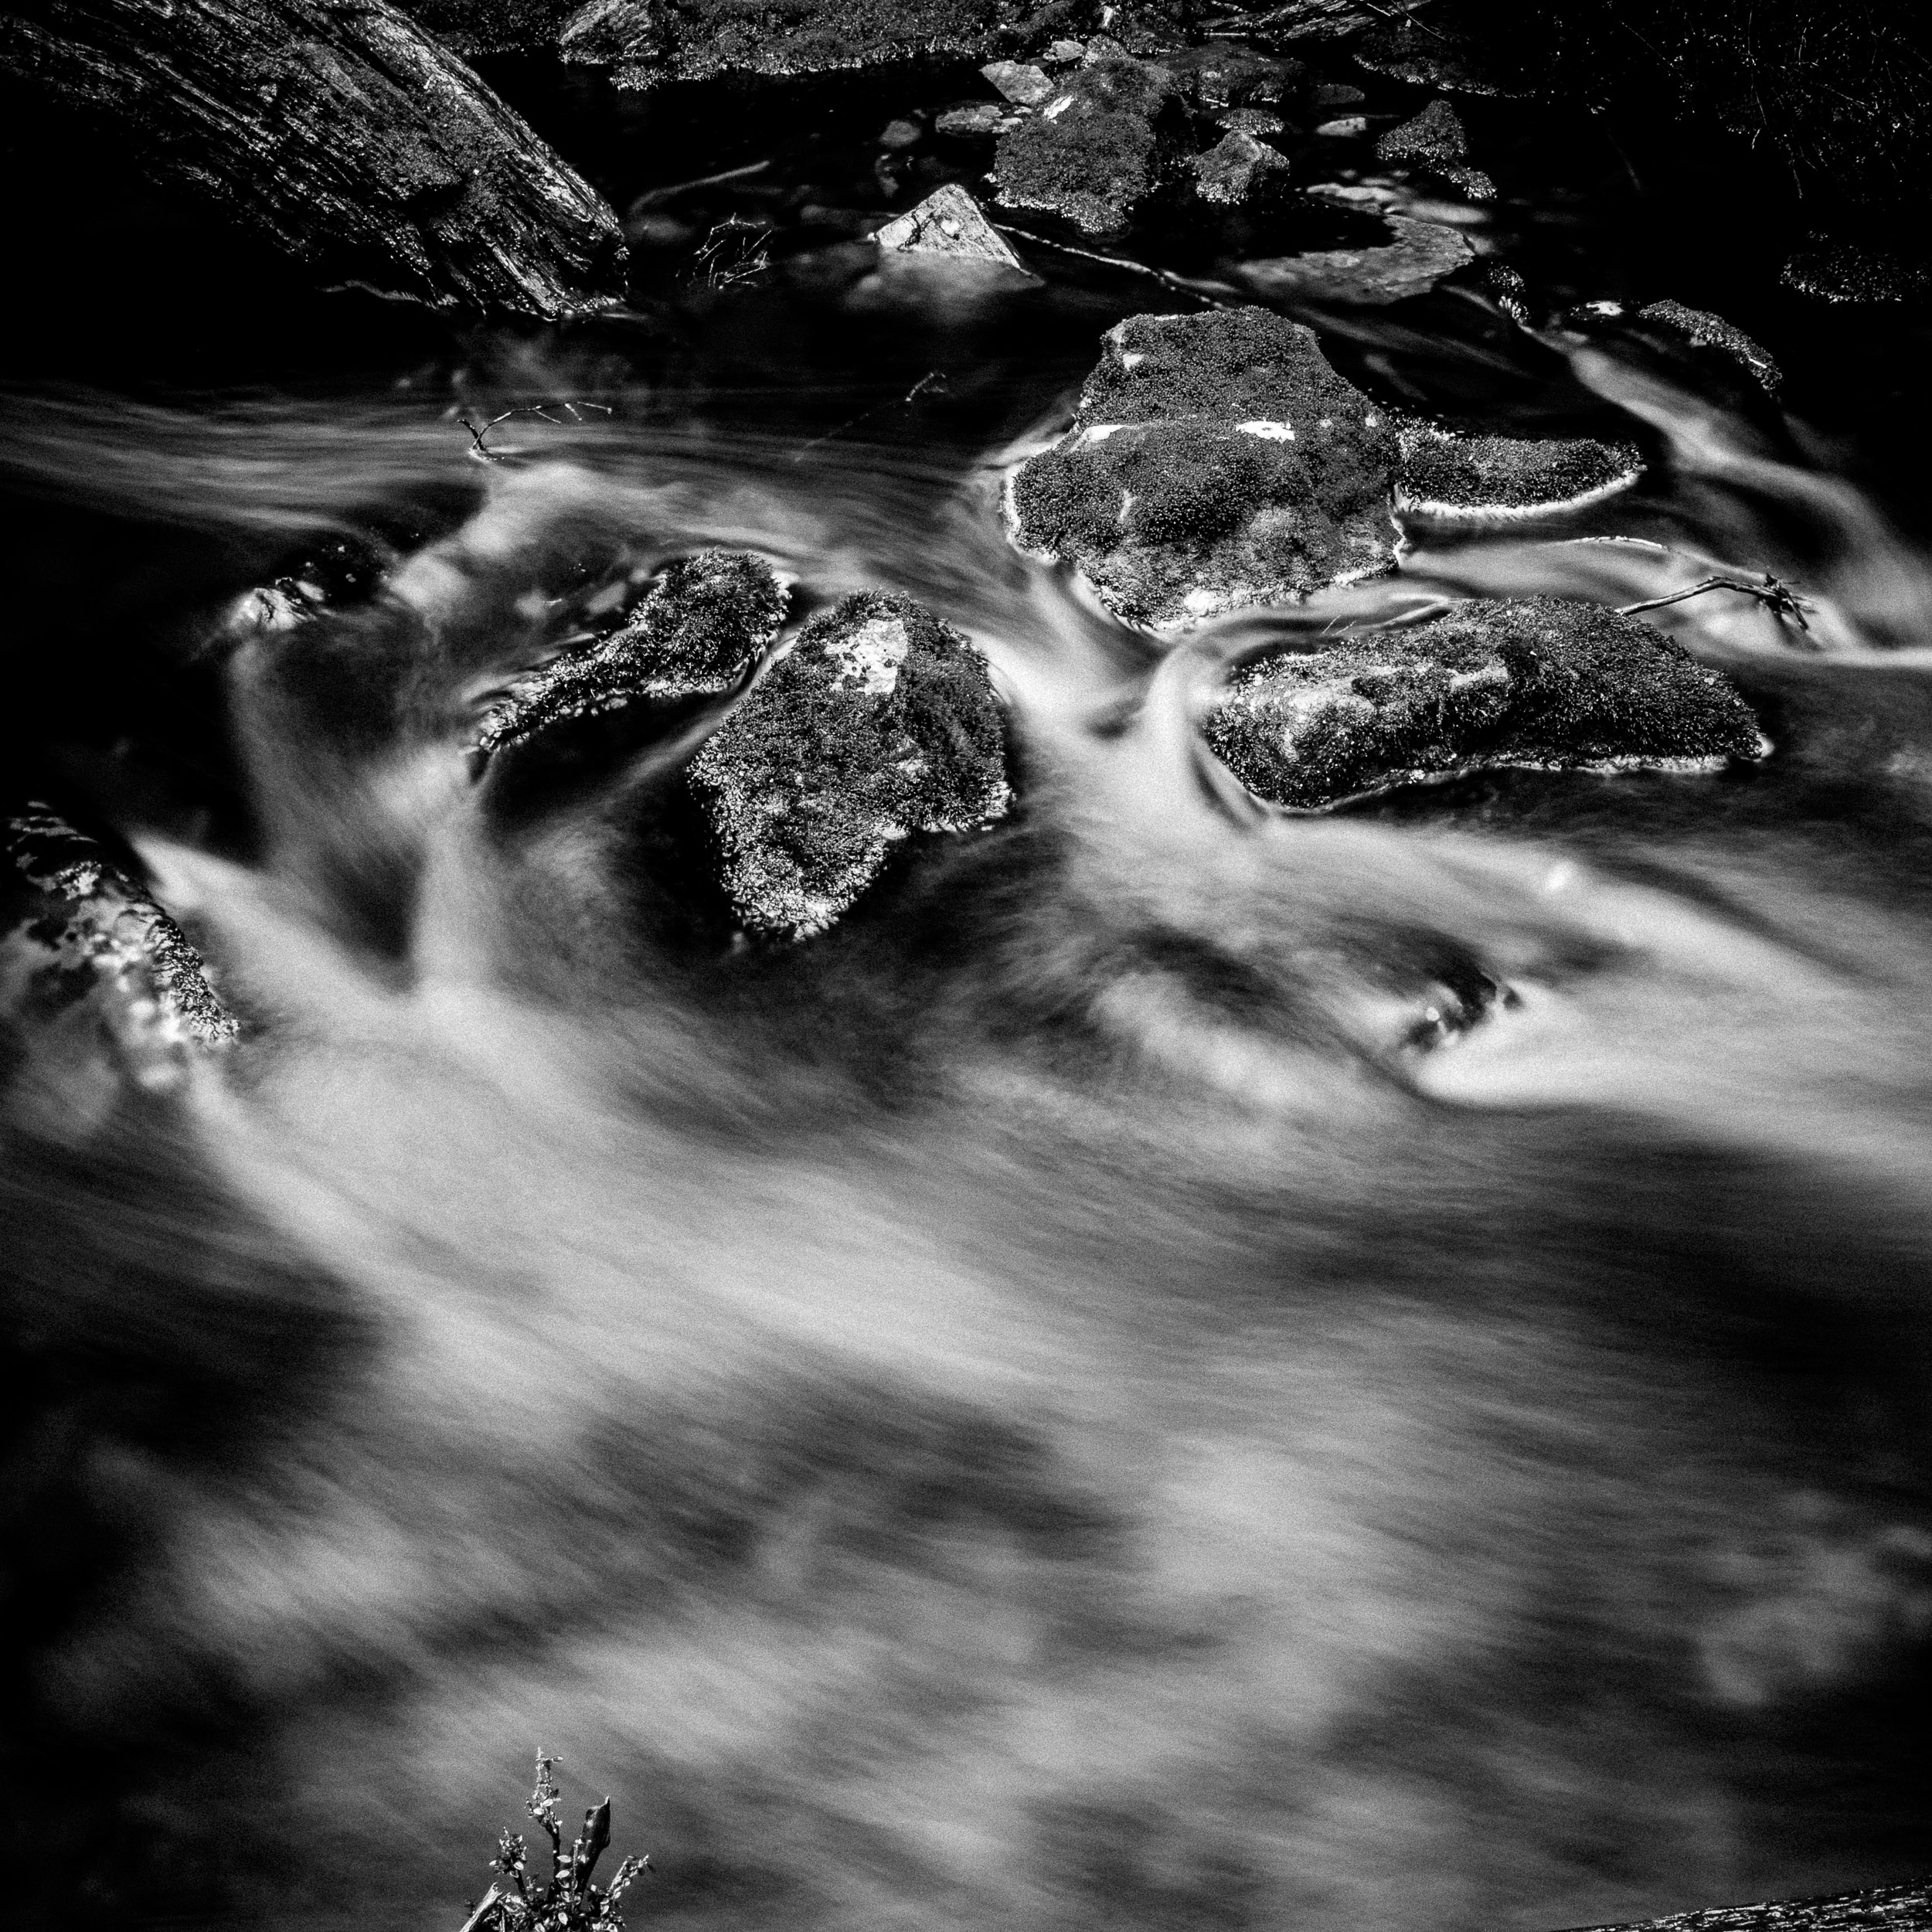
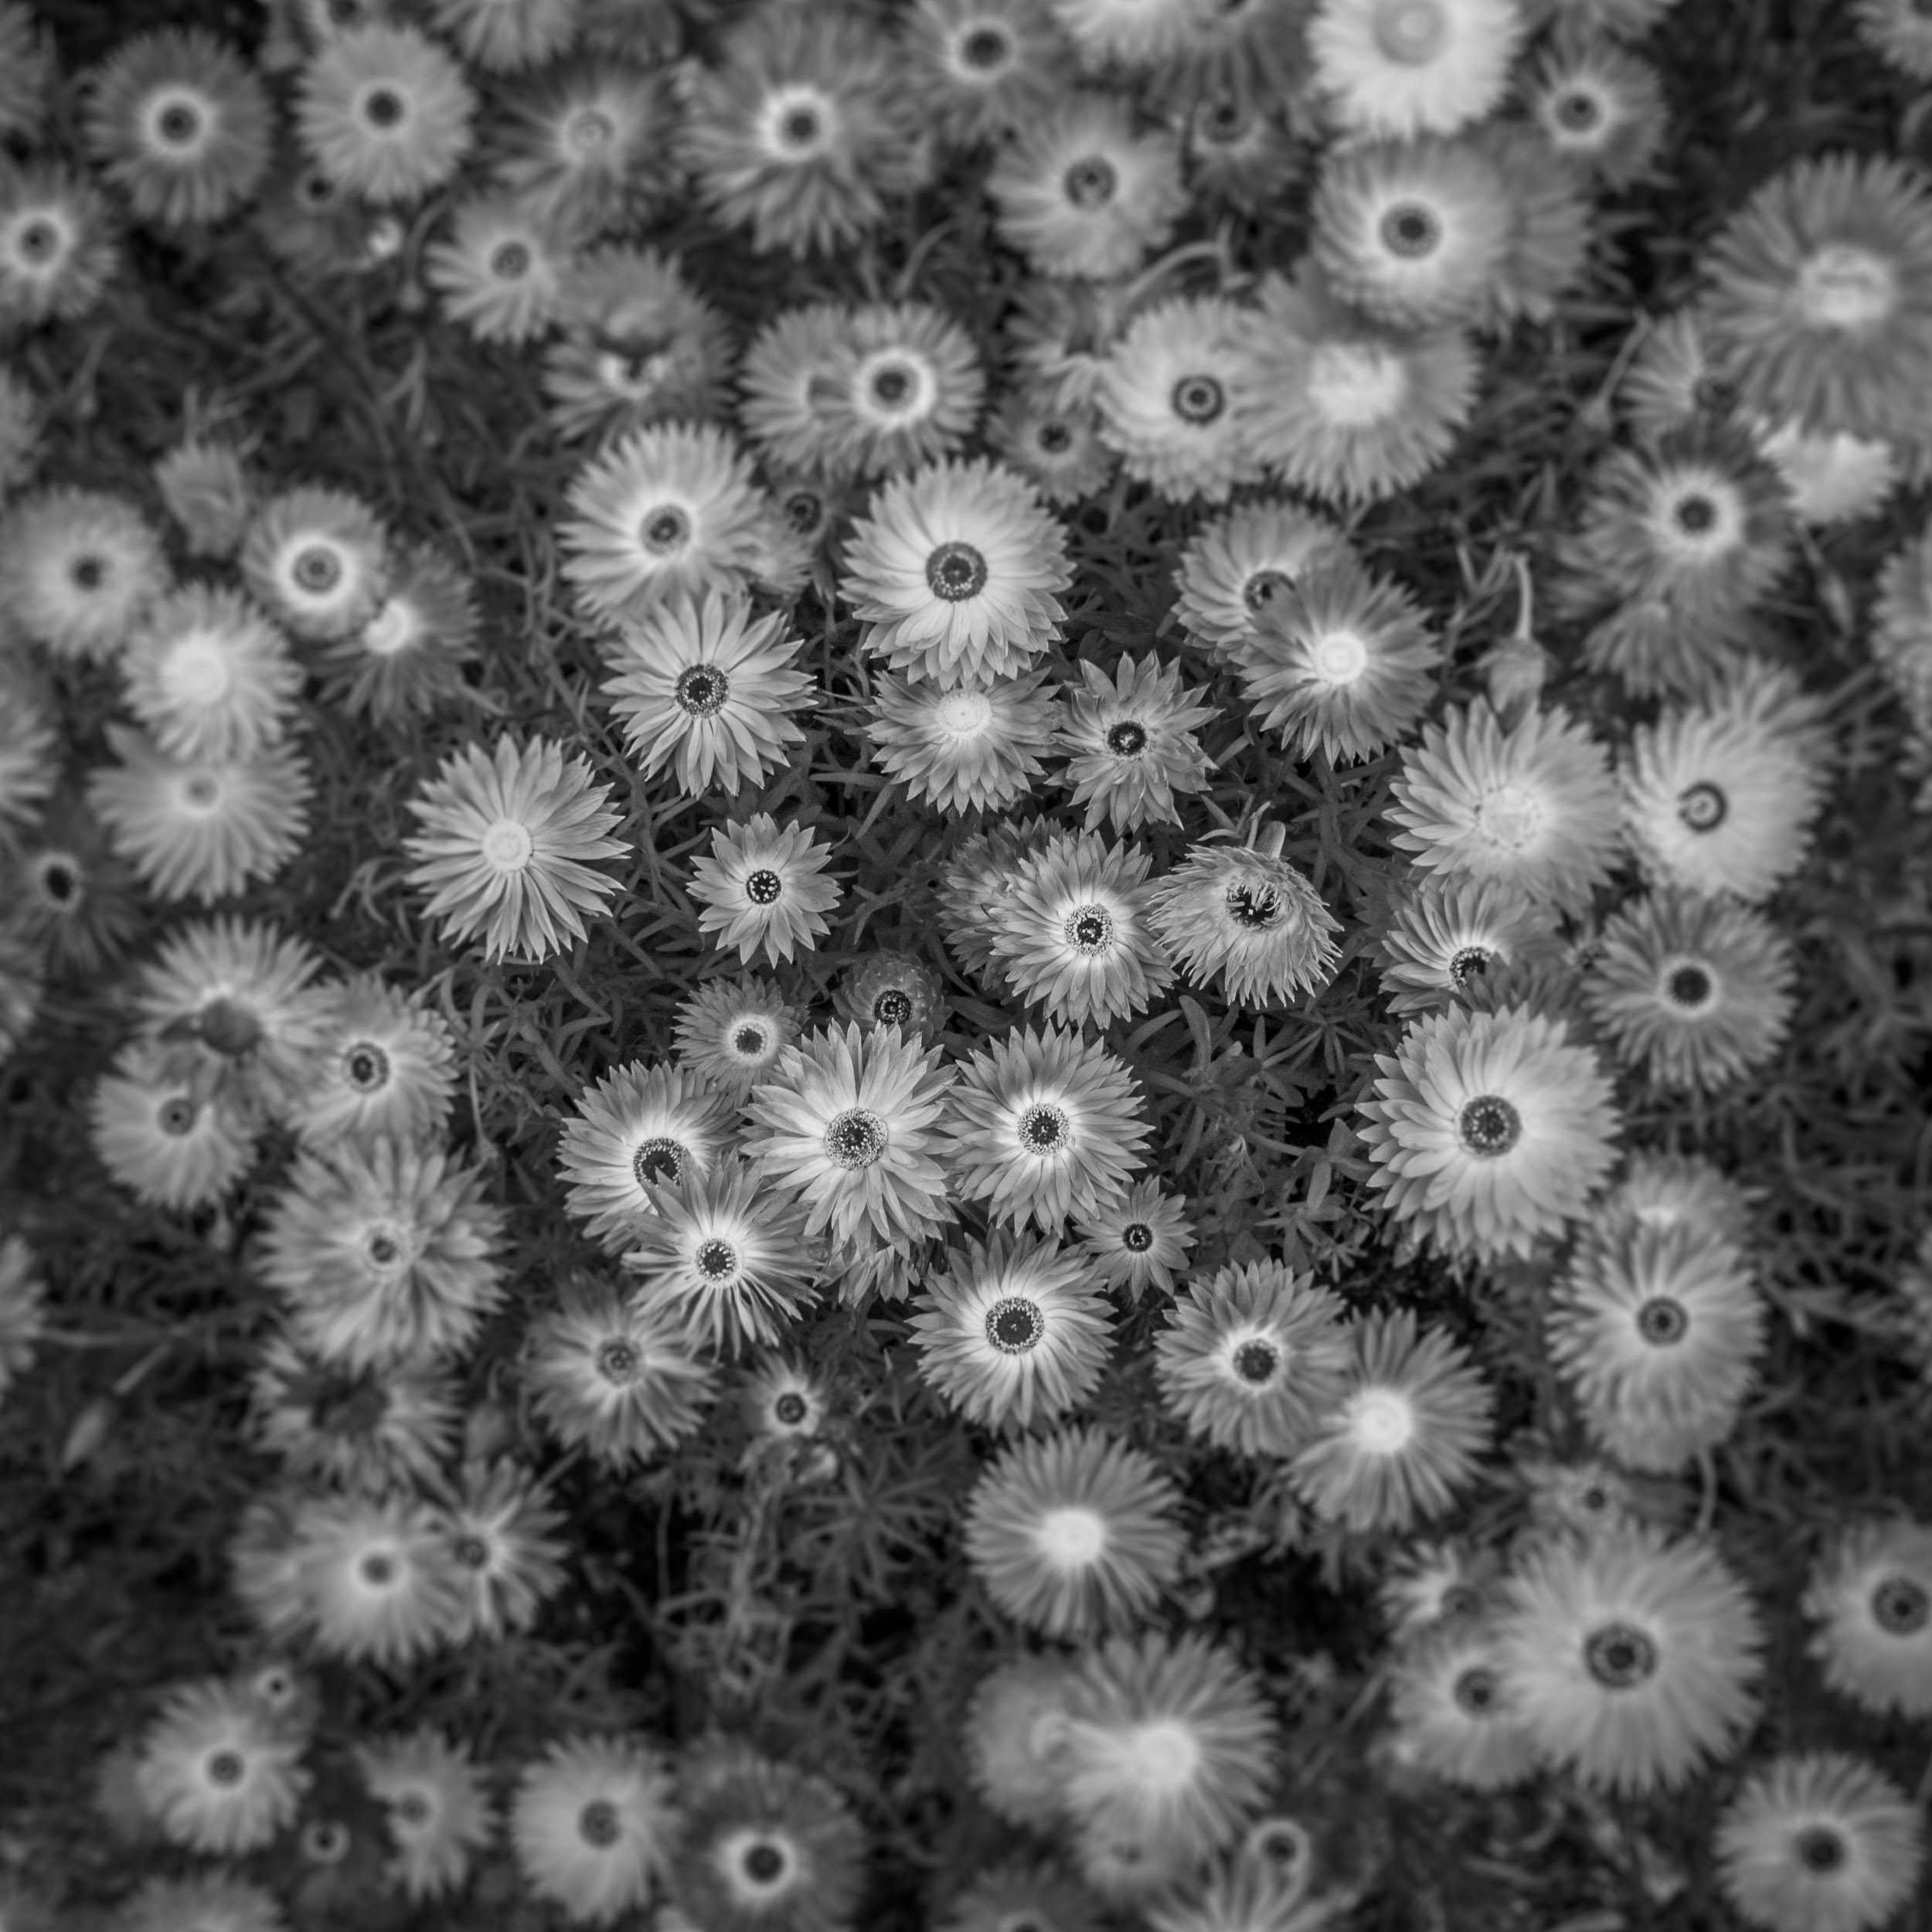
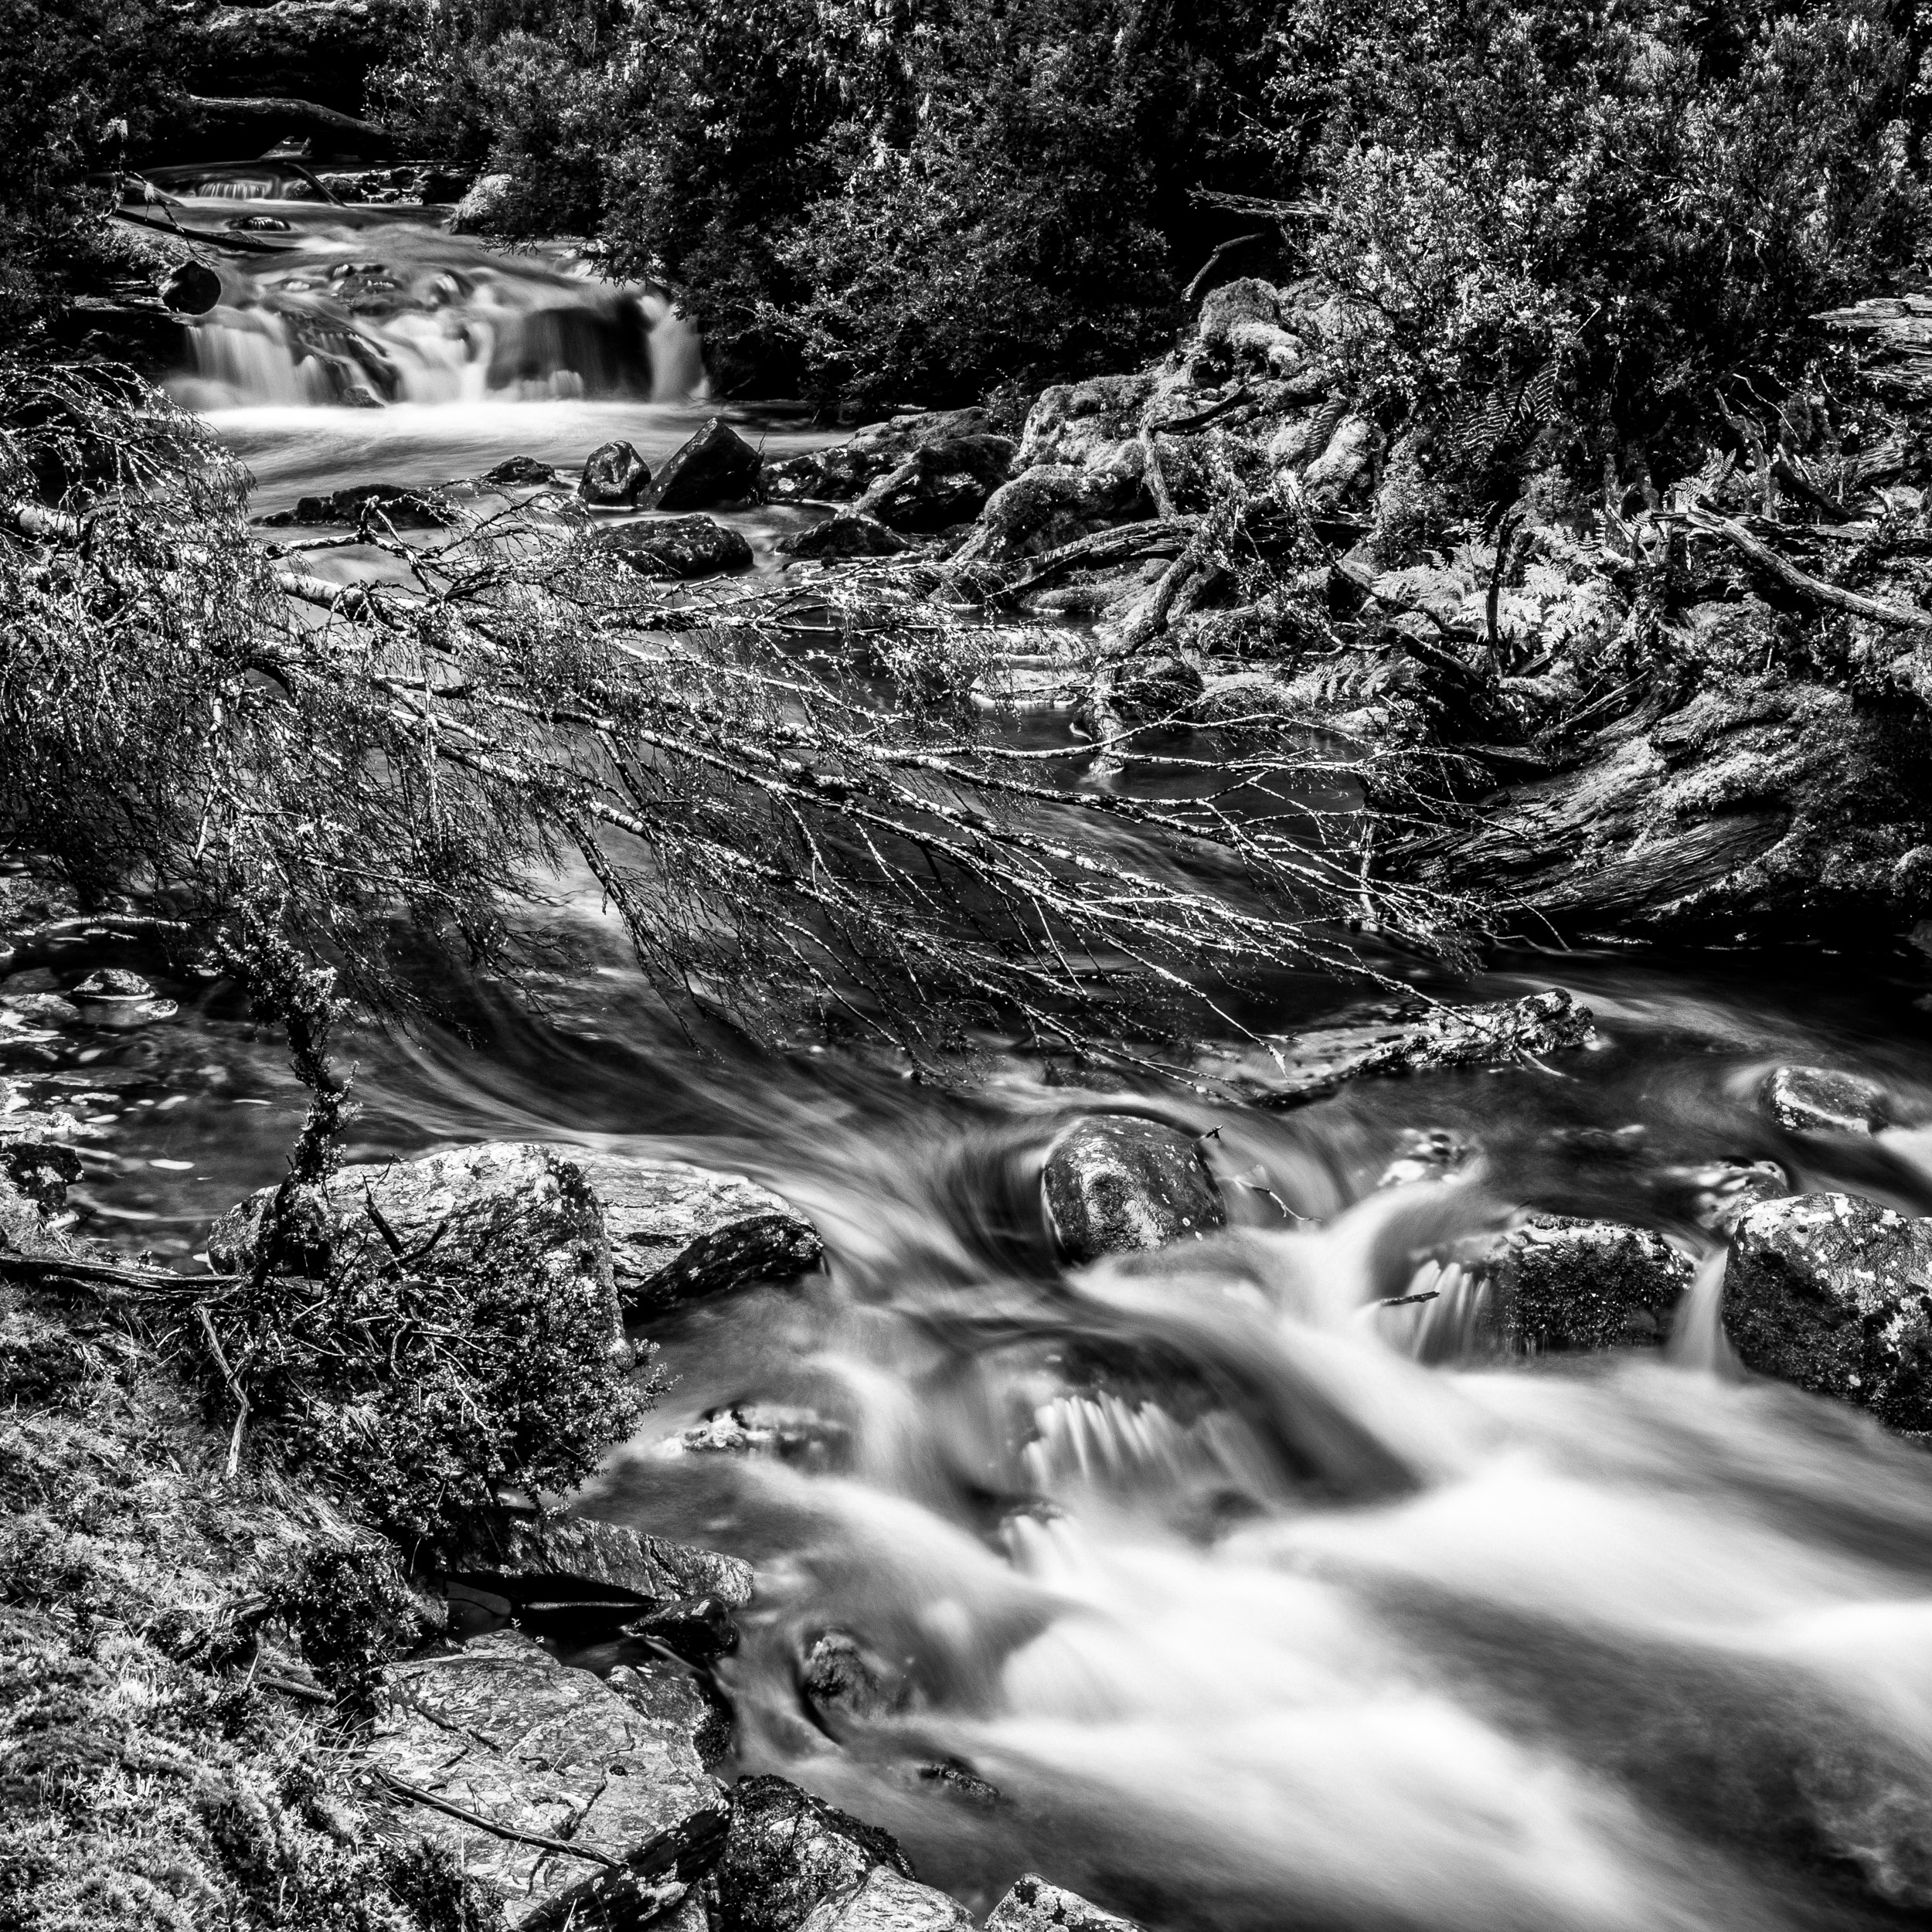
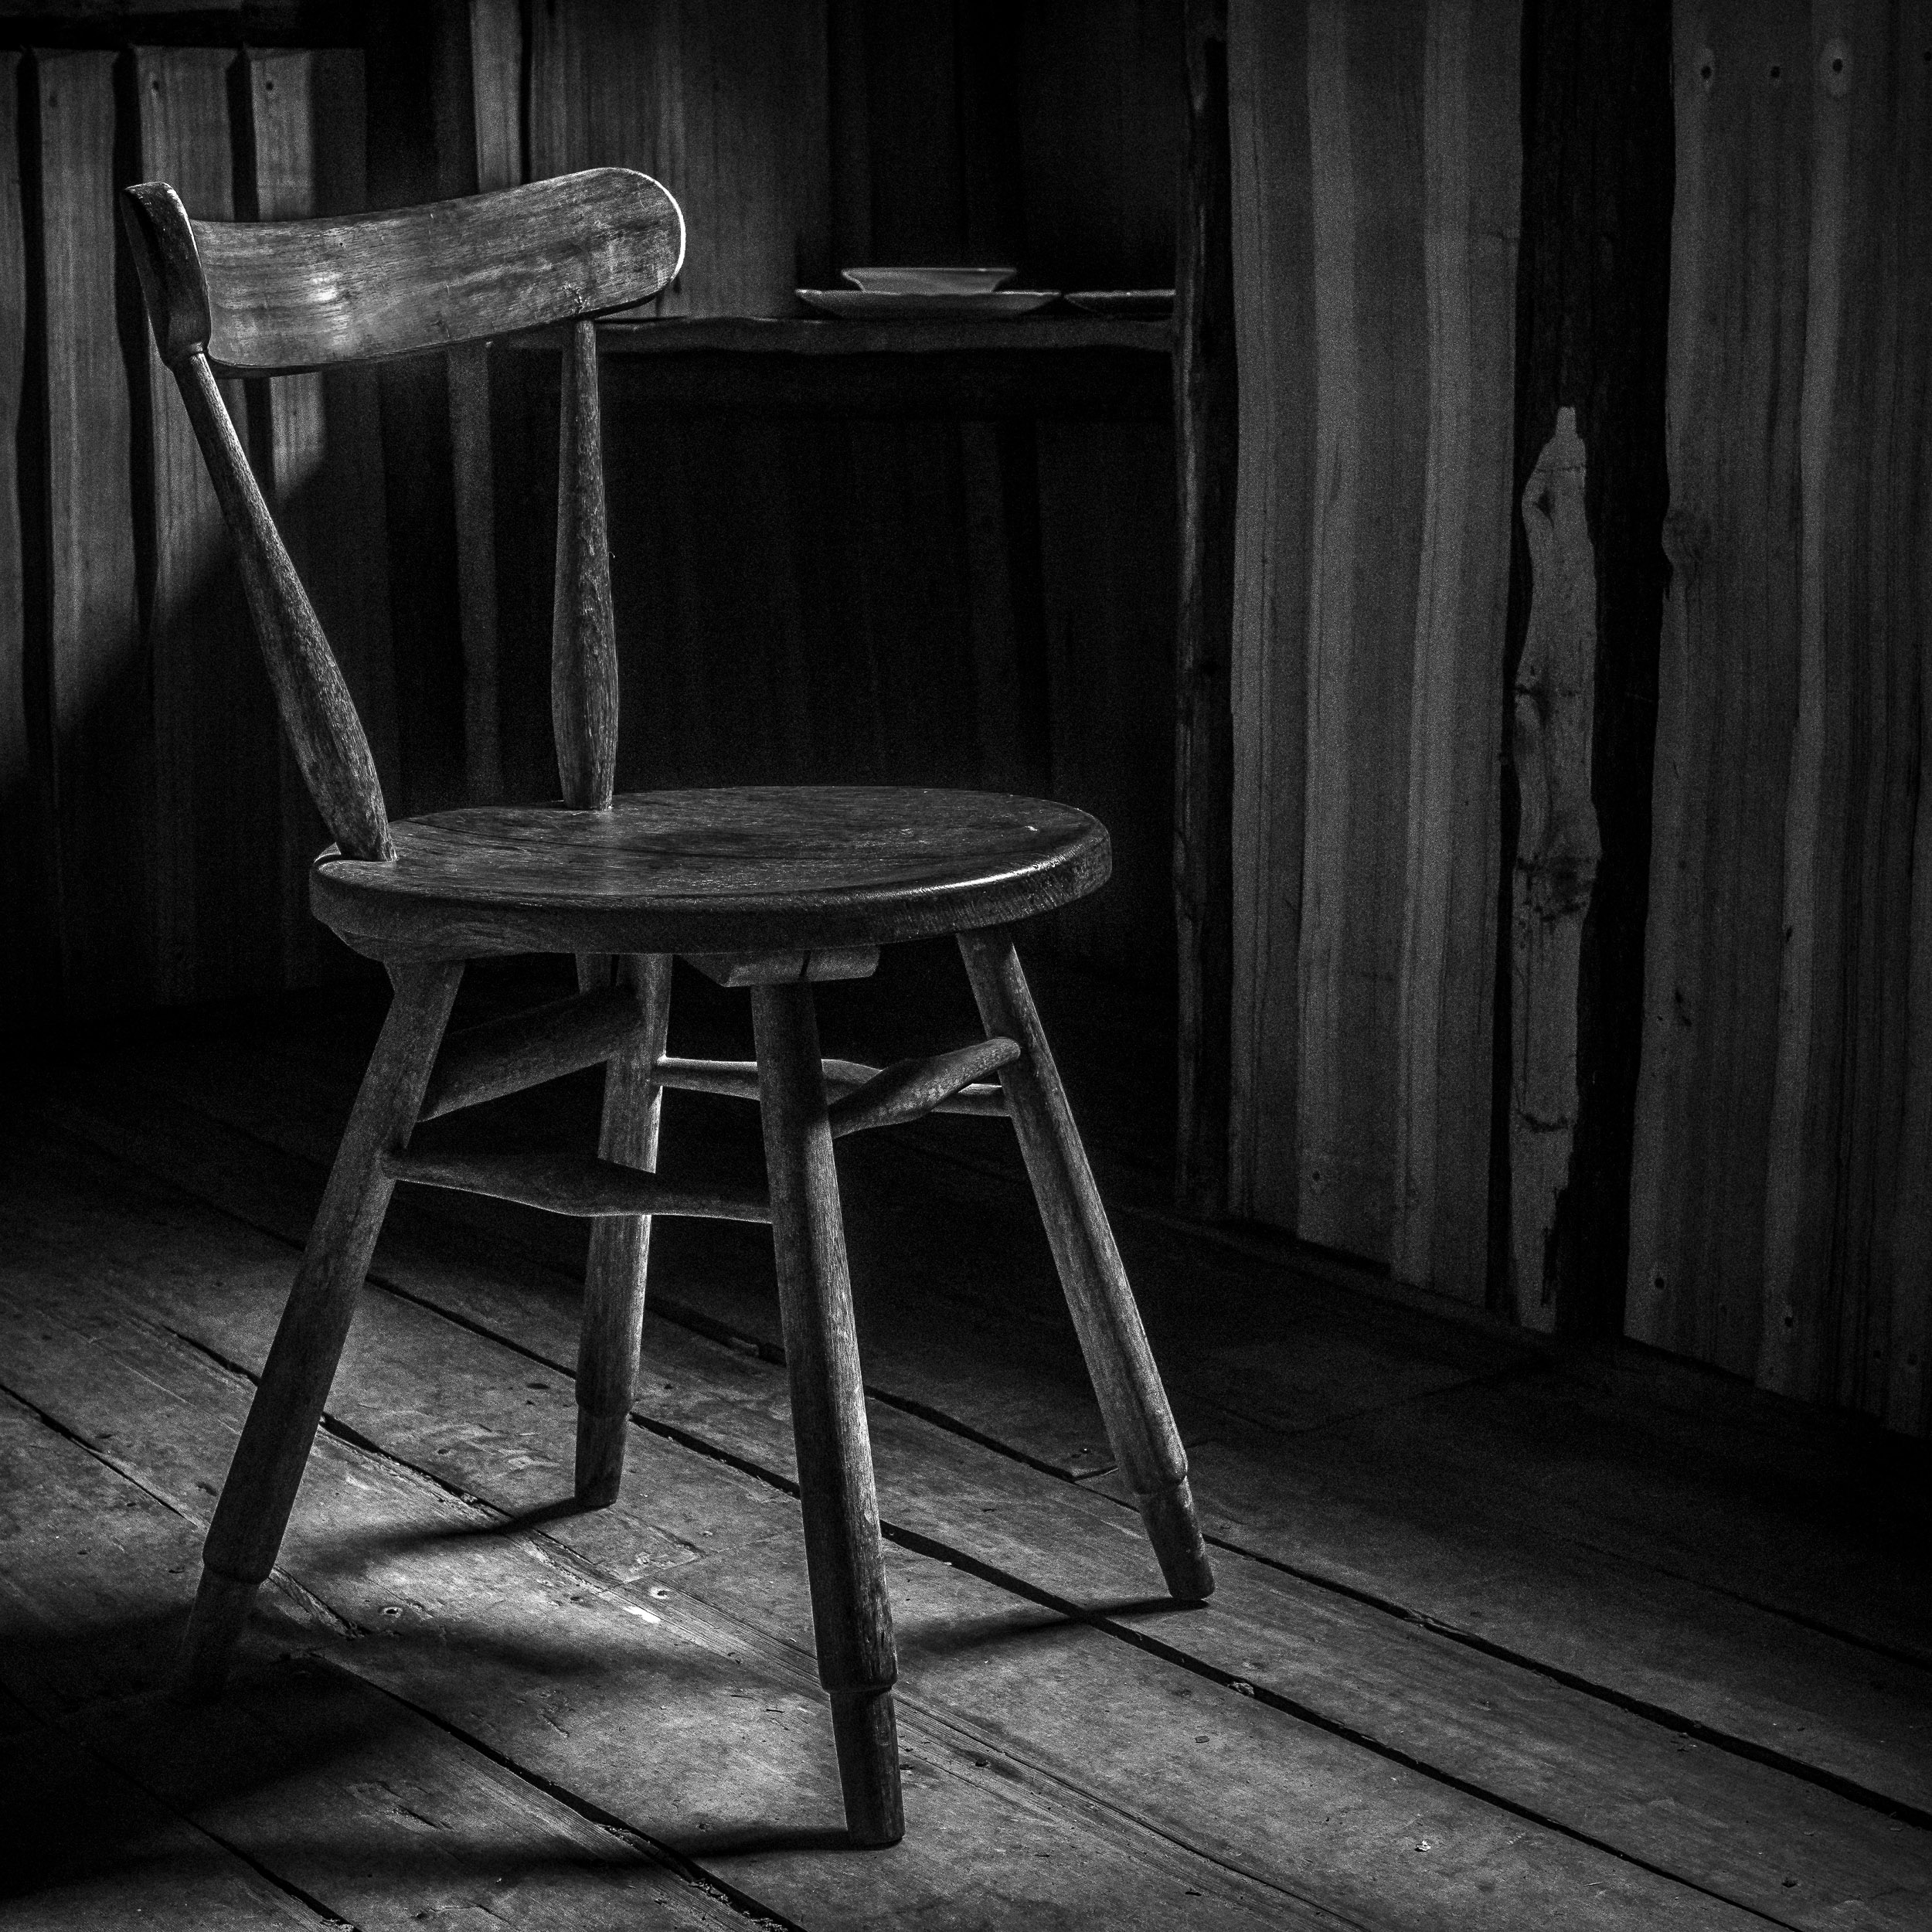
These are Len Metcalf’s presets he uses every day. Usually he uses one, ‘Black and White Lens - The Standard Len Metcalf Preset’ and from here he modifies the tone curve and other adjustments to get his final image. Usually a few tweeks of the tone curve is enough to get to a look that he feels is resolved. The other 50 presets are for you to play with. Once installed hover over each one and see how it changes your image.
Len sets up his camera with a digital orange filter and increased contrast.
Please note: There are no refunds with this purchase.
This purchase does not include support for installation or use.
HOW TO INSTALL YOUR PRESETS IN LIGHTROOM 6
1. Open Lightroom and go to Develop Mode.
2. Click on the right button of the mouse to create a New Folder.
3. Right-click on the "New Folder" (you can rename it later), to import unzipped presets for Lightroom into created folder.
4. Browse to where you have saved the unzipped Lightroom presets folder (this is usually your "Downloads" or "Desktop" folders). Then select all the .lrtemplate files and click “Import”.
5. Now, you can use your presets for Lightroom.
HOW TO INSTALL YOUR PRESETS IN LIGHTROOM 7 & 8
Open Lightroom
Navigate to the “Develop” module (hotkey “D”)
Under the “Presets” drop-down menu (bottom-left) right-click (or on Mac, control+click) and click “Import…” and then select your presets from your “Downloads” folder
Hover over each preset to preview it on your photograph
Choose the one you like the best and then click on it to apply it to your photograph
Adjust to your own personal taste