
including stars in your landscapes
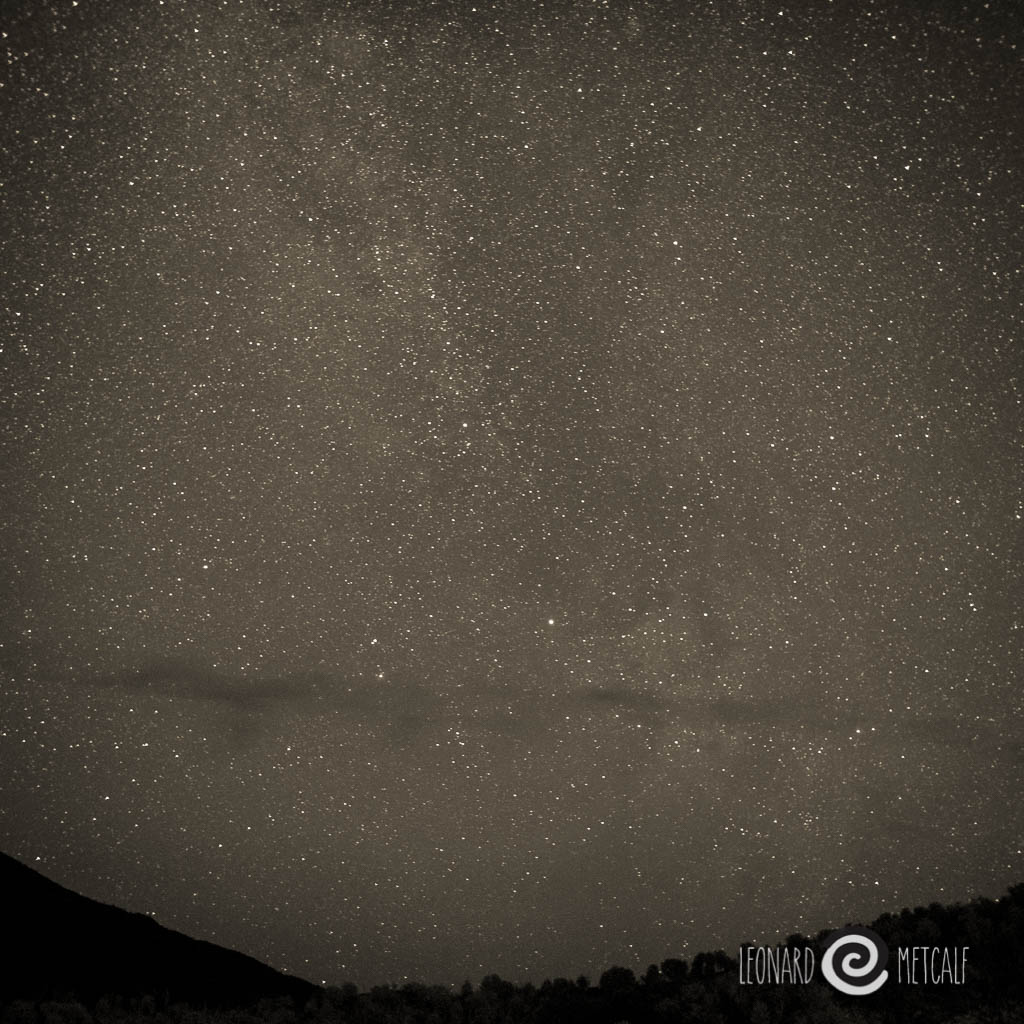
Arkaroola Starry Night - The Gammon Ranges / Flinders Ranges, South Australia
Astrophotography is taking photographs at night. In this short set of notes we will look at getting acceptably sharp stars in our photographs using the 500 rule. We will be limited by your equipment and locations. Firstly you need to be somewhere away from cities and bright lights. Much like the places they build observatories. The city lights reduce our ability to see the stars as they reflect off the atmosphere reducing the amount of light that gets through, which effectively reduces the amount of stars in our photographs. So go bush dear friends, and find a clear night sky.
Next you will need a fast lens. F1.2 to f1.4 will work best. You may get away with a f 2.8 lens. Any slower and this won't work. Don't have an f 1.4 lens yet? Why not, for their price they are one of the most important lenses in your kit. They are sharp, fast and relatively cheap. Go for a standard one. 50 mm equivalent on 35 mm is the one recommend and is my personal favourite. It was always the lens they used to see with a film slr before zooms became popular. There is a reason for this, and that is they are cheap to make and have outstanding performance. They also can be made to look wide angle and telephoto in skillful hands. For the last three years I lived with one lens, and a 50 mm equivalent was it. I can frame my shot without a camera for this lens now. An amazing thing that helps me take great photographs.
You camera needs a few characteristics too. Firstly you need to be able to shoot at 15 - 30 seconds. Sometimes you may need to go past a minute. Secondly you need a camera that works well at higher ISO's, in the 1000 to 6400 range. Lastly you need a tripod and a way to fire the camera without introducing vibration. If you have an SLR you will need to lock the mirror up and use a cable release. With mirrorless cameras you can just use a delay. I use the two second one, but I do have a very solid tripod designed for a very heavy large format camera, so my camera is very solid on it.
To focus your camera just focus on infinity. Close enough to those stars I suspect ;)
Shoot RAW and worry about white balance latter. Put your long exposure noise reduction on or set to auto. This will take longer when you as now your camera will take a second photograph of blackness with the shutter closed after your first photograph, and subtract the hot white pixels from your original exposure. This is called a dark frame subtraction and reduces noise in your final image. Well worth the wait in my opinion.
The way to figure out exposure is by trial and error. So I just dial in the following settings, take one photograph and then adjust my settings for optimum picture quality. I like to bring my ISO down to keep the noise low.
I would start with a 10 second exposure at f 1.4 at 3600 ISO
When considering exposure I like my night photographs to look like night, so I often drop the exposure to make them a little darker. I prefer to do this post processing though. You will also need to consider the moon and this will effect your final exposure.
To figure out what the longest shutter speed you can use with your lens use the '500 rule'.
500 divided by focal length in 35mm equivalent = maximum shutter speed in seconds for sharp stars.
So with my 25 mm lens on my micro four thirds camera is a 50 mm equivalent.
500 / 50 = 10 seconds
Now you can hopefully see how I determined my exposure.
The wider the lens the longer you will have.
Go and practice. Lots experiments the next time you get away from the city.